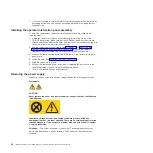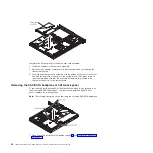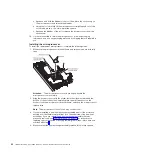
10.
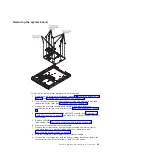
Remove
the
remaining
nine
screws
that
secure
the
system
board
to
the
chassis,
and
put
the
screws
in
a
safe
place.
11.
Lift
the
system
board
out
of
the
server.
Installing
the
system
board
Note:
When
reassembling
the
components
in
the
server,
be
sure
to
route
all
cables
carefully
so
that
they
are
not
exposed
to
excessive
pressure.
To
reinstall
the
system
board,
complete
the
following
steps:
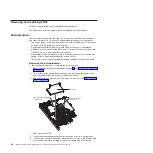
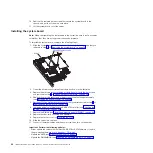
1.
Align
the
system
board
with
the
chassis,
and
replace
the
nine
screws
that
you
removed
in
step
of
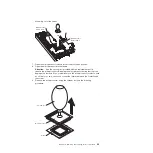
2.
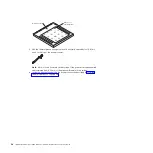
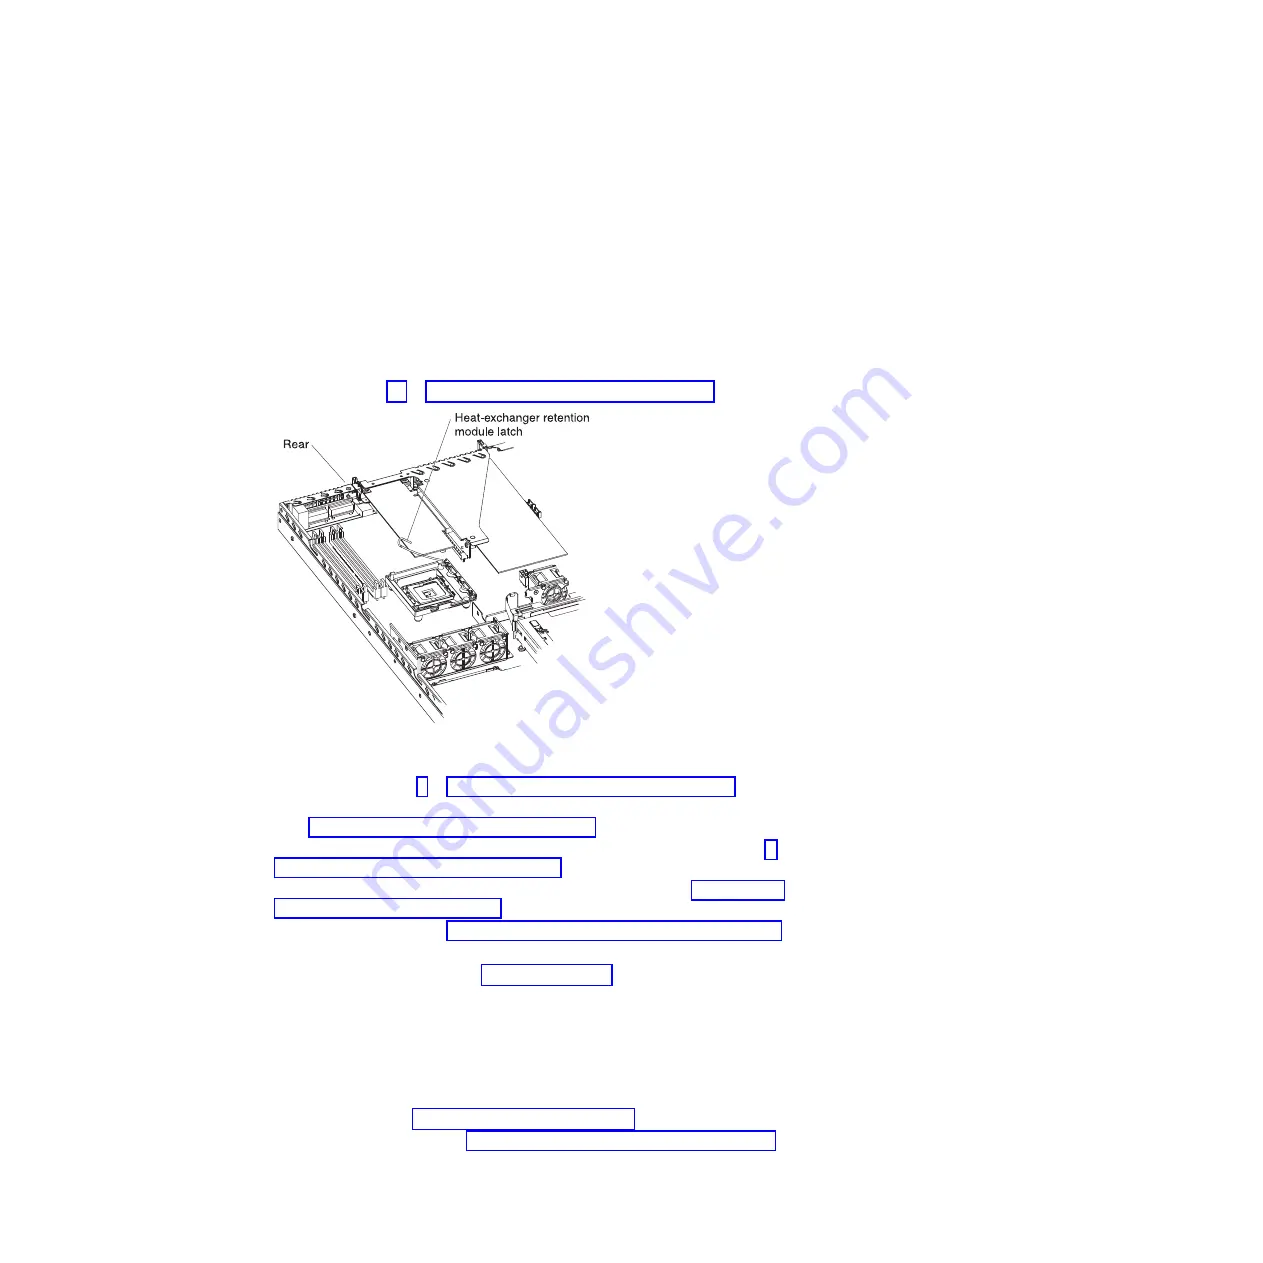
Orient
the
microprocessor
retention
module
as
shown
in
the
illustration.
3.
Replace
the
microprocessor
retention
module.
Secure
it
with
the
four
screws
you
removed
in
step
of
4.
Replace
the
microprocessor
and
microprocessor
heat
exchanger
assembly
(see
5.
Reconnect
to
the
system
board
the
cables
that
you
disconnected
in
step
of
6.
(Hot-swap
model
only)
Replace
the
SAS/SATA
controller
(see
7.
Replace
the
DIMMs
(see
8.
Replace
the
riser-card
assembly
and
adapters.
9.
Replace
the
server
cover
(see
10.
Slide
the
server
into
the
rack.
11.
Connect
all
external
cables
and
the
power
cord;
then,
turn
on
the
server.
Important:
Perform
the
following
updates:
v
Either
update
the
server
with
the
latest
SAS/SATA
or
SATA
firmware
or
restore
the
pre-existing
firmware
from
a
diskette
or
CD
image.
v
Update
the
UUID
(see
v
Update
the
DMI/SMBIOS
(see
60
IBM
xSeries
306m
Types
8849
and
8491:
Problem
Determination
and
Service
Guide
Summary of Contents for xSeries 206m
Page 1: ...IBM xSeries 306m Types 8849 and 8491 Problem Determination and Service Guide...
Page 2: ......
Page 3: ...IBM xSeries 306m Types 8849 and 8491 Problem Determination and Service Guide...
Page 8: ...vi IBM xSeries 306m Types 8849 and 8491 Problem Determination and Service Guide...
Page 143: ......
Page 144: ...Part Number 31R1183 Printed in USA 1P P N 31R1183...

