Note:
The fan LEDs are lit by the Light Path Diagnostics
™
circuitry. For more
information about the LEDs and the Light Path Diagnostics circuitry, see
the section about Light Path Diagnostics in the
Hardware Maintenance
Manual and Troubleshooting Guide
.
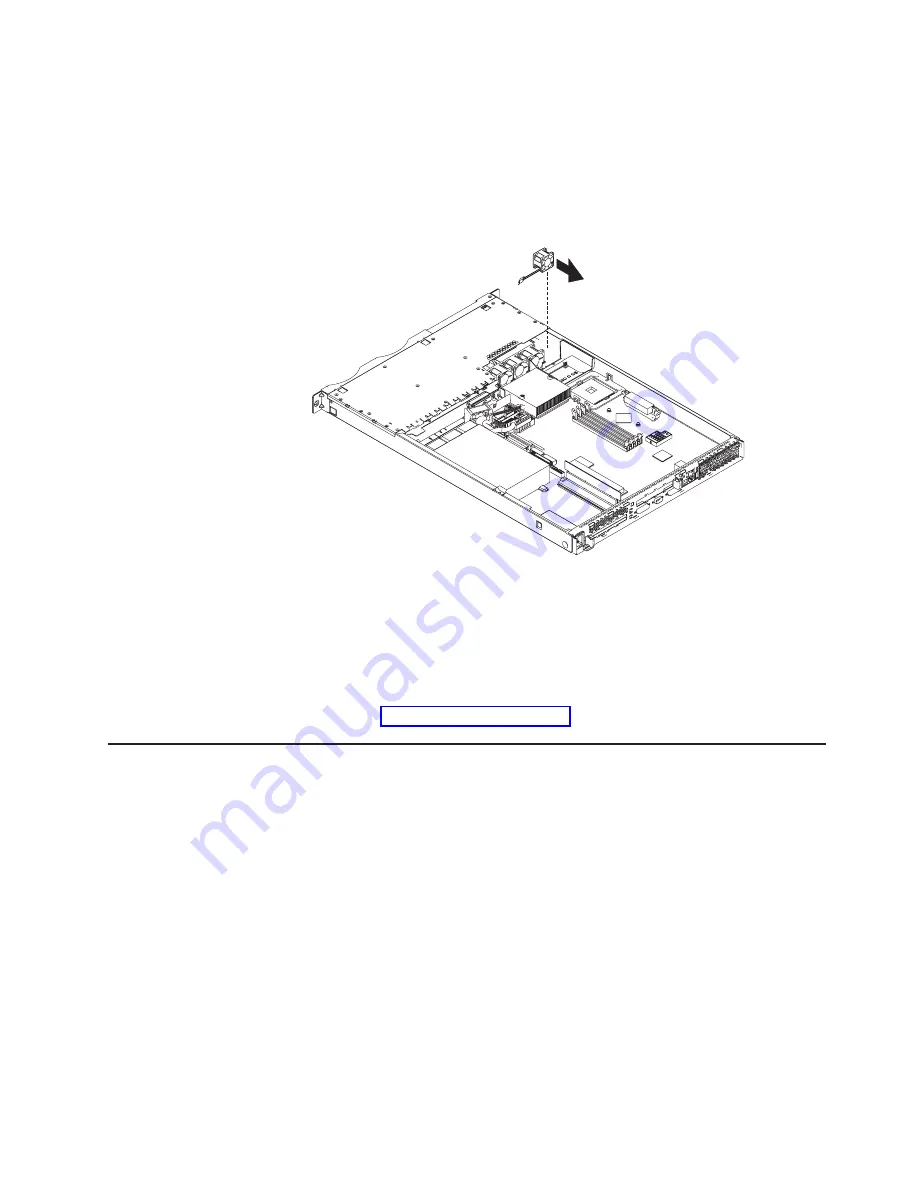
5. Remove the fan from the server:
a. Disconnect the fan cable from the system board.
b. Lift the fan out of the server.
Airflow
6. Position the replacement fan so that the airflow arrow on the side of the fan is
facing or pointing toward the rear of the server.
Note:
Correct airflow is from the front to the rear of the server.
7. Position the replacement fan in the location from which you removed the failed
fan.
8. Connect the replacement fan cable to the system board.
9. Continue with “Completing the installation”.
Completing the installation
This section describes how to complete the installation.
Installing the cover and bezel
Complete the following steps to install the server cover and bezel:
1. Position the internal cables so they do not interfere with the cover installation.
Attention:
Before sliding the cover forward, make sure that all the tabs on
both the front and rear of the cover engage the chassis correctly. If all the tabs
do not engage the chassis correctly, it will be very difficult to remove the cover
later.
2. Position the cover on top of the server and slide it forward. Press down on the
cover latch. The cover slides forward into position. Ensure that the cover
Chapter 2. Installing options
27
Summary of Contents for xSeries 335
Page 1: ...IBM xSeries 335 Type 8676 Option Installation Guide ERserver...
Page 2: ......
Page 3: ...IBM xSeries 335 Type 8676 Option Installation Guide ERserver...
Page 20: ...10 IBM xSeries 335 Type 8676 Option Installation Guide...
Page 46: ...36 IBM xSeries 335 Type 8676 Option Installation Guide...
Page 50: ...40 IBM xSeries 335 Type 8676 Option Installation Guide...
Page 59: ......
Page 60: ...Part Number 48P9909 Printed in U S A 1P P N 48P9909...


