Complete
the
following
steps
to
install
DIMMs:
1.
Review
the
safety
information
beginning
on
page
v,
“Installation
guidelines”
on
page
11,
and
the
documentation
that
comes
with
the
DIMMs.
2.
Turn
off
the
server
and
peripheral
devices,
and
disconnect
the
power
cords
and
all
external
cables.
Remove
the
top
cover
(see
“Removing
the
cover
and
bezel”
on
page
13).
3.
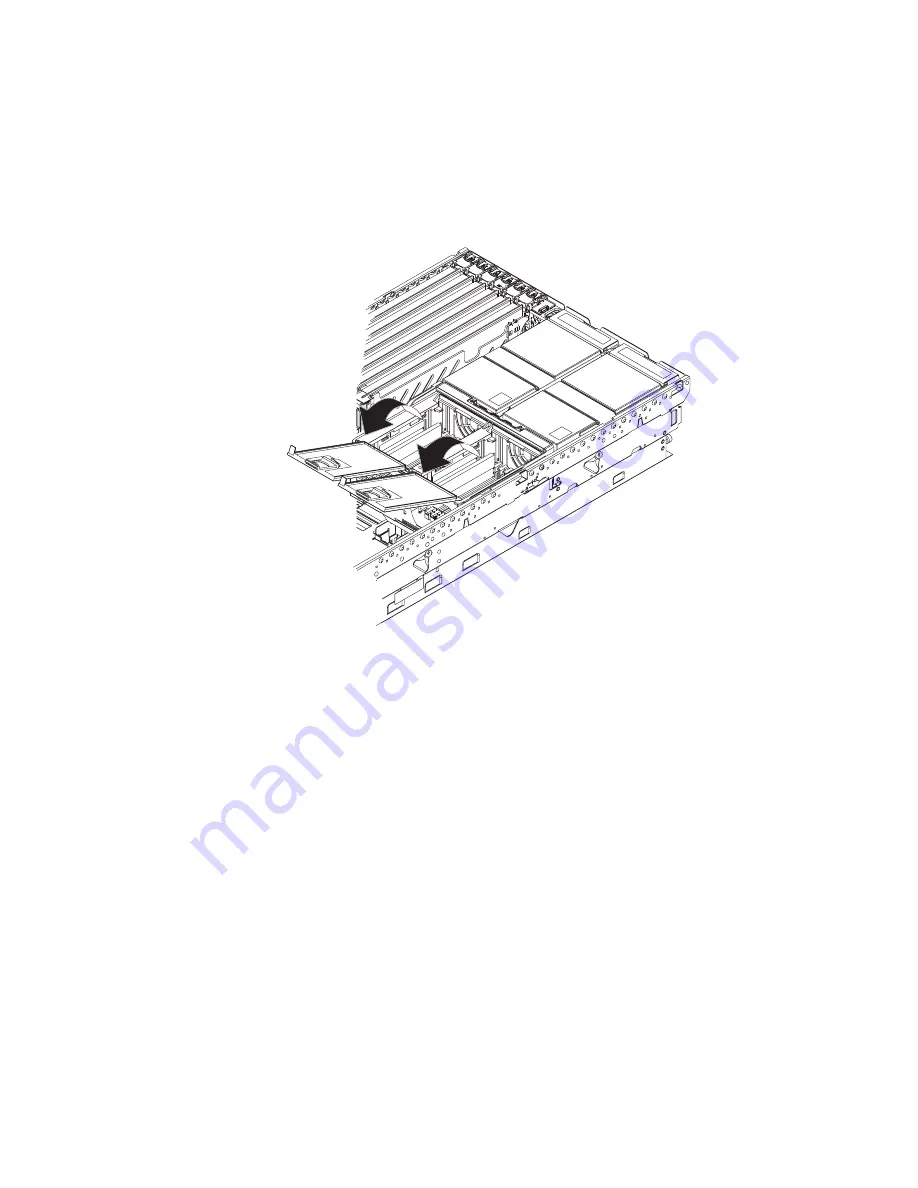
Open
the
two
DIMM
access
doors
on
the
top
of
the
memory
cassette.
AC
DC
PS2
PS1
4.
Open
the
retaining
clip
on
each
end
of
the
DIMM
connector.
Attention:
To
avoid
breaking
the
DIMM
retaining
clips
or
damaging
the
DIMM
connectors,
open
and
close
the
clips
gently.
5.
Touch
the
static-protective
package
that
contains
the
DIMM
option
to
any
unpainted
metal
surface
on
the
server.
Then,
remove
the
DIMM
from
the
package.
6.
Turn
the
DIMM
so
that
the
DIMM
keys
align
correctly
with
the
slot.
Chapter
2.
Installing
options
21
Summary of Contents for xSeries 365
Page 1: ...IBM xSeries 365 Type 8861 and 8862 Option Installation Guide ERserver...
Page 2: ......
Page 3: ...IBM xSeries 365 Type 8861 and 8862 Option Installation Guide ERserver...
Page 52: ...40 IBM xSeries 365 Type 8861 and 8862 Option Installation Guide...
Page 64: ...52 IBM xSeries 365 Type 8861 and 8862 Option Installation Guide...
Page 67: ......
Page 68: ...Part Number 13N0344 Printed in USA 1P P N 13N0344...


