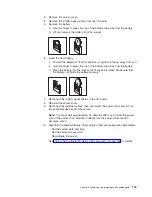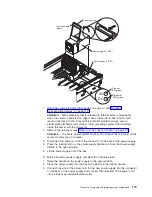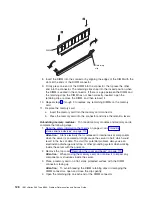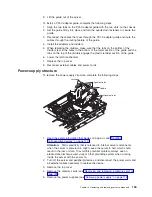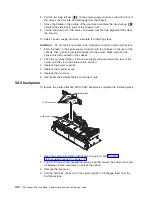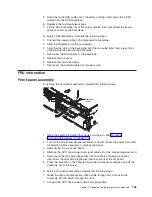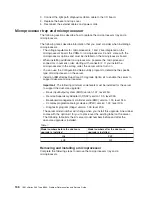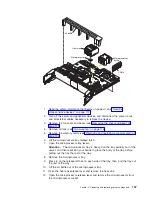
5.
Touch
the
static-protective
package
that
contains
the
DIMM
to
any
unpainted
metal
surface
on
the
outside
of
the
server.
Then,
remove
the
DIMM
from
the
package.
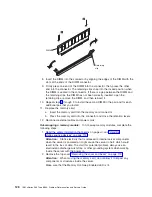
6.
Turn
the
DIMM
so
that
the
DIMM
keys
align
correctly
with
the
slot.
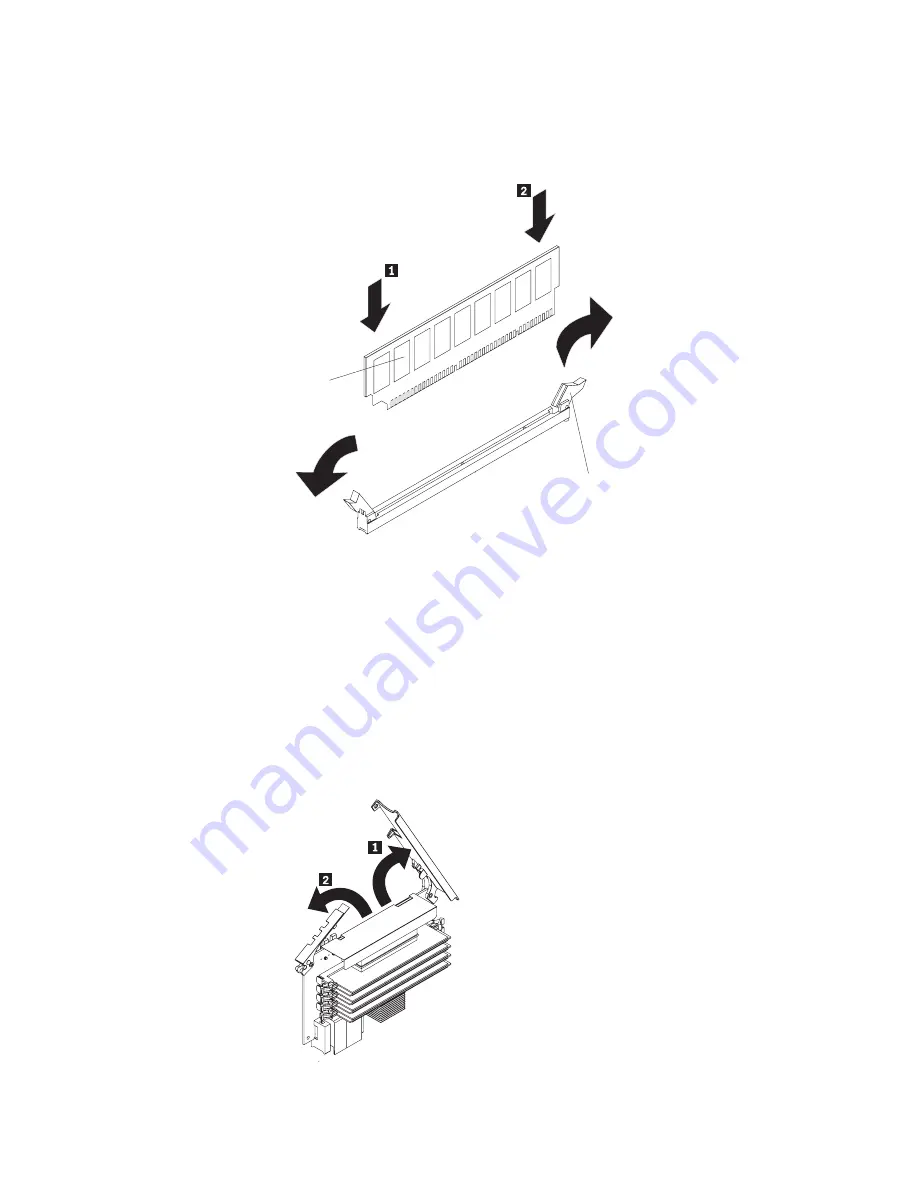
DIMM
Retaining
clip
7.
Insert
the
DIMM
into
the
connector
by
aligning
the
edges
of
the
DIMM
with
the
slots
at
the
ends
of
the
DIMM
connector.
8.
Firmly
press
one
end
of
the
DIMM
into
the
connector;
then,
press
the
other
end
into
the
connector.
The
retaining
clips
snap
into
the
locked
position
when
the
DIMM
is
seated
in
the
connector.
If
there
is
a
gap
between
the
DIMM
and
the
retaining
clips,
the
DIMM
has
not
been
correctly
inserted;
open
the
retaining
clips,
remove
the
DIMM,
and
then
reinsert
it.
9.
Repeat
steps
4
through
8
to
install
any
remaining
DIMMs
on
the
memory
card.
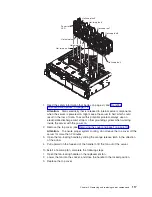
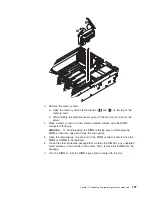
10.
Open
the
memory
card
retention
levers
(
1
and
2
)
on
the
top
of
the
memory
card.
11.
Insert
the
memory
card
into
the
memory
card
connector.
12.
Press
the
memory
card
into
the
connector
and
close
the
retention
levers.
Chapter
4.
Removing
and
replacing
server
components
129
Summary of Contents for xSeries 366
Page 1: ...IBM xSeries 366 Type 8863 Problem Determination and Service Guide...
Page 2: ......
Page 3: ...IBM xSeries 366 Type 8863 Problem Determination and Service Guide...
Page 8: ...vi IBM xSeries 366 Type 8863 Problem Determination and Service Guide...
Page 28: ...12 IBM xSeries 366 Type 8863 Problem Determination and Service Guide...
Page 160: ...144 IBM xSeries 366 Type 8863 Problem Determination and Service Guide...
Page 170: ...154 IBM xSeries 366 Type 8863 Problem Determination and Service Guide...
Page 181: ...V video connector 6 VRM LED 64 W Web site 1 weight 3 World Wide Web 1 Index 165...
Page 182: ...166 IBM xSeries 366 Type 8863 Problem Determination and Service Guide...
Page 183: ......
Page 184: ...Part Number 31R1508 Printed in USA 1P P N 31R1508...

