34
xSeries 440:Option Installation Guide
there are enough good locations to allow the proper operation of the server, no
further action is taken other than recording the error in the error logs.
If the error is not recoverable, then Memory Scrubbing sends an error message to
the Light Path Diagnostics, which then turns on the proper lights and LEDs to
guide you to the damaged DIMM. If Memory Mirroring is enabled, then the mir-
rored copy of the data in the damaged DIMM is used to refresh the new DIMM
once it is installed.
•
Memory ProteXion reassigns memory bits to new locations within memory when
recoverable errors have been detected.
How does Memory ProteXion work?
Once a recoverable error is found by Memory Scrubbing, Memory ProteXion
writes the data that was to be stored in the damaged memory locations to spare
memory locations within the same DIMM.
Removing and replacing DIMMs:
If you need to replace or upgrade the
DIMMs in your server, you must remove the old DIMMs before you insert new ones.
This section includes the instructions needed to properly remove and replace DIMMs
from the SMP Expansion Module in your server.
Attention: When working with DIMMs or other options, you might need to remove
one or both of the SMP Expansion Modules. Before removing an SMP Expansion
Module, be sure to turn off the server and peripheral devices; then, disconnect all
external cables and power cords.
Complete the following steps to remove a DIMM from your server SMP Expansion
Module:
1.
Review the information in “Before you begin” on page 9, “Handling static-sensitive
devices” on page 10, and “Safety Information” on page 11.
2.
Turn off the server and peripheral devices, disconnect the power cords, and all
external cables from the SMP Expansion Module; then, open the server cover
(see “Opening the cover” on page 16 for details).
3.
If necessary, remove the top SMP Expansion Module from the server. Refer to
“Removing an SMP Expansion Module and cover” on page 28 for instructions.
4.
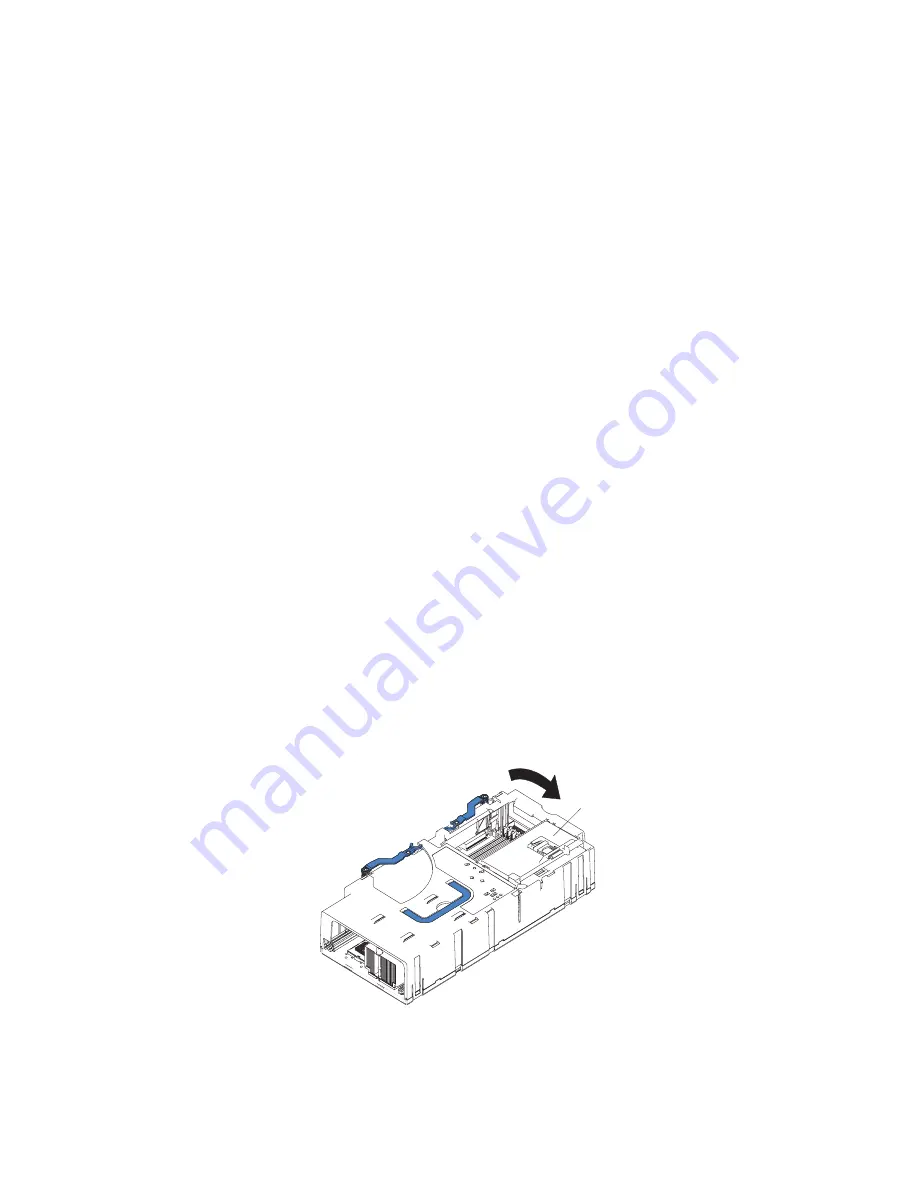
Open the DIMM access door that covers the DIMM you will be removing.
5.
Open the retaining clip on each end of the DIMM connector.
6.
Lift the DIMM straight up and out of the SMP Expansion Module.
7.
Install a new DIMM:
DIMM access
door
Summary of Contents for xSeries 440 8687
Page 1: ...Option Installation Guide xSeries 440 Type 8687...
Page 2: ......
Page 3: ...IBM xSeries 440 Option Installation Guide SC59 P651 40...
Page 12: ...x xSeries 440 Option Installation Guide...
Page 20: ...8 xSeries 440 Option Installation Guide...
Page 68: ...56 xSeries 440 Option Installation Guide...
Page 79: ......
Page 80: ...IBM Part Number 59P6514 Printed in U S A 59P6514...


