
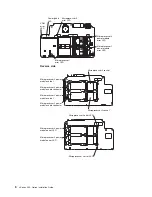
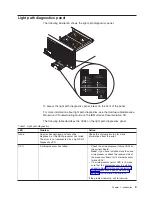


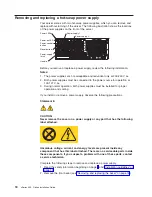


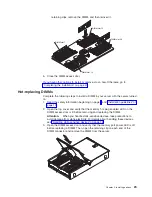

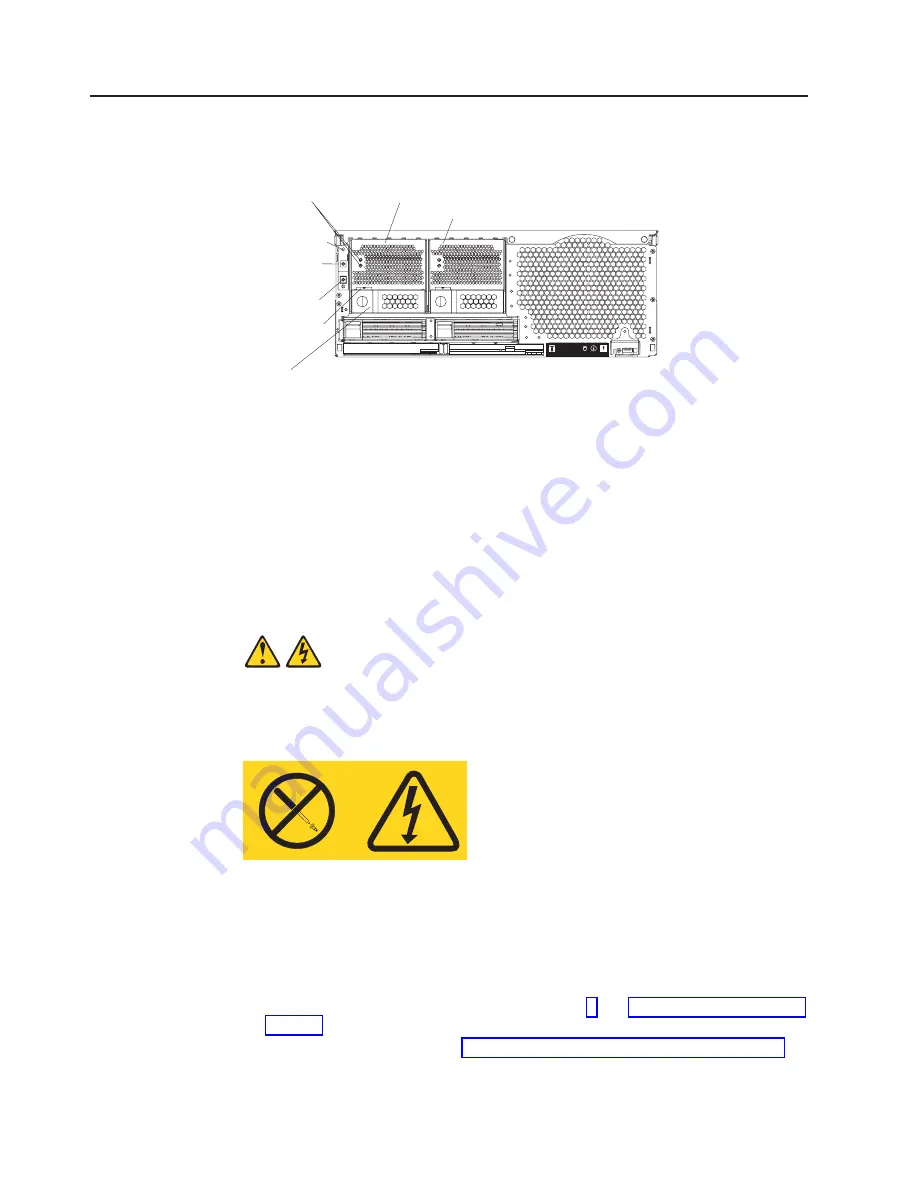
Removing and replacing a hot-swap power supply
Your server comes with two hot-swap power supplies, which you can remove and
replace without turning off the server. The following illustration shows the locations
of the power supplies on the front of the server.
Power-control
button
Reset button
Power-on LED
Power-supply
latch
Handle
Power LEDs
Power supply 1
Power supply 2
Before you remove or replace a power supply, review the following information.
Notes:
1. The power supplies are hot-swappable and redundant only at 200-240 V ac.
2. Both power supplies must be connected to the power source for operation at
100-127 V ac.
3. During normal operation, both power supplies must be installed for proper
operation and cooling.
If you install or remove a power supply, observe the following precautions.
Statement 8:
CAUTION:
Never remove the cover on a power supply or any part that has the following
label attached.
Hazardous voltage, current, and energy levels are present inside any
component that has this label attached. There are no serviceable parts inside
these components. If you suspect a problem with one of these parts, contact
a service technician.
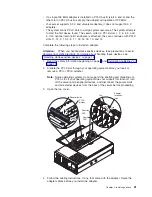
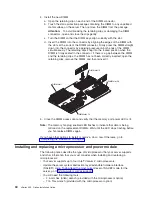
Complete the following steps to remove and replace a power supply:
1. Read the safety information beginning on page v and “Installation guidelines” on
2. Remove the front bezel (see “Removing and replacing the bezel” on page 16).
18
xSeries 455: Option Installation Guide
Summary of Contents for xSeries 455
Page 1: ...xSeries 455 Option Installation Guide ERserver...
Page 2: ......
Page 3: ...xSeries 455 Option Installation Guide SC88 P919 80 ERserver...
Page 12: ...x xSeries 455 Option Installation Guide...
Page 24: ...12 xSeries 455 Option Installation Guide...
Page 70: ...58 xSeries 455 Option Installation Guide...
Page 74: ...62 xSeries 455 Option Installation Guide...
Page 82: ...70 xSeries 455 Option Installation Guide...
Page 85: ......
Page 86: ...Part Number 88P9198 Printed in U S A SC88 P919 80 1P P N 88P9198...


