


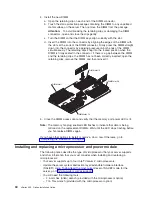


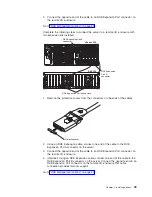
j. Connect the power-module cable to the power module and to the adjacent
power-module cable connector.
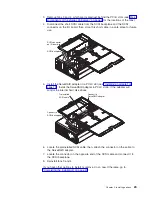
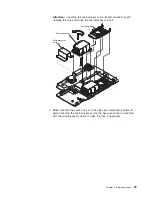
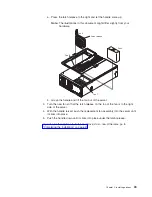
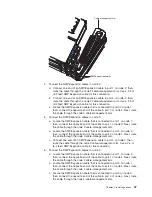
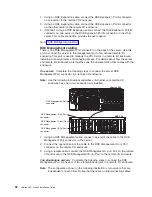
10. Carefully install the processor-board assembly and retention bracket.
11. Install the EMC shield on the rear of the server; then, hand-tighten the blue
thumbscrews to secure the EMC shield.
12. Carefully install the memory-board assembly.
If you have other options to install or remove, do so now. Otherwise, go to
“Completing the installation” on page 41.
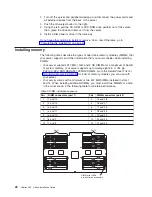
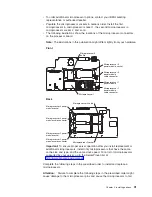
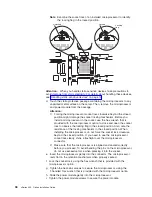
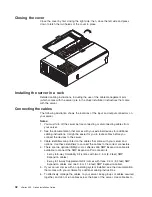
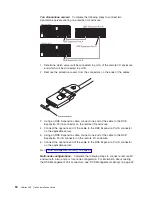
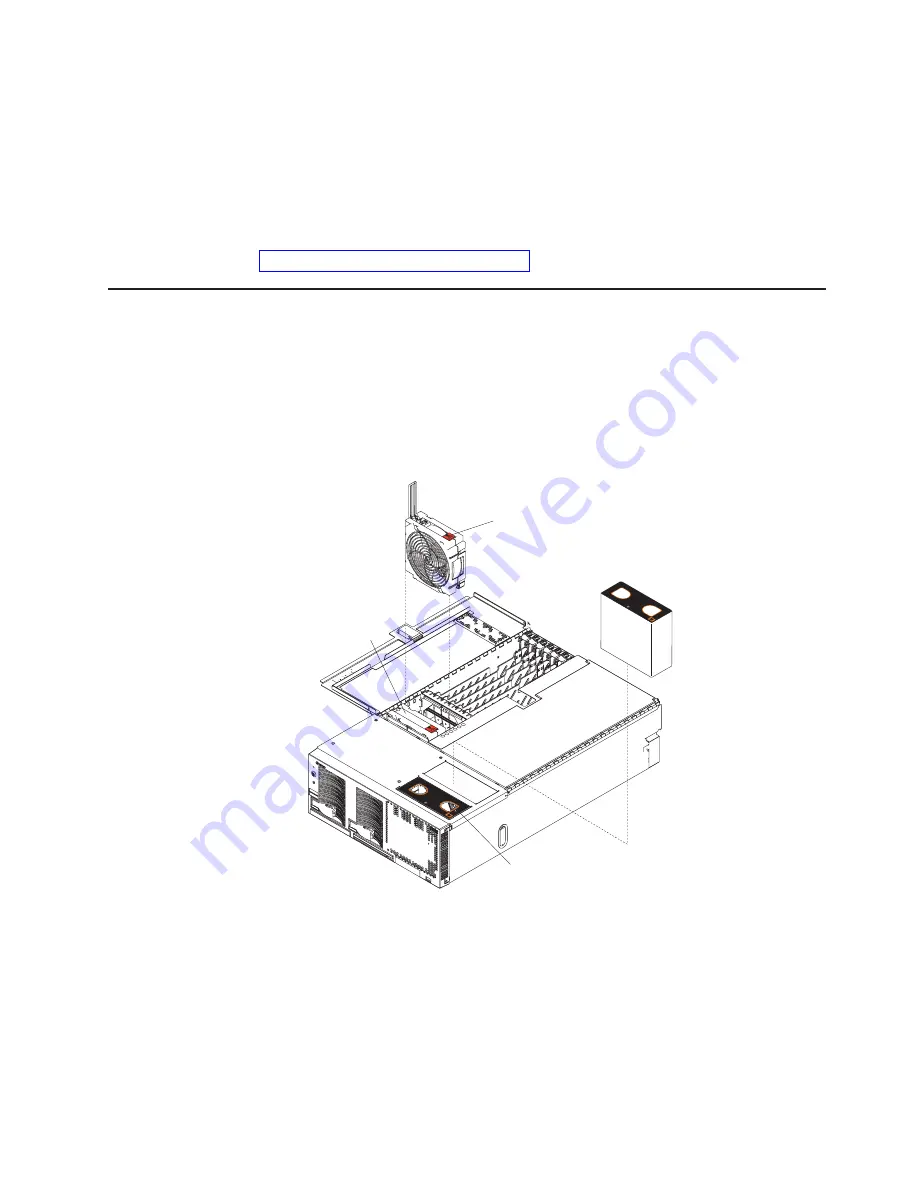
Replacing and troubleshooting fans
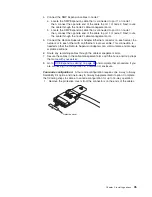
Your xSeries 455 server has four hot-swap fan assemblies, two 150 mm x 51 mm
fans and two 150 mm x 38 mm fans. The two 150 mm x 51 mm fans (fan 1 and fan
2) are located toward the front of the server and are used to cool the memory board
and processor board. The two 150 mm x 38 mm fans (fan 3 and fan 4) are located
just behind the PCI-X board and are used to cool the power supplies, PCI-X slots,
and other components.
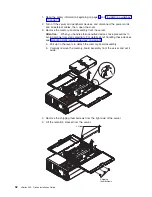
Note:
The illustrations in this document might differ slightly from your hardware.
Fan 1
Fan 2
Fan 3
Fan 4
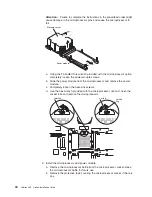
NO
TE:
FOR PR
OPER AIRFLO
W, REPLA
CE
FAN
WITHIN 2 MINUTES
FR
ONT OF BO
X
NO
TE:
FOR P
ROPER
AIR
FLO
W,
R
EPLA
CE F
AN
WITHIN 2 MINUTES
FR
ON
T OF BO
X
Latch release
Each fan has an LED to help you detect a problem. When the fan is operating
correctly, this LED is off. If a fan stops working, light path diagnostics will light the
system-error LED on the front of the server, indicating that there is a problem, and
guide you to the defective fan. When this occurs, first identify the defective fan;
then, using the applicable procedure, remove and replace the fan.
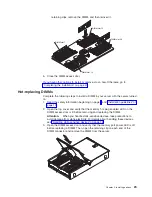
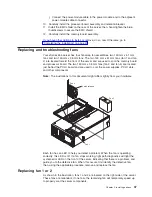
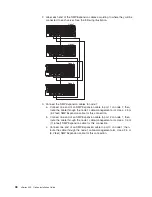
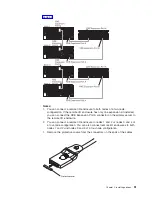
Replacing fan 1 or 2
As shown in the illustration, fans 1 and 2 are located on the right side of the server.
These fans are redundant; if one fails, the remaining fan will temporarily speed up
to properly cool the server components.
Chapter 2. Installing options
37
Summary of Contents for xSeries 455
Page 1: ...xSeries 455 Option Installation Guide ERserver...
Page 2: ......
Page 3: ...xSeries 455 Option Installation Guide SC88 P919 80 ERserver...
Page 12: ...x xSeries 455 Option Installation Guide...
Page 24: ...12 xSeries 455 Option Installation Guide...
Page 70: ...58 xSeries 455 Option Installation Guide...
Page 74: ...62 xSeries 455 Option Installation Guide...
Page 82: ...70 xSeries 455 Option Installation Guide...
Page 85: ......
Page 86: ...Part Number 88P9198 Printed in U S A SC88 P919 80 1P P N 88P9198...


