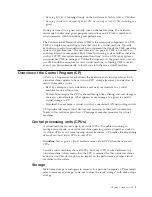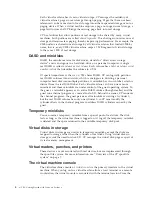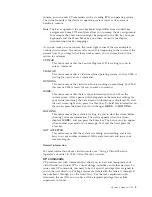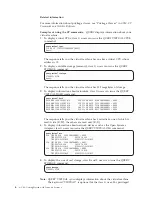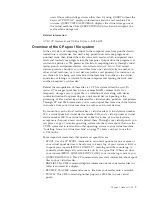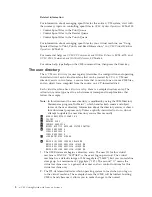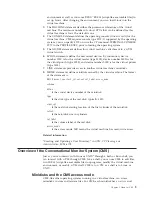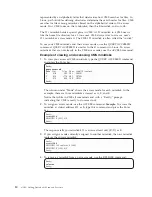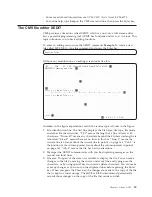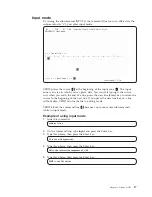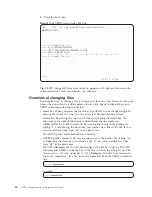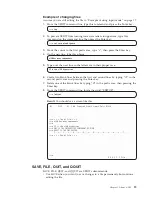
Because a file can be too long to fit on one screen, various subcommands scroll
the screen so you can move forward and backward in a file. Scrolling the
screen is like turning the pages of a book.
4.
Prefix area. The prefix area is the five left-most columns on the screen, and it
displays five equal signs (=====). Each line in the file has a prefix area. You
can perform various editing tasks such as deleting a line by entering short
commands, called prefix subcommands, in the prefix area of a line.
5.
Current line. The current line is the file line in the middle of the screen (above
the scale). It is highlighted, appearing brighter than the other file lines.
The current line is important because most subcommands perform their
functions starting with the current line. Naturally, the line that is current
changes during an editing session as you scroll the screen, move up and down,
and so forth. When the current line changes, the line pointer (not visible on the
screen) moves. Many XEDIT subcommands perform their functions starting
with the current line and move the line pointer when they are finished.
6.
Scale. The scale appears under the current line to help you edit. It is like the
margin scale on a typewriter.
The vertical bar (|) in column one on the scale is the
column pointer
. Various
subcommands perform their functions within a line starting at the column
pointer, which you can move to different positions on the scale by using XEDIT
subcommands. The current column is the column under which the column
pointer is positioned.
7.
Command line. The large arrow (====>) at the bottom of the screen points to
the command input area. One way you communicate with the editor is to enter
XEDIT subcommands on this line. You can type subcommands in uppercase or
lowercase or a combination of both, and many can be abbreviated. For
example, BOTTOM, Bottom, and b are all valid ways to type the BOTTOM
subcommand (which scrolls the file to the bottom).
8.
Status area. The lower right corner displays the current status of your editing
session, for example, edit mode or input mode, and the number of files you are
editing. The status area in the figure shows you are editing one file.
Tip:
If you want to explore XEDIT and its capabilities, type “help” at the XEDIT
command line, which opens the XEDIT help menu.
16
z/VM: Getting Started with Linux on System z
Summary of Contents for ZVM - FOR LINUX V6 RELEASE 1
Page 1: ...z VM Getting Started with Linux on System z version 6 release 1 SC24 6194 00...
Page 2: ......
Page 3: ...z VM Getting Started with Linux on System z version 6 release 1 SC24 6194 00...
Page 10: ...viii z VM Getting Started with Linux on System z...
Page 12: ...x z VM Getting Started with Linux on System z...
Page 14: ...xii z VM Getting Started with Linux on System z...
Page 64: ...50 z VM Getting Started with Linux on System z...
Page 76: ...62 z VM Getting Started with Linux on System z...
Page 80: ...66 z VM Getting Started with Linux on System z...
Page 156: ...142 z VM Getting Started with Linux on System z...
Page 160: ...146 z VM Getting Started with Linux on System z...
Page 162: ...148 z VM Getting Started with Linux on System z...
Page 166: ...152 z VM Getting Started with Linux on System z...
Page 170: ...156 z VM Getting Started with Linux on System z...
Page 171: ......
Page 172: ...Program Number 5741 A07 Printed in USA SC24 6194 00...


