
13
Menu Descriptions
12
Menu Descriptions
Icon
Description
Icon
Description
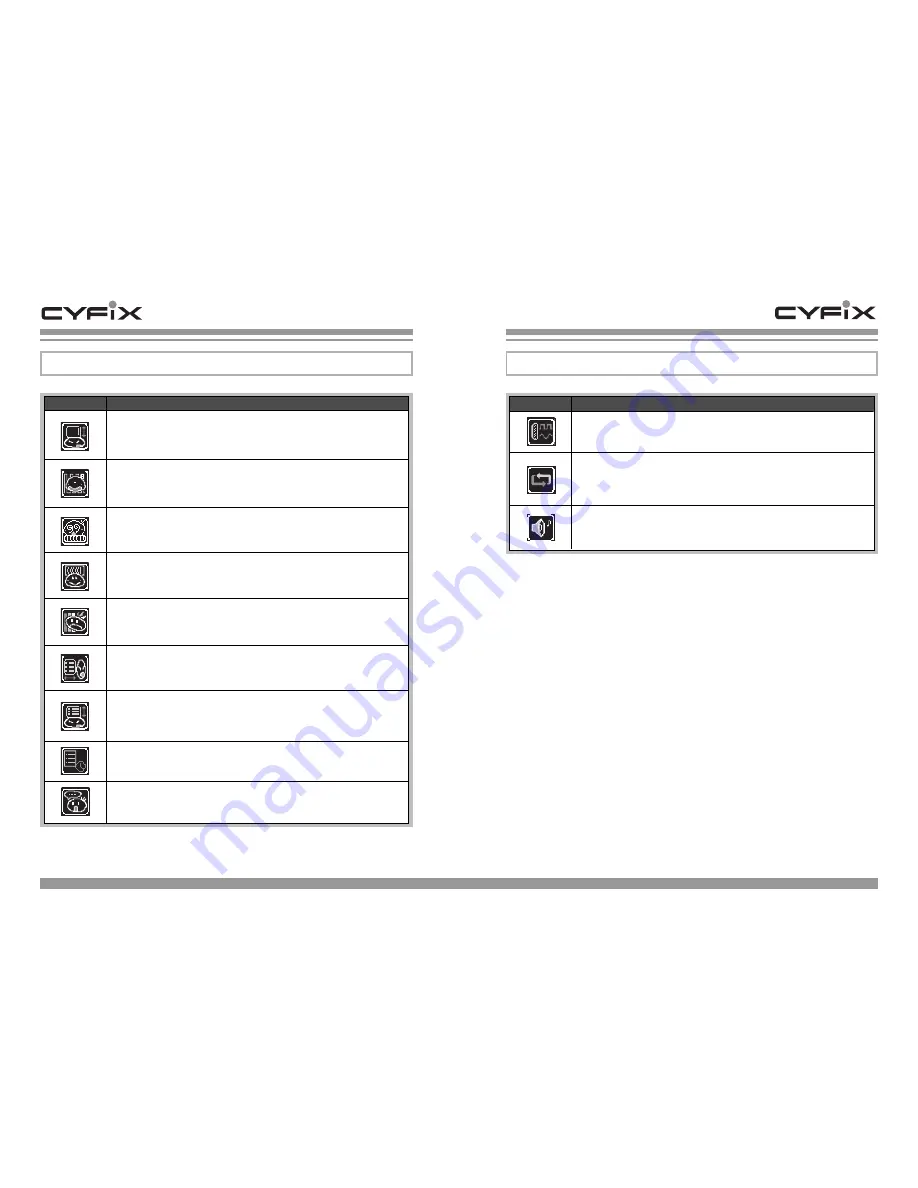
Signal Source
Use this to select the D-Sub (Analog) or DVI-D (TMDS) video input signal.
Mode
Use the UP/DOWN button to select the mode you want.
PC, Game, and Movie modes are available.
Audio Volume
Allows you to adjust the audio volume.
V.Position
Select this and press the UP button to move the display upwards and the DOWN
button to move it downwards.
Clock
Select this and press the DOWN button to shrink and the UP button to expand the
left and right ends of the display.
Phase
An advantage of the LCD monitor. It allows you to select the screen image
settings according to your preference using the UP/DOWN buttons.
Auto Adjust
Automatically adjusts the horizontal and vertical Size and Position, Clock, and
Phase.
Auto Color
Select this and use the buttons to automatically adjust the color levels according to
the level of the video input signal. (Use this when the color seems unnatural.)
OSD H.Pos
Select this and press the UP button to move the OSD to the right and the DOWN
button to move it to the left.
OSD V.Pos
Select this and press the UP button to move the OSD upwards and the DOWN
button to move it downwards.
OSD Timer
Select this and use the UP/DOWN buttons to adjust the duration the OSD is active.
Language
Use this to change the language of the OSD menu.


