9
3 Installation
Please note all frame and dimension illustrations provided in this chapter are for reference only,
and actual product may vary.
3.1 Device Installation
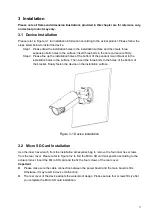
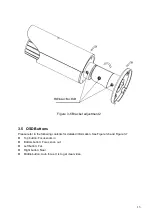
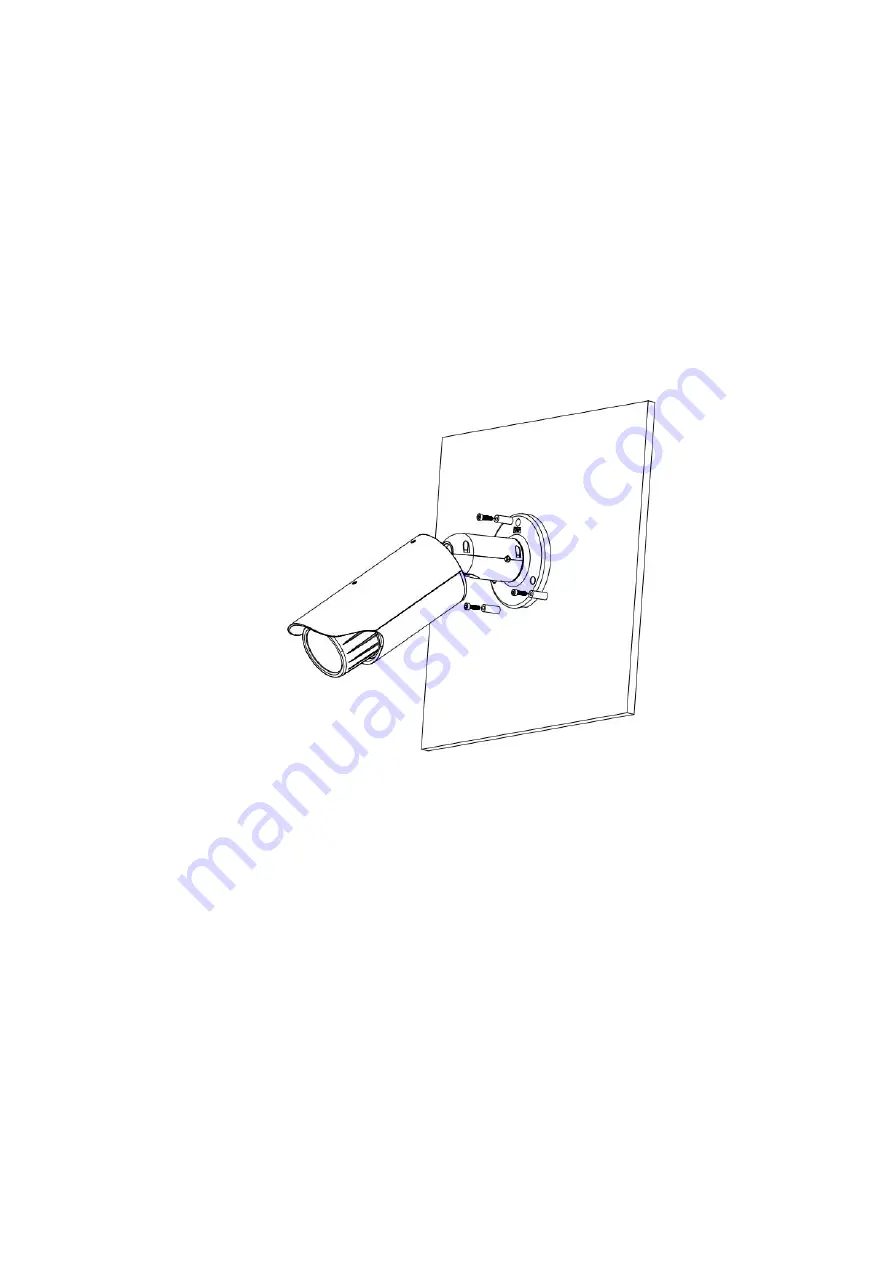
Please refer to Figure 3-1 for installation information according to the actual product. Please follow the
steps listed below to install the device.
Step 1. Please draw the installation holes in the installation surface and then mark three
expansion bolts holes in the surface. Insert three bolts in the hole and secure firmly.
Step 2. Please line up the installation holes of the bottom of the pendant mount bracket to the
installation holes in the surface. Then insert the three bolts to the holes of the bottom of
the bracket. Finally fasten the device on the installation surface.
Figure 3-1 Device installation
3.2 Micro SD Card Installation
Use the inner hex wrench from the installation accessories bag to remove the four inner hex screws
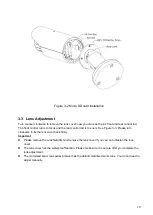
from the rear cover. Please refer to Figure 3-2 to find the Micro SD card slot position according to the
actual product. Insert the Micro SD card and the fix the four screws of the rear cover.
Important
Please make sure the cable connection between the power board and the main board is firm.
Otherwise, it may result in device malfunction.
The rear cover of the device adopts the waterproof design. Please secure four screws firmly after
you complete the Micro SD card installation.


