background image

Page 10 


Attachment of the connection belt with the harness 

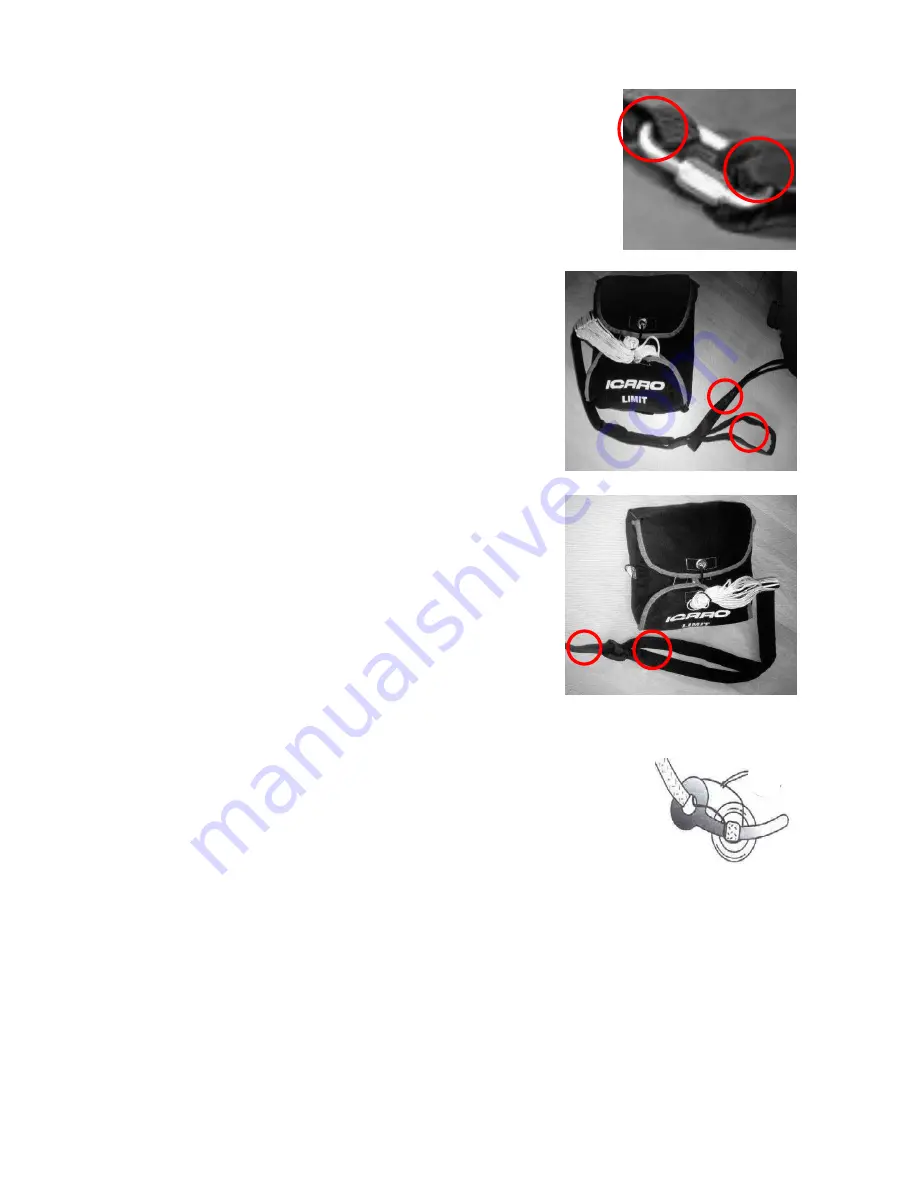
For connecting the two belts use a fixable 24 kN-  snap 
hook with  a diameter of 8 mm. It is very important that 
the snap hook cannot twist to prevent traverse stress of 
the snap hook.  

Therefore use cable fixer, adhesive tape or strong rubber 
bands and pull it 

above and below the  snap  hook 

around the belts.  


Another fixing method is to put the  belt of the 
rescue system through the connection belt of the 
harness  and than the rescue system trough the 
harness belt as shown in the photo. 


It is just as very important that the knot is very 
tight fastened.  

Therefore use cable fixer, adhesive tape or 
strong rubber bands and pull it 

above and below 

the knot

 around the belts. 


Pay attention to the symmetry of both lines. 
Neither side of the loop must  be longer than 
the other. 

In order to avoid unwanted release of the rescue system, the 
closing splint must be held with a special thread (50 N) which 
is  made with certified material.  This special thread can be 
purchased from ICARO. 

A higher breaking force could otherwise endanger the 
release of the rescue system!   

Compatibility- check 

A control of every new combination of rescue system and harness/outer container 
has to be carried out by either the producer of the harness or the rescue system or 
an authorized person (dealer or flight instructor).  The activation of the rescue 
system in flight position has to be correct and in conformity to the construction 
guidelines.  

The check has to be recorded in the documentation of the rescue system.  
The throwing movement should be practiced  every time the rescue system 
is repacked. 

Connection belt  of 

the harness 

Summary of Contents for JET

Page 1: ...Version 1 2015...

Page 2: ...Name Stamp Check C Repair R Which repair Check Check valid until Performed by date Check C Repair R Which repair Check Check valid until Performed by date Check C Repair R Which repair Check Check val...

Page 3: ...YOUR JET LIMIT BIPLACE 5 WHAT TO DO WHEN IT HAPPENS 5 PACKING INSTRUCTIONS 5 CARE MAINTENANCE AND REPAIR 11 CARE INSTRUCTIONS 11 REPAIRS 11 USE LIMITATIONS PACKING AND CHECK INTERVALS 11 TERMS OF THE...

Page 4: ...his her own safety The manufacturer or distributor assumes no responsibility for accidents occurring while using it Do not fly unless you are personally willing to assume all risks inherent in the sp...

Page 5: ...m is properly checked at regular intervals Environmental aspects The materials of which a paraglider is made require a special waste disposal So please send disused gliders back to us We will care abo...

Page 6: ...edges are reinforced with bands What to do when it happens In an emergency situation the handle of the rescue system is given a sharp pull The special thread which holds the closing splint breaks The...

Page 7: ...k the rescue system use a short piece of old paraglider line and thread it through all the apex fixing loops The fixing loops are on the upper third of the canopy Attach the apex to a stable fixed poi...

Page 8: ...nels Lay down the canopy so that there are the same numbers of panels on each side keep the canopy under tension Use sand sacks to weight down the base of the canopy Laying out the panels Fold the lef...

Page 9: ...Inner container Fold the canopy in S folds from the top right down to the base so that it fits into the inner container Folding the suspension lines Fold the suspension lines using two fingers in S bu...

Page 10: ...handle must be connected to the inner container The inner container of ICARO rescue systems has two loops in which the handle of the harness can be attached center side Handles for front and back cont...

Page 11: ...Pay attention to the symmetry of both lines Neither side of the loop must be longer than the other In order to avoid unwanted release of the rescue system the closing splint must be held with a specia...

Page 12: ...m conditions will begin to mould and significantly lose structural strength Rescue systems in this condition must be brought to the manufacturer to be checked out It may take several days your second...

Page 13: ...ed to the replacement or repair of defective parts and working time ICARO paragliders accept no freight costs outbound and return transportation What are the conditions of the guarantee Provided that...

Page 14: ...ater insects sun sand or humidity caused by force majeure caused by the paramotor Oil fuel damage in cause of the prop Discoloration of the cloth material used In case of a concluded claim the period...

Page 15: ...the canopy Seams ok Notations on the panels ok Certification stamp readably Apex fixing loops ok Lines Visible damages Seams ok Middle lines frayed Connection middle line to suspension lines on the to...

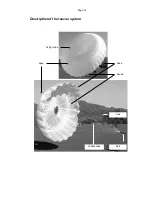
Page 16: ...Page 15 Description of the rescue system bands Bahnen lines middle lines belt base apex fixing loops...

Page 17: ...Page 16 Dispatch protocol Delivery content Piece check complete Inner bag Manual Sticker Date Signature...

Reviews: