40
13.5
Main Menu
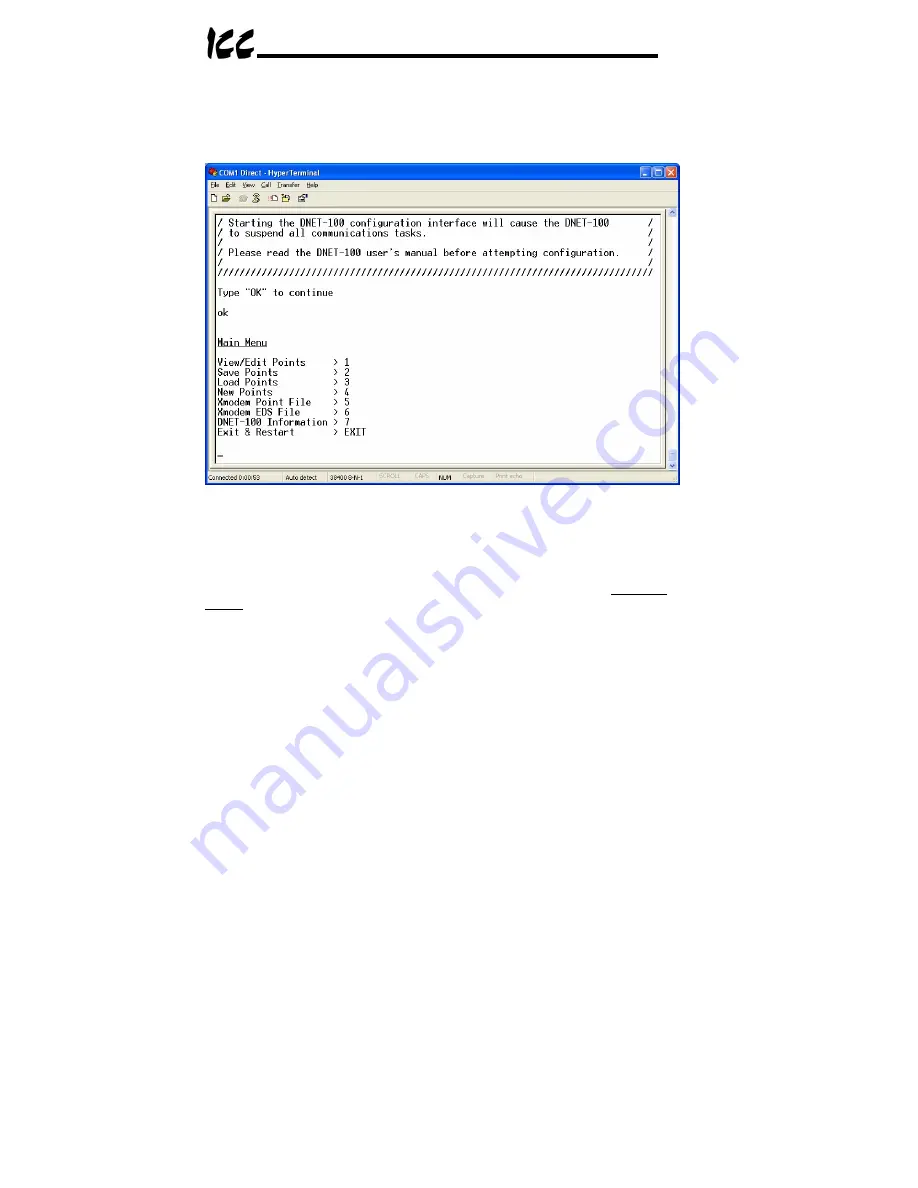
The main menu is shown in Figure 17. All gateway configuration is performed
by “drilling down” into progressively lower-level menus.
Figure 17: Console Main Menu
All navigation and data entry commands are input by simply entering the menu
selection number to the right of the “
>
” symbol along with any required data
fields at the console prompt. In Figure 17, for example, entering the menu
selection number “
1
” (without the quotation marks) will bring up the View/Edit
Points submenu. Throughout this manual, example console entry strings will
be provided enclosed in quotation marks to delineate them from the
description text: whenever actually entering the console strings, however, do
not include the quotation marks.
When additional data fields are required with a data entry command, they will
be indicated by square brackets (“
[…]
”) after the menu selection number. All
data entry commands and data fields must be separated by spaces. Because
data entry commands and data fields are delineated by spaces, they are
therefore not allowed within data fields (such as name strings). In these
cases, it is usually convenient to use an underscore “_” in place of a space.
For example, attempting to enter a point’s name as “ASD1 output freq” would
result in an error, but “ASD1_output_freq” would be perfectly acceptable.
Summary of Contents for DNET-100
Page 8: ...7 2 Mechanical Diagrams 2 1 Enclosure Figure 2 Enclosure Dimensions units are inches ...
Page 9: ...8 2 2 Mounting Clip Figure 3 Mounting Clip Dimensions units are inches ...
Page 11: ...10 ASD Link LEDs Reserved LEDs ASD 2 ASD 3 ASD 1 Figure 6 Top View ...
Page 39: ...38 Figure 15 HyperTerminal Configuration Screen 3 ...
Page 68: ...67 16 Notes ...
Page 69: ...68 ...


