R90 Series
8
3.9 Setting up your hardware
1 Make sure your router is not connected to any power source and that all the LEDs are OFF.
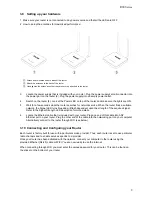
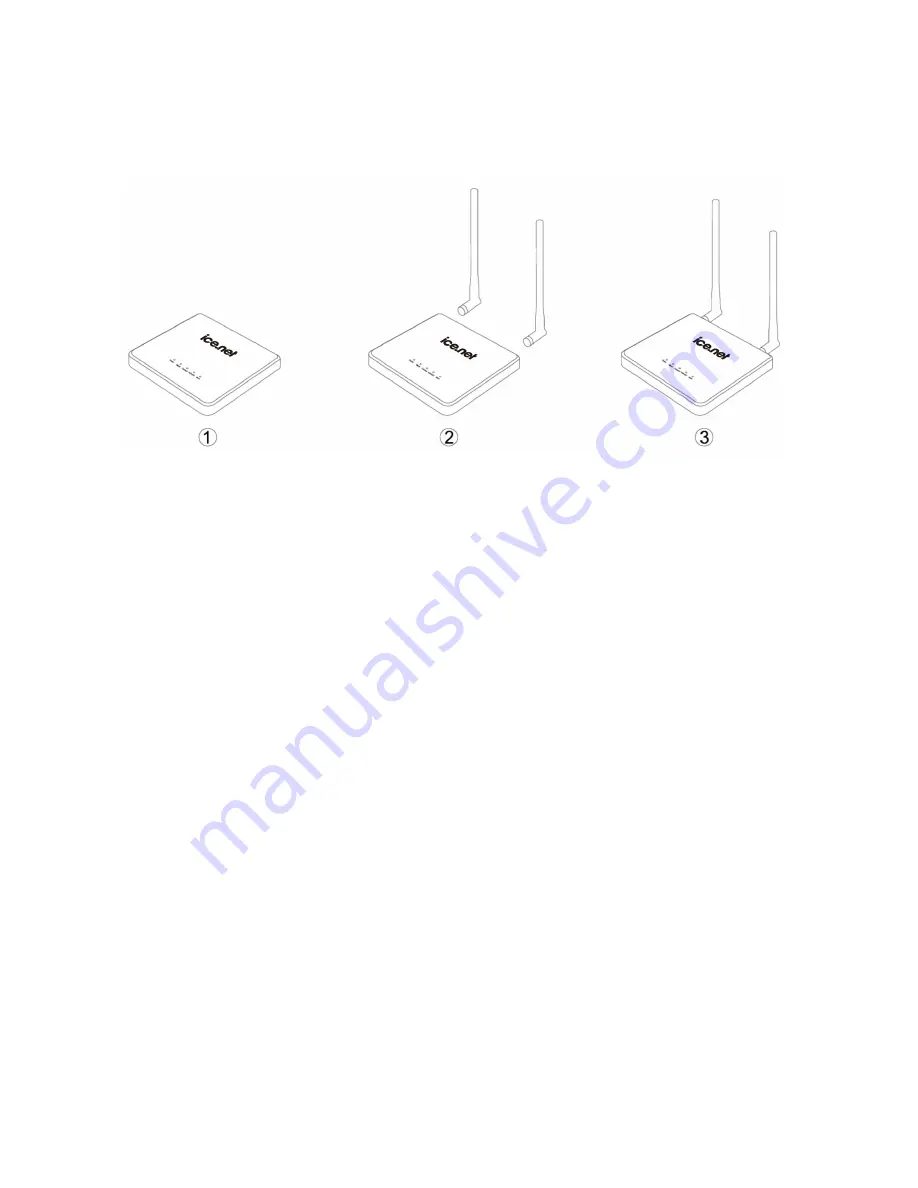
2 How to setup the antennas for maximized performance
:
①
Antennas are located on both sides of the router.
②
Attach the antennas to the back of the router
③
Hand tighten the antennas so that they are securely attached to the router
3
Locate the power supply that is included with your router. Plug the power supply’s small connector into
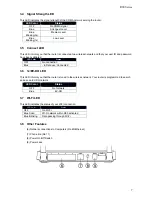
the power port on the router (6). Plug the power supply into an empty power outlet.
4
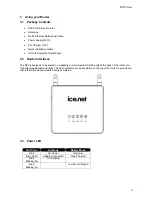
Switch on the router (8). Look at the Power LED on top of the router and make sure the lights are ON.
5
Wait for a few seconds while the router searches for network service. When the router finds a suitable
network, the Signal LED turns blue and will flash dependent upon the strength of the acquired signal.
Refer to the Signal Strength LED description for more details.
6
Locate the Ethernet cable that is included with your router. Plug one end of this cable into ANY
Ethernet port on your router. Plug the other end of the cable into the networking port on your computer.
Alternatively connect to the router through WiFi (see below).
3.10 Connecting and Configuring your Router
Each router is factory built for use with a particular service provider. Thus, each router is set to use particular
radio channels and to enable services specific to a provider.
Once your router has been activated with the network, connect your computer to the router using the
provided Ethernet (RJ-45) cable or WiFi. You are now ready to use the Internet.
When connecting through WiFi you must enter the unique password for your router. This can be found on
the sticker on the bottom of your router.
Summary of Contents for R90 series
Page 1: ......
Page 20: ...R90 Series 20 4 8 Firewall This page will allow you to enable disable your firewall...
Page 23: ...R90 Series 23...
Page 25: ...R90 Series 25...
Page 26: ...R90 Series 26...
Page 33: ...R90 Series 33 7 Certification...


