ICE RS26, powered by Brain OS | Gen2, v1.1217 – Content Subject to Change
Brain Corporation
29
SELECTING LOCATIONS FOR THE HOME LOCATION CODE
Home location codes should be placed near commonly cleaned areas, on an open wall or column, where there’s
easy viewing access from the right side of the machine. It should be in an area that does not change from day to
day. It is recommended that the home location code area be the most consistent place on the route.
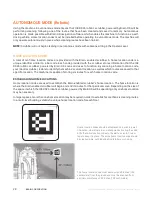
SCANNING HOME LOCATION CODES
In order to scan a home location code, position the right side of the Brain-enabled scrubber a minimum of 24-inches
from the code. The camera used to scan the code is located on the right side of the machine’s steering column.
LOST OR DAMAGED HOME LOCATION CODES
If a home location code is lost or damaged, contact your service representative.
TEACHING A NEW CLEANING ROUTE
The machine can store up to six routes in memory per home location.
WARNING
Routes should not include driving into an elevator. The machine should always be
manually operated when in an elevator or around automatic doors.
TEACHING AND SAVING ROUTES
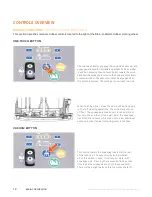
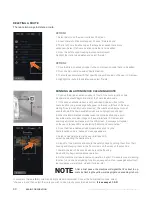
1. Initiate power on the Brain-enabled scrubber
using the momentary key/ignition
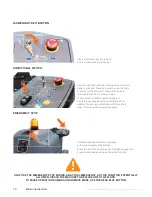
2. Using the touchscreen move the blinking
cursor to highlight “teach route.”
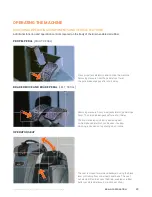
3. The user interface will instruct operator
to drive to the home location code.
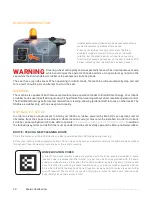
4. If the machine is not positioned properly in front
of home location code, an error code will appear
on the user interface LCD touchscreen stating
“Error! Home Location Not Found” or “Machine
is too close.” If too close, you will see a red
highlight around the home location code.
5. If the home location code is visible within the
live video camera view and the Brain-enabled
scrubber is within the appropriate distance from
the code, the machine will begin scanning and state
“Scanning Home Location.” You will see a green
highlight around the image of the code on the UI.
6. Once the Brain-enabled scrubber
completes scanning the home location
code, a “Success” message appears.
7. Using the touchscreen, move the blinking cursor
and select an available slot to assign to the new
cleaning route. In some cases, the cursor will
automatically move the next available route.
8. The Brain-enabled scrubber will indicate it’s now ready
to learn a route by stating “Ready. I will learn as you
drive.” The LCD screen will shift to “Learning Mode.”
9. Drive the machine through the entire desired
cleaning route. This allows the machine to
map and store the new route in memory.
Note:
The machine will not recall the component
settings (water level, solution level and scrub
deck pressure). This is to allow the end user to
choose the appropriate settings based on need
for the day or cleaning area. The robot operator
should decide on water, solution and scrub deck
level and adjust before each route is selected.
10. The robot completes its map by running a loop. It is
important to finish the desired cleaning route at the
home location where the route was started. A route
cannot be saved in memory without completing this
step. Always start and stop in the exact same location.
11. Select “Save” by pressing the save button.
12. The user interface will ask “Are you sure
you want to save this route?”
13. Press the button again to indicate “Yes.”
14. The Brain OS software will automatically
save the route and will then appear on the
“Run Route” menu option when selected.


