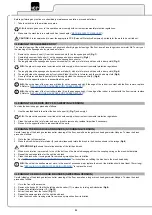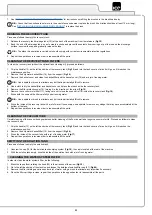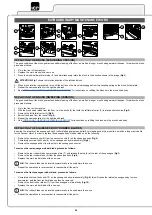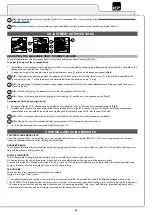
STARTING WORK
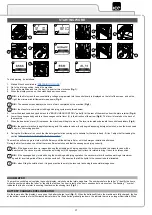
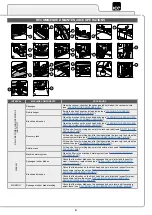
To start working, do as follows:
1. Make all the checks listed in “
2. Go to the driving position, behind the machine.
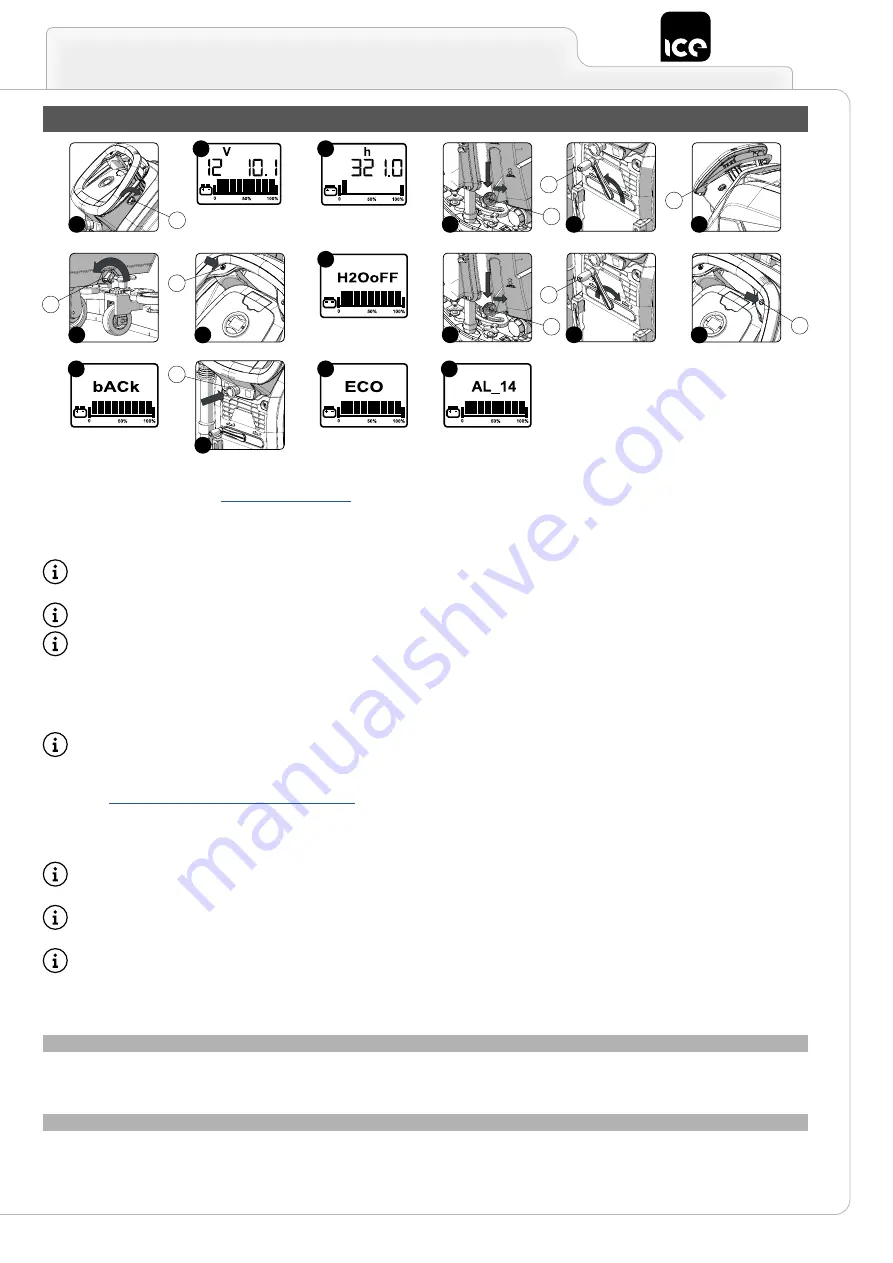
3. Turn on the machine and turn the key (1) a quarter turn clockwise (
Fig.1
).
4. When the display comes on, the screens appear in sequence.
N.B.:
In the first screen the nominal battery voltage programmed into the control board is displayed on the left of the screen, and on the
right, the minimum inhibit temperature appears (
Fig.2
).
N.B.:
The second screen displays the hours of work completed by the machine (
Fig.3
).
N.B.:
the steps for a complete scrubbing and drying cycle are explained below.
5. Lower the brush head body and detach the "BRUSH HEAD CONTROL" pedal (2) at the rear of the machine from the plate retainer (
Fig.4
).
6. Lower the squeegee body and turn the squeegee control lever (3) in the direction of the arrow (
Fig.5
). The lever is located on the back of
the machine.
7. When the dead man's lever (4) is pressed, the machine will begin to move. The lever is located underneath the control handlebars (
Fig.6
).
N.B.:
the gearmotor will only begin functioning, and the solenoid valve will only begin dispensing detergent solution, when the brush head
body is in its working position.
8.
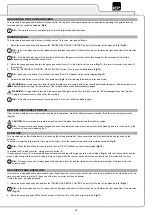
During the first few metres, check that the detergent solution coming out is suitable for the task in hand. If it isn't, adjust it after reading the
REGULATING THE DETERGENT SOLUTION
".
The machine will now begin to work with full efficiency until the battery is flat or until the detergent solution has finished.
During the first few metres, check that there is sufficient solution and that the squeegee is drying correctly.
N.B.:
If the dead man's lever is released during the scrubbing with drying operation, the brush motor and the solenoid valve will be
deactivated. The vacuum motor will continue working until the squeegee control lever is rotated to bring it back to its idle position.
N.B.:
if the squeegee body is raised during the scrubbing and drying operation, the vacuum motor will continue working at maximum
speed for a certain period of time, and then switch off. This ensures that all the liquid in the vacuum tube is eliminated.
N.B.:
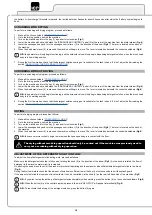
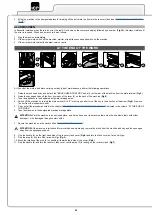
when filling the solution tank, it is good practice to empty the recovery tank using the special drainage hose.
HOUR METER
The machine control panel contains the control display, which shows the total usage time. The numbers before the letter “h” identify the hours,
while the numbers before the letter “m” identify the tenths of an hour (a tenth of an hour corresponds to six minutes). The flashing “:” symbol
indicates that the hour meter is counting the machine functioning time (
Fig. 3
).
BATTERY CHARGE LEVEL INDICATOR
On the lower part of the display, you can see the battery charge level (
Fig. 3
). When the batteries fitted in the machine are fully charged, the line
at the bottom consists of nine illuminated indicator bars. As the batteries gradually run down, the indicator bars are no longer illuminated. When
17
1
1
7
8
14
12
5
6
8
7
2
3
4
10
5
11
6
2
2
3
3
4
9
13
15
16


