Zodiac Plus Operator Manual
3-10 Printing a Test Image
Rev AA
Printing a Test Image
Typically, the Zodiac Plus printer is used on a packaging machine
where the print is triggered by a sensor or a Programmable Logic
Controller (PLC).
A test image can be printed before running the printer to check if the
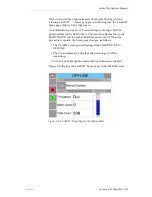
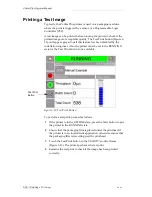
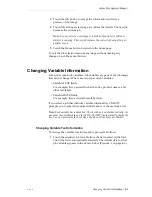
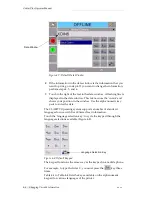
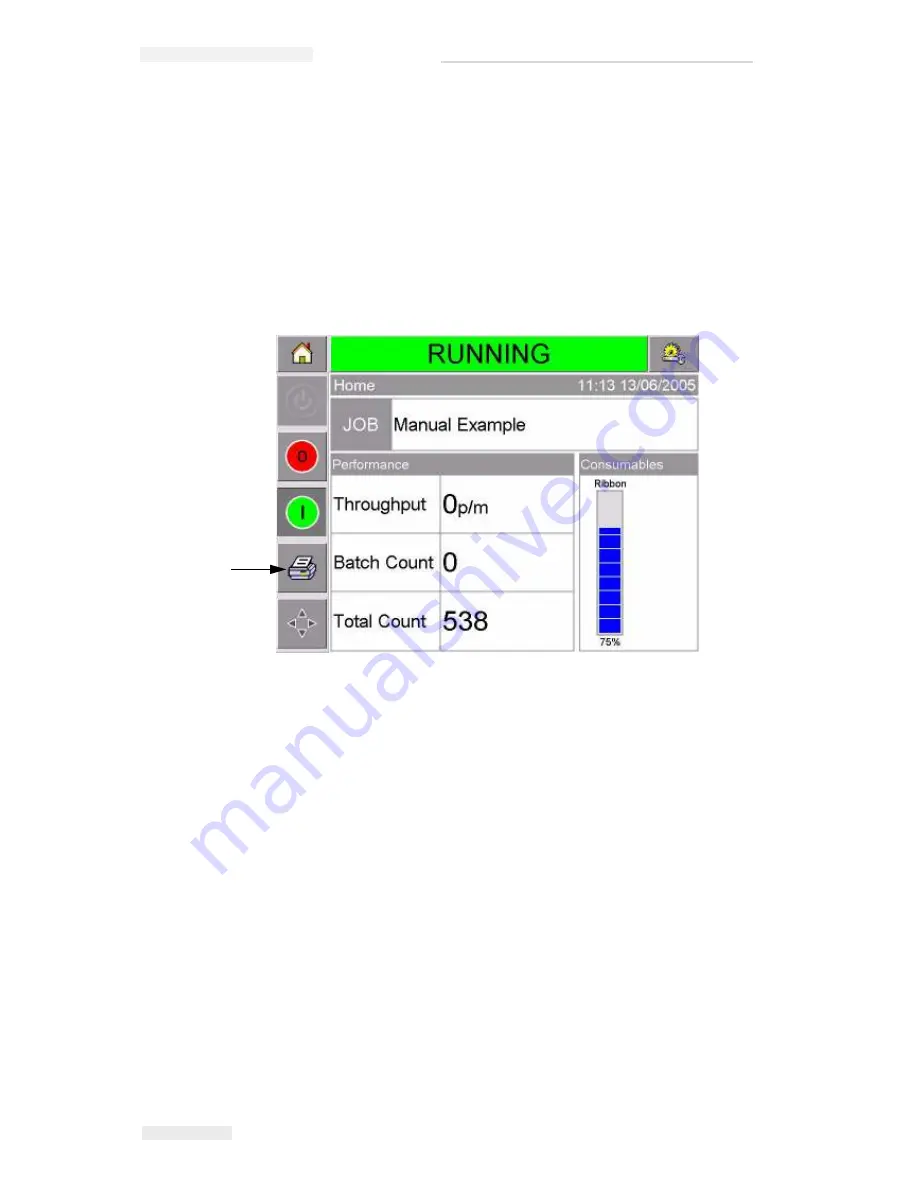
printed image is of acceptable quality. The Test Print button (Figure 3-
13), will appear greyed out if this feature has been disabled by the
installation engineer. Also, the printer must be set to the RUNNING
state for the Test Print button to be available.
To perform a test print, proceed as follows:
1
If the printer is in the OFFLINE state, press the Start button to put
the printer in the RUNNING state.
2
Ensure that the packaging film is placed under the printhead, if
the printer is in an intermittent application, otherwise ensure that
the packaging film is travelling past the printhead.
3
Touch the Test Print button in the CLARiTY's control frame
(Figure 3-13). The printer performs the test print.
4
Examine the test print to check if the image has been printed
correctly.
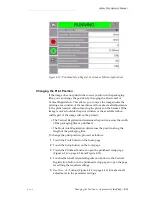
Figure 3-13: Test Print Button
Test Print
Button


