Zodiac Plus Operator Manual
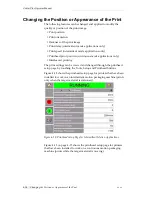
4-18 Changing the Position or Appearance of the Print
Rev AA
5
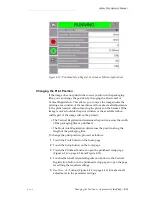
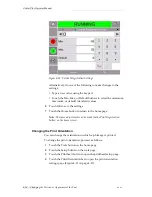
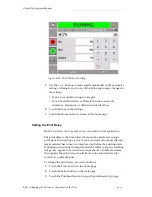
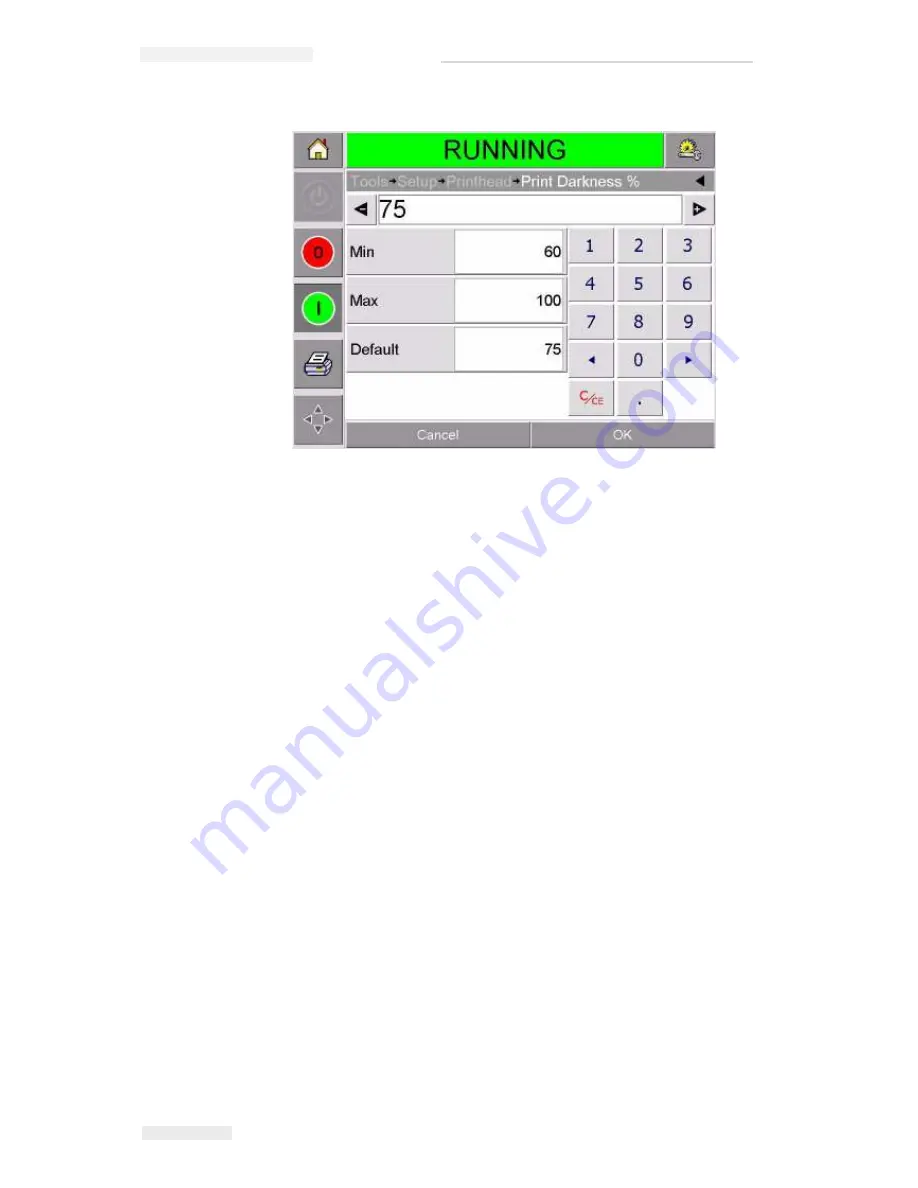
Use the + or - buttons to make small adjustments in the parameter
settings. Alternatively, do one of the following to make changes in
the settings:
• Type a new number using the keypad.
• Touch on the Min, Max, or Default buttons to select the
minimum, maximum, or default (standard) values.
6
Touch OK to save the settings.
7
Touch the Home button to return to the home page.
Setting the Print Delay
Note:
This feature can be applied only on intermittent mode applications.
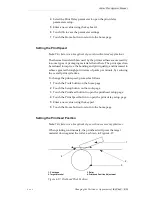
The print delay is the time interval between the printer receiving a
print signal and starting a print. It can be increased to ensure that the
target material has come to a complete stop before the printing starts.
If printing occurs while the target material is still moving, the resulting
image may appear to be stretched or squashed. To enable maximum
throughput, the print delay should be set to the shortest time that
produces consistent prints.
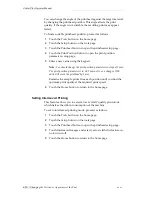
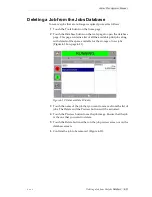
To change the print delay, proceed as follows:
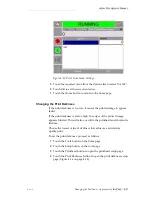
1
Touch the Tools button on the home page.
2
Touch the Setup button on the tools page.
3
Touch the Printhead button to open the printhead setup page.
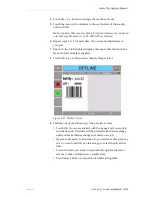
Figure 4-16: Print Darkness Setting

