Rev AA
Group Job Select 6-1
6
Master and Slave
Printers
CLARiTY Master/Slave mode allows up to four printers to be
connected together and to be used as a group (the group can have only
one master). This chapter describes the use of Master/Slave mode at:
• Level 1-Group Job Select
• Level 2-Group Control
Further information on the CLARiTY Master/Slave mode is given in
the Zodiac Plus Service Manual.
Group Job Select
Use Group Job Select to make sure that all the printers in the group are
printing the same job. You can select jobs only on the master printer.
The master printer tells the slaves which job to print.
When you use Group Job Select, the master printer shows additional
information, as described below:
• It displays a fault message for any slave printer that does not
respond to the master.
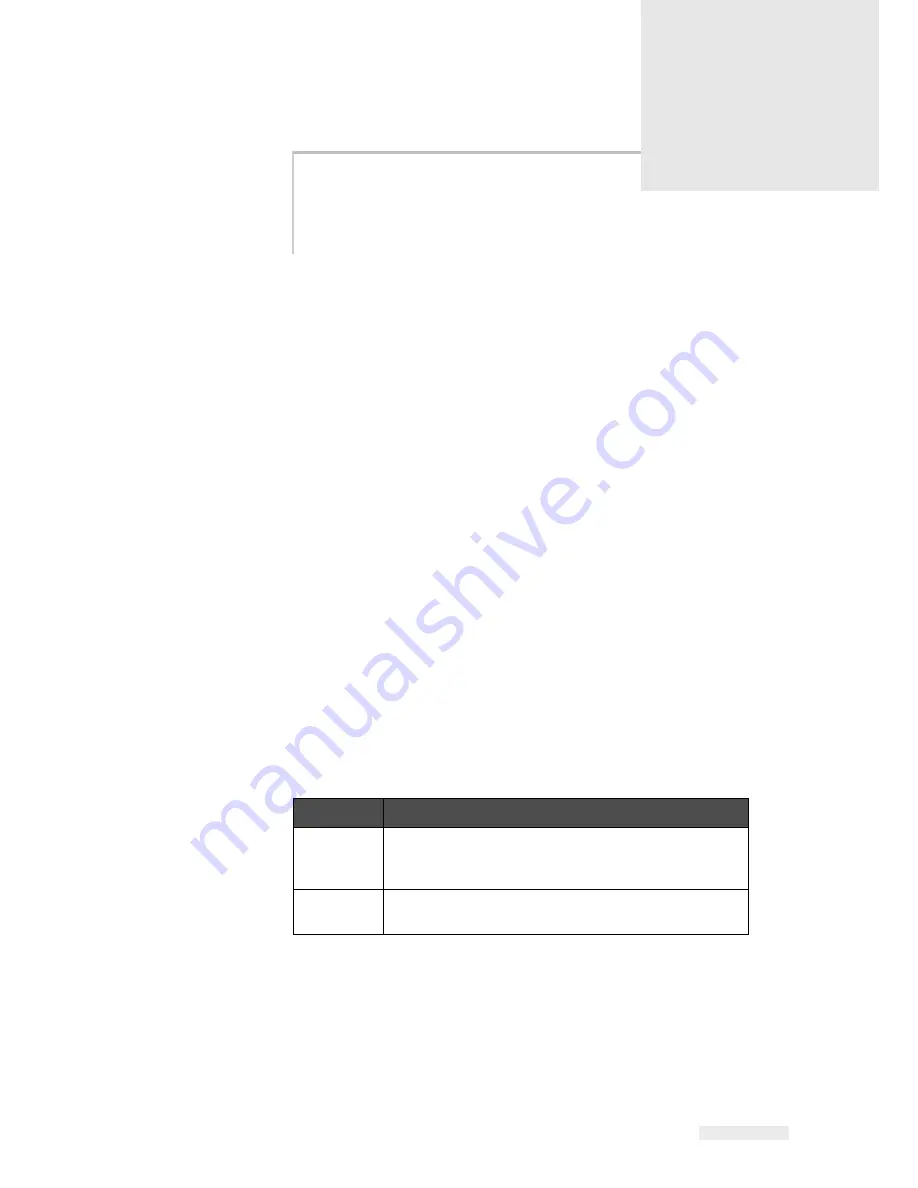
• The Printhead page (touch Tools, Diagnostics and printhead to
view this page) contains a list of the printers in the group. Touch
the name of a printer to display information about the chosen
printer, as given in Table 6-1.
• The Printhead page (touch Tools, Setup and printhead to view this
page) enables you to exclude one or more slaves from the group.
This is useful if a slave develops a fault and you want the other
printers to continue to print the job. When the fault has been
cleared, you can assign the printer to the group again.
Printer
Page contains:
Master
The standard set of buttons enable you to view
diagnostic information about the printer and information
about the Master/Slave level that is being used
Slave
Enables you to view information about the connection
between the slave and the master
Table 6-1: Master/Slave Diagnostics

