background image

7

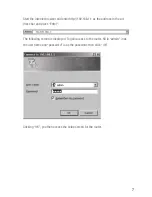
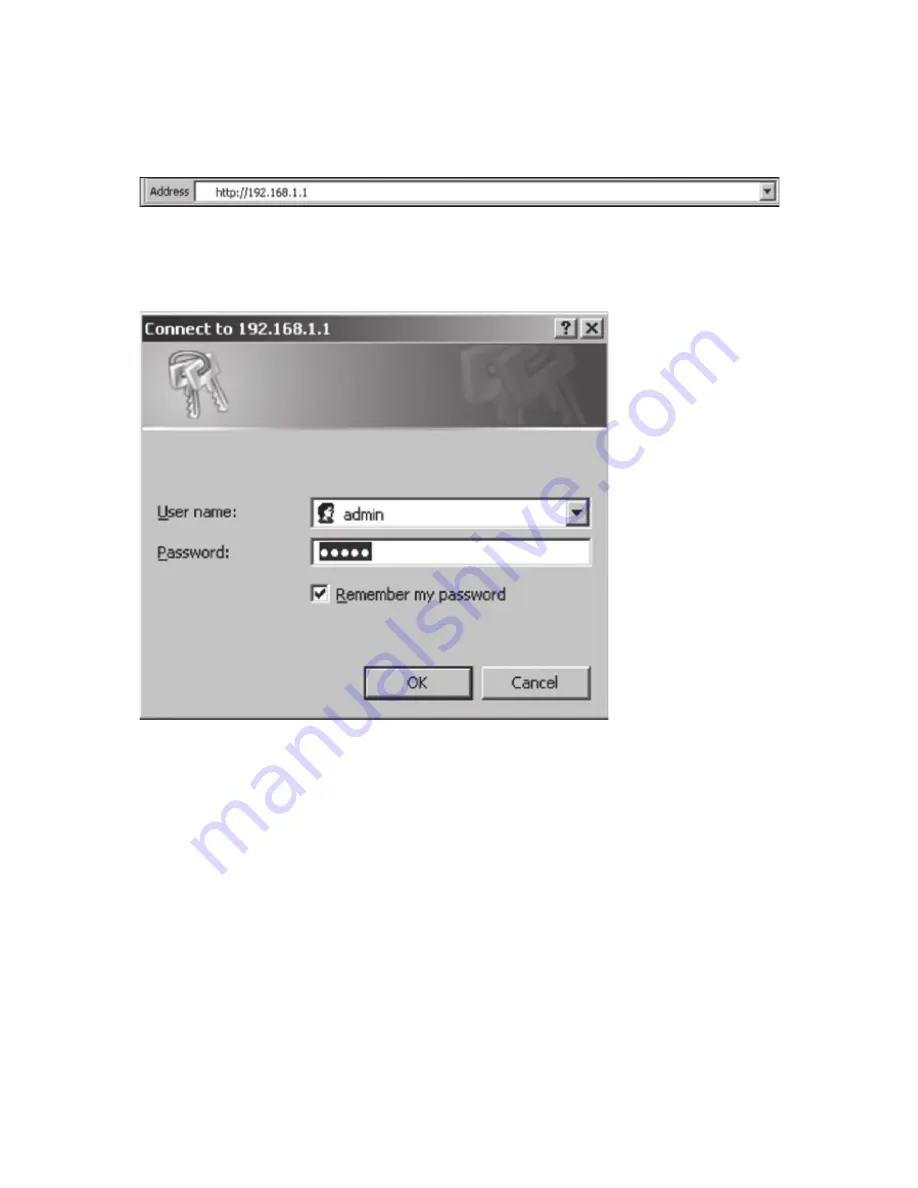
Start the internet browser and enter http://192.168.1.1 as the address in the ad-
dress bar and press “Enter”.

The following screen is displayed. To gain access to the router, fill in “admin” in as 
the user name and “password” in as the password, then click “OK”. 

Clicking “OK”, you then access the setup screen for the router.

Summary of Contents for NI-707513

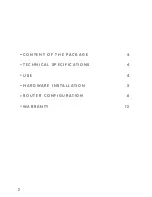
Page 1: ...1 M A N U A L N I 7 0 7 5 1 3 ...

Page 2: ...2 C O N T E N T O F T H E PA C K A G E 4 T E C H N I C A L S P E C I F I C AT I O N S 4 U S E 4 H A R D W A R E I N S TA L L AT I O N 5 R O U T E R C O N F I G U R AT I O N 6 W A R R A N T Y 1 2 ...

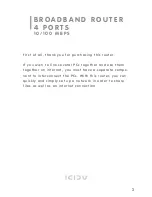
Page 3: ...f you wish to link several PCs together and use them together on inter net you must have a separate compo nent to interconnect the PCs With this router you can quickly and simply set up a network in order to share files as well as an inter net connection ...

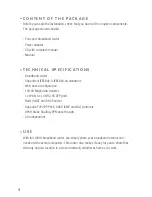
Page 4: ...rted IEEE802 3 IEEE802 3u standards Web based configuration 10 100 Mbps data transfer 1 x WAN 4 x LAN RJ 45 UTP ports Built in NAT and DHCP server Supports TCP IP PPPoE DHCP ICMP and NAT protocols UPnP Static Routing VPN pass through OS independent U S E With this ICIDU broadband router you simply share your broadband internet con nection with several computers This router also makes it easy for yo...

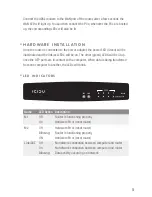
Page 5: ...e on The other green LEDS will be lit up once the UTP ports are in contact with a computer When data is being transferred from one computer to another the LEDs will blink L E D I N D I C AT O R S Name LED Action Description M1 Off Router is functioning properly On Hardware Error reset router M2 Off Hardware Error reset router Blinking Router is functioning properly ON Hardware Error reset router L...

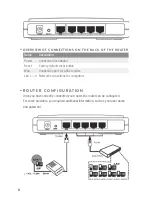
Page 6: ...actory default reset button Wan Connection port for ADSL modem Lan 1 4 Network connections for computers R O U T E R C O N F I G U R AT I O N Once you have correctly connected your router the router can be configured For some providers you required additional information such as your user name and password ...

Page 7: ... 1 as the address in the ad dress bar and press Enter The following screen is displayed To gain access to the router fill in admin in as the user name and password in as the password then click OK Clicking OK you then access the setup screen for the router ...

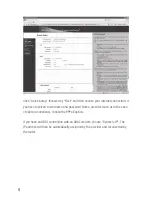
Page 8: ... have received a user name and password from a provider such as in the case of cable connections choose the PPPoE option If you have an ADSL connection with an ADSL modem choose Dynamic IP The IP address will then be automatically assigned by the provider and reconverted by the router ...

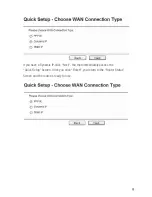
Page 9: ...9 If you have a Dynamic IP click Next You then immediately access the Quick Setup Screen Once you click Finish you return to the Router Status Screen and the router is ready for use ...

Page 10: ...ceived from your provider in the Password field Then click Next C L I C K N E X T If you do not wish to make any changes click Next By clicking Finish you return to the Router Status Screen and the router is ready for use To get the most out of your router consult the complete manual included on this CD ...

Page 11: ......

Page 12: ...an be made only via the dealer from whom the item was purchased Specifications can be changed without notice All ICIDU products comply with current European safety and environmental standards and legislation For further details visit our website www icidu com ICIDU is a registered trademark All other brand names and rights in connection with them are and remain the property of the rightful owner Co...

Reviews: