D
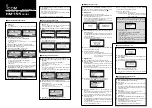
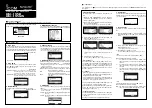
MMSI/GPS Information
The transceiver shows the entered MMSI code and GPS infor-
mation. If the code is not entered, “NO DSC MMSI” is displayed.
REMOTE-CONTROL MICROPHONE
HM-195B
HM-195SW
INSTRUCTIONS
r
FOR IC-M400BB/
IC-M400BBE
The Menu screen is used for setting infrequently changed
values, function settings or sending DSC calls.
Menu lists
D
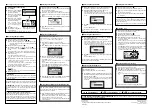
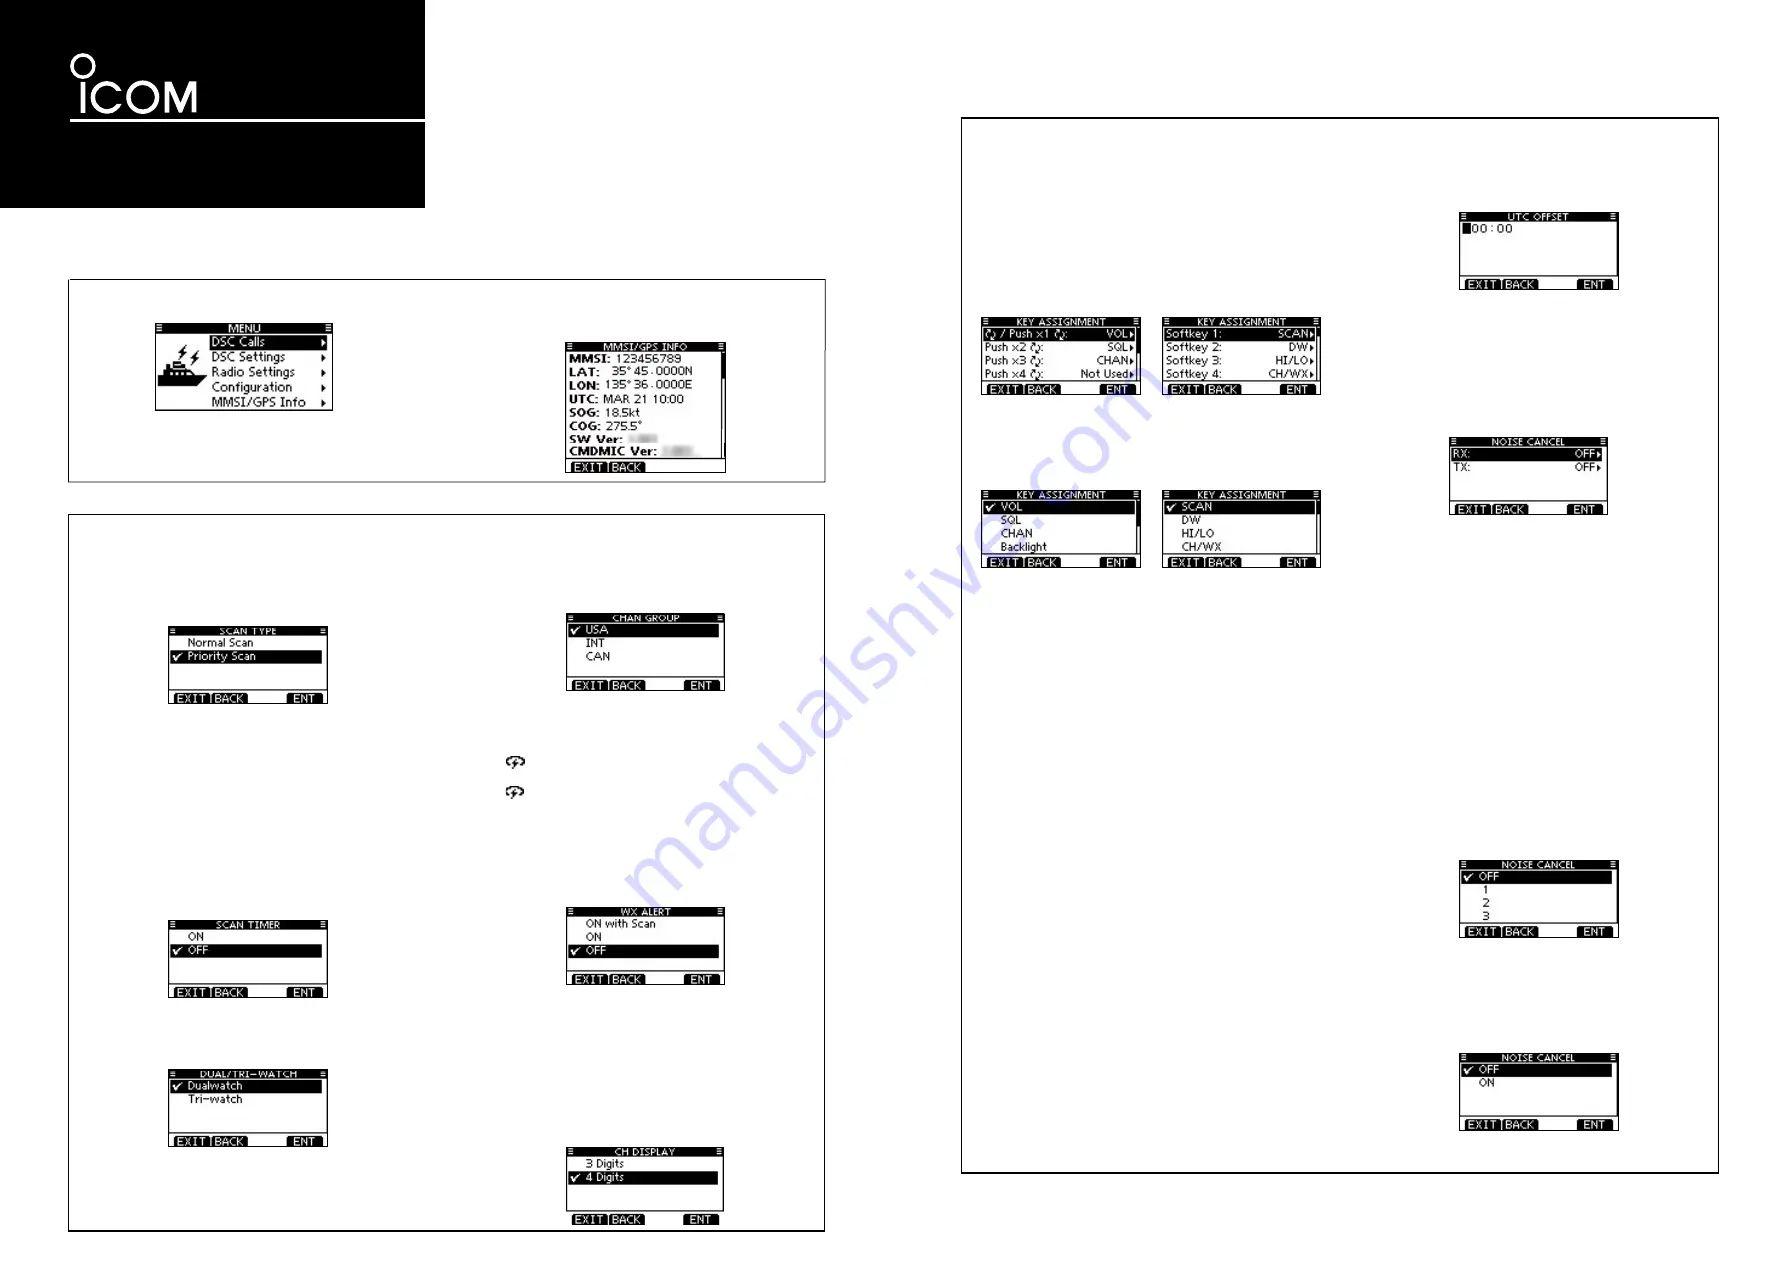
Scan type
The transceiver has two scan types, Normal scan and Pri-
ority scan. A Normal scan searches all Favorite channels
in the selected channel group. A Priority scan sequentially
searches all Favorite channels, while monitoring Channel 16.
(Default: Priority Scan*)
*“Normal Scan” is the default for the USA version.
D
Scan timer
The scan timer can be selected as a pause (OFF) or timer
scan (ON). When OFF is selected, the scan pauses until
the signal disappears.
(Default: OFF)
•
Priority scan:
When ON is selected, the scan pauses for 5 sec-
onds and then resumes, even if a signal has been
received on any channel other than Channel 16.
• Normal scan:
When ON is selected, the scan pauses for 5 sec-
onds and then resumes, even if a signal has been
received on any channel.
D
Dual/Tri-watch
This item can be selected as Dualwatch or Tri-watch.
(p. 19)
(Default: Dualwatch)
D
Channel Group
Except for the European version, a channel group suitable for
your operating area can be selected. Depending on the trans-
ceiver version, INT, USA, CAN, ATIS or DSC may be selectable.
• The screen below shows the USA version.
D
Weather alert
(For only USA and Australian version.)
A NOAA broadcast station transmits a weather alert tone
before important weather information.
(Default: OFF)
• “ WX
” blinks until the transceiver is operated after the trans-
ceiver detects the alert.
• “WX
” appears instead of “WX” when the function is set ON.
ON with Scan: The preset weather channels are sequen-
tially checked while scanning.
ON:
The previously selected (last used) weather
channel is checked while scanning.
OFF:
The transceiver does not detect a weather
alert tone.
D
CH Display
You can select the number of digits to display the channel
number.
(Default: 4 Digits)
• This setting may not be usable, depending on the transceiver’s
version or presetting.
3 Digits: The channel number is displayed in 3 digits, such
as “01A.”
4 Digits: The channel number is displayed in 4 digits, such
as “1001.”
‹2
Menu Screen Operation 2
‹3
Radio Settings items
See “Instructions
e
” (
‹1
Menu screen operation) for entering the menu screen operation.
D
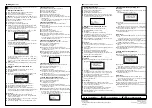
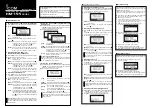
Key Assignment
Desired functions can be assigned to Dial and the soft-
keys.
q
When the “KEY ASSIGNMENT” screen is displayed,
rotate Dial or push [
∫
]/[
√
] to select “Dial” or “Softkeys,”
and then push [ENT].
w
Rotate Dial or push [
∫
]/[
√
] to select the desired posi-
tion, and then push [ENT].
• To return to the default, select “Set default” and push [ENT].
e
Rotate Dial or push [
∫
]/[
√
] to select the option, and
then push [ENT] to set it.
• “
✔
” is displayed next to the selected option.
* [CH/WX] appears instead of [CHAN], depending on the ver-
sion.
r
Push [EXIT] to exit the Menu screen.
• Push [CLEAR] or [BACK] to return to the previous screen.
• Dial assignment
The Audio volume (VOL), squelch (SQL), channel selec-
tion (CHAN) and LCD backlight level (Backlight) functions
can be assigned to any one of 4 sequential positions on
Dial. Pushing Dial 1 to 4 times sequentially selects the de-
sired function, and rotating Dial adjusts the level or selects
a value or number.
For example:
- VOL is assigned the 1st position, and pushing Dial once
selects VOL. The VOL adjust screen is displayed and ro-
tating Dial adjusts the audio volume.
- CH is assigned to the 3rd position, and pushing Dial three
times selects CH. The channel number is displayed and
rotating Dial will select the desired channel.
You can assign VOL, SQL, CHAN and Backlight to any one
of the 1st, 2nd, 3rd, or 4th sequential positions.
Repeatedly pushing Dial sequentially displays all the func-
tions in the order they are assigned, and skips any func-
tions assigned as Not Used.
• Softkeys assignment
The desired function can be assigned as the softkey func-
tion. The assigned function can be used when its key icon
is displayed.
See page 3 for details of the assignable key functions.
D
UTC Offset
Set the offset time between the UTC (Universal Time Coor-
dinated) and your local time to between
–
14:00 and +14:00
(in 1 minute steps).
(Default: 00:00)
D
Noise Cancel
Set the Noise Cancel function for both receive and trans-
mit.
q
When the “NOISE CANCEL” screen is displayed, rotate
Dial or push [
∫
]/[
√
] to select “RX” or “TX,” and then push
[ENT].
w
Rotate Dial or push [
∫
]/[
√
] to select the option, and
then push [ENT] to set it.
• “
✔
” is displayed next to the selected option.
e
Push [EXIT] to exit the Menu screen.
• Push [CLEAR] or [BACK] to return to the previous screen.
• RX
Turn the receive Noise Cancel function ON or OFF.
OFF : Turns OFF the function. (Default)
1: The Noise Cancel function reduces random noise
components in the received signal to approximately
one half.
2: The Noise Cancel function reduces random noise
components in the received signal to approximately
one third.
3: The Noise Cancel function reduces random noise
components in the received signal to approximately
one tenth.
• TX
Turn the transmit Noise Cancel function ON or OFF.
OFF: Turns OFF the function. (Default)
ON: The Noise Cancel function reduces random noise
components in the transmitted signal to one third.
‹4
Configurations
See “Instructions
e
” (
‹1
Menu screen operation) for Backlight, Display Contrast, Key Beep, and COMMANDMIC Speaker func-
tions details.
For “Dial” assignment
For “Softkeys” assignment
For “Dial” assignment
For “Softkeys” assignment*


