7
CONNECTION PORT SETTINgS
7-21
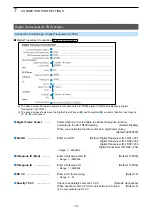
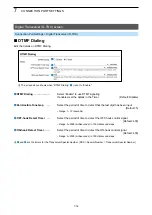
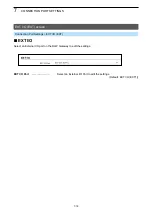
EXT I/O (EXT) screen
Connection Port Settings > EXT I/O (EXT)
■
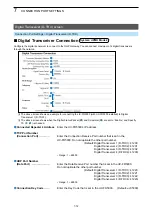
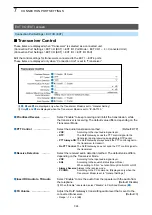
Transceiver Connection
Transceiver Model: general Setting
5
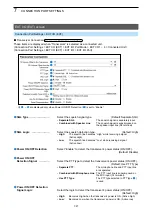
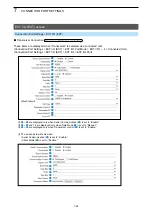
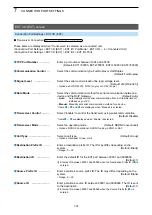
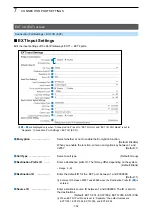
SQL Type
Select the squelch signal type.
(Default: Separate SQL)
•
Separate SQL
:
The squelch signal is separately input.
•
Combined with Speaker Line
:
The squelch signal is superimposed on
the speaker input line (A3 terminal).
6
SQL Logic
Select the squelch detection type.
(Default: High)
•
High
:
The squelch line becomes “High” while receiving a signal.
(Active High)
•
Low
:
The squelch line becomes “Low” while receiving a signal.
(Active Low)
7
Power ON/OFF Detection
Select “Enable” to detect the transceiverʼs power status (ON/OFF).
(Default: Disable)
8
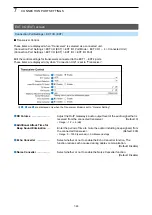
Power ON/OFF
Detection Signal
Select the PTT type to detect the transceiverʼs power status (ON/OFF).
(Default: Use PTT Type)
•
Separate PTT
:
The microphone line and PTT input line
are separated.
•
Combined with Microphone Line
: The PTT input line is superimposed on
the MIC input (A1 terminal).
•
Use PTT Type
:
The PTT type selected in PTT type (
3
)
is used.
9
Power ON/OFF Detection
Signal Logic
Select the logic to detect the transceiverʼs power status (ON/OFF).
(Default: High)
•
High
:
Becomes High when the transceiver’s power is ON. (Active high)
•
Low
:
Becomes Low when the transceiver’s power is ON. (Active low)
3
12
11
10
9
8
7
6
5
4
1
2
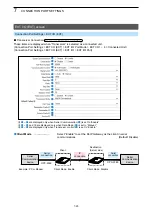
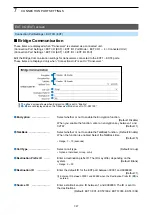
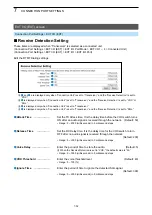
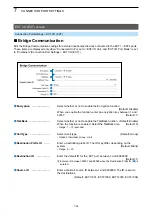
These items are displayed when “Transceiver” is selected as a connected unit.
(Connection Port Settings > EXT I/O (EXT) > EXT I/O Port Mode > EXT I/O 1 ~ 4 > Connected Unit)
(Connection Port Settings > EXT I/O (EXT) > EXT I/O > EXT I/O Port)
L
8
~
10
are displayed only when Power ON/OFF Detection (
7
) is set to “Enable.”


