background image

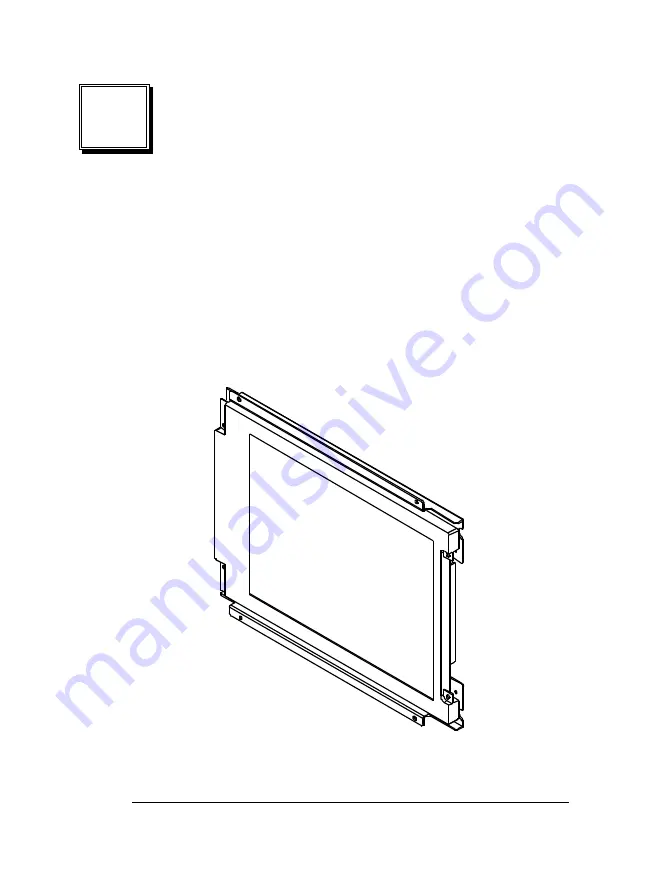
LCD-Kit02

5

2

Installation

This chapter describes how to install the LCD-Kit02 and include all
connections description such as jumpers, connectors and
switches setting. The layout of LCD-Kit02 connectors are shown
on the next chapter. Also the Unpacking Precautions are shown
on appendix that you should be careful with are described on the
following page.

Summary of Contents for LCD-Kit02

Page 1: ...tment on the part of the manufacturer In no event will the manufacturer be liable for direct indirect special incidental or consequential damages arising out of the use or inability to use the product or documentation even if advised of the possibility of such damages This document contains proprietary information protected by copyright All rights are reserved No part of this manual may be reprodu...

Page 2: ......

Page 3: ...1 1 Specifications 3 1 2 What You Have 4 2 Installation 5 2 1 LCD Kit02 Connection Board Layout 6 2 2 Dimension Drawing 7 3 LCD Kit02 Connectors 8 3 1 LCD 02 Connector Board Layout 8 3 1 1 LCD Connector 9 4 Appendix 12 Unpacking Precautions ...

Page 4: ...nce quality and reliability The LCD Kit02 is designed with 640 x 480 resolution color display and Low Reflection to present a High Image Quality With its compact size 9 4 LCD Kit02 is also the most suitable solution for OA Equipment Display Terminals and Industrial portable Workstation LCD monitor The LCD Kit02 comes with specifically designed mounting kit for fast installation ...

Page 5: ...640 W x 480 H l Pixel Format 1 pixel R G B dots l Pixel Arrangement R G B Vertical Strip l Pixel Pitch 0 30mm H x 0 30mm V l Brightness 60 cd m2 l Viewing Direction 6 o clock in direction of max contrast l Viewing Angle 45o H 10o 30o V l Contrast Ratio 18 l Surface Treatment Anti glare and Hard Coat l Backlight Cold cathode fluorescent lamps for sidelighting l Operating Temperature 0 50o C l RS232...

Page 6: ...al the LCD Kit02 package includes the following items l LCD Kit02 User s Manual If it is missing or damaged contact the dealer from whom you pur chased the product Save the shipping materials and carton in case you want to ship or store the product in the future ...

Page 7: ...t02 and include all connections description such as jumpers connectors and switches setting The layout of LCD Kit02 connectors are shown on the next chapter Also the Unpacking Precautions are shown on appendix that you should be careful with are described on the following page ...

Page 8: ...LCD Kit02 6 2 1 LCD Kit02 Connection Layout 9 4 DSTN LCD CN1 CN2 IV 23100 JP1 CN4 CN3 CN2 CN7 CN1 CN8 CN6 CN5 LCD 02 ...

Page 9: ...LCD Kit02 7 2 2 LCD Kit02 Dimension Drawing 25 255 DOWN 208 186 187 209 102 5 29 107 104 UP O3 5 17 203 ...

Page 10: ...LCD Kit02 8 3 LCD Kit02 Connectors 3 1 LCD 02 Connection Board Layout CN1 CN8 CN5 CN7 CN6 CN3 CN2 CN4 JP1 LCD 02 ...

Page 11: ... l CN1 Panel Signal from CPU board reference PIN NO FUNCTION PIN NO FUNCTION 1 12V 23 P14 2 12V 24 P15 3 GND 25 P16 4 GND 26 P17 5 PLCD 27 P18 6 PLCD 28 P19 7 FPVEE 29 P20 8 GND 30 P21 9 P0 31 P22 10 P1 32 P23 11 P2 33 GND 12 P3 34 GND 13 P4 35 SHFCLK 14 P5 36 FLM 15 P6 37 M 16 P7 38 LP 17 P8 39 GND 18 P9 40 ENBKL 19 P10 41 GND 20 P11 42 N C 21 P12 43 PLCD 5V 22 P13 44 PLCD 5V ...

Page 12: ...so be called ACDCLK ENABKL power sequencing control for enabling the backlight FPVEE Power sequencing control for panel bias voltage VEE May also be configured as ENABKL l CN2 Panel contrast adjust 1 VEE 2 Vcontrast 1 3 3 GND l CN3 Power Connector for Backlight inverter 1 POWER 2 CONTROL 3 GND 1 4 4 VR l CN4 reserved for touch panel 1 12V 2 GND 3 GND 1 4 4 VCC l CN5 INVERTER POWER SWITCH 1 2 1 12V...

Page 13: ...6 Panel interface channel one PIN FUNCTION 1 FLM 2 M 3 FPVEE 4 LP 5 GND 6 SHFCLK 7 GND 8 P11 9 P10 10 P9 11 P8 12 P3 13 P2 14 P1 15 P0 l CN7 Panel interface channel two PIN FUNCTION 1 P15 2 P14 3 P13 4 P12 5 P7 6 P6 7 P5 8 P4 9 VCC 10 GND 11 GND ...

Page 14: ...r side of LCD panel and the connector cable of fluorescent lamp backlight when the power is on The inverter supplies HIGH VOLTAGE to these parts 550Vrms ü Disconnect power supply before handling and doing connection on LCD Kit02 Do not plug any connector or jumper while the power is on It will cause fatal damage to your LCD panel ü Make sure that every connector is connected in correct direction A...

Page 15: ...ash it immediately with alcohol Be careful too with the chips of glass if the panel is broken ü For outdoor usage an ultra violet ray protect lens is recommended to apply onto LCD display It will prevent your LCD from strong sun light scratches dust and water invasion etc which can cause damage to the LCD display ...

Reviews: