background image


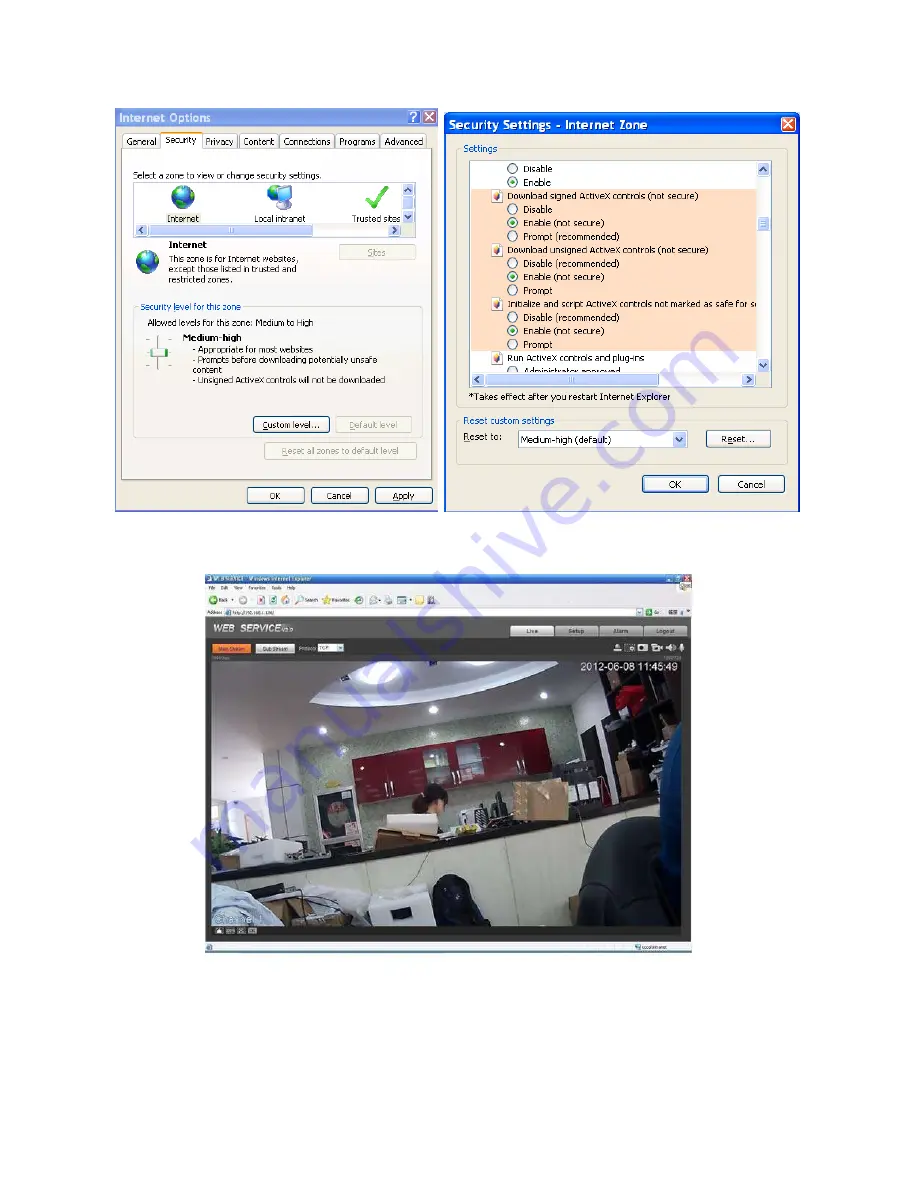
After you logged in, you can see the main window. 


Summary of Contents for ICIP-D1300

Page 1: ...1 ICIP D1300 Quickstart Guide Installation Accessing ...

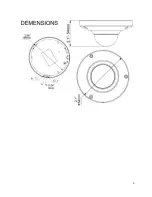
Page 2: ...2 Index Dimensions 3 Connections Structure 4 Installation Focusing 5 Web Operations Accessing 6 9 ...

Page 3: ...3 ...

Page 4: ...ments Allows you to maneuver the lens to obtain best viewing angle 2 Lens The actual camera lens 3 Enclosure The housing for all internal components 4 DC 12V Input DC 12V Power Adaptor 5 Ethernet Port Connects to a standard Ethernet Cable ...

Page 5: ...ease line up the installation holes of the bottom of the pendant mount bracket to the installation holes in the surface Then insert the three bolts to the holes of the bottom of the bracket Finally fasten the device on the installation surface Focusing To focus you will notice a Hex or Philips screw at the top side of the lens Unscrew slightly and carefully turn the lens itself left or right attem...

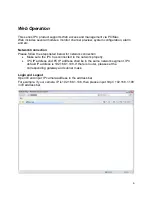
Page 6: ...or network connection Make sure the IPC has connected to the network properly IPC IP address and PC IP address shall be in the same network segment IPC default IP address is 192 168 1 108 If there is router please set the corresponding gateway and subnet mask Login and Logout Open IE and input IP camera address in the address bar For example if your camera IP is 192 168 1 108 then please input htt...

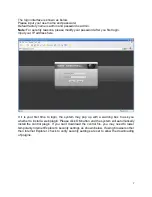
Page 7: ...s your first time to login the system may pop up with a warning box to ask you whether to install a web plugin Please click OK button and the system will automatically install the control plugin If you can t download the control file you may need to lower temporarily Internet Explorer s security settings as shown below If using browsers other then Internet Explorer check to verify security setting...

Page 8: ...8 After you logged in you can see the main window ...

Reviews: