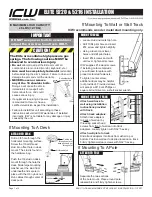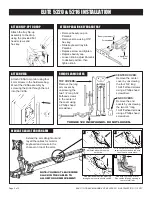
ELITE 5220 & 5216 INSTALLATION
EASY-TO-CABLE-MANAGE ELITE 5220 & 5216 INSTALLATION - 11/13/17
Page 2 of 3
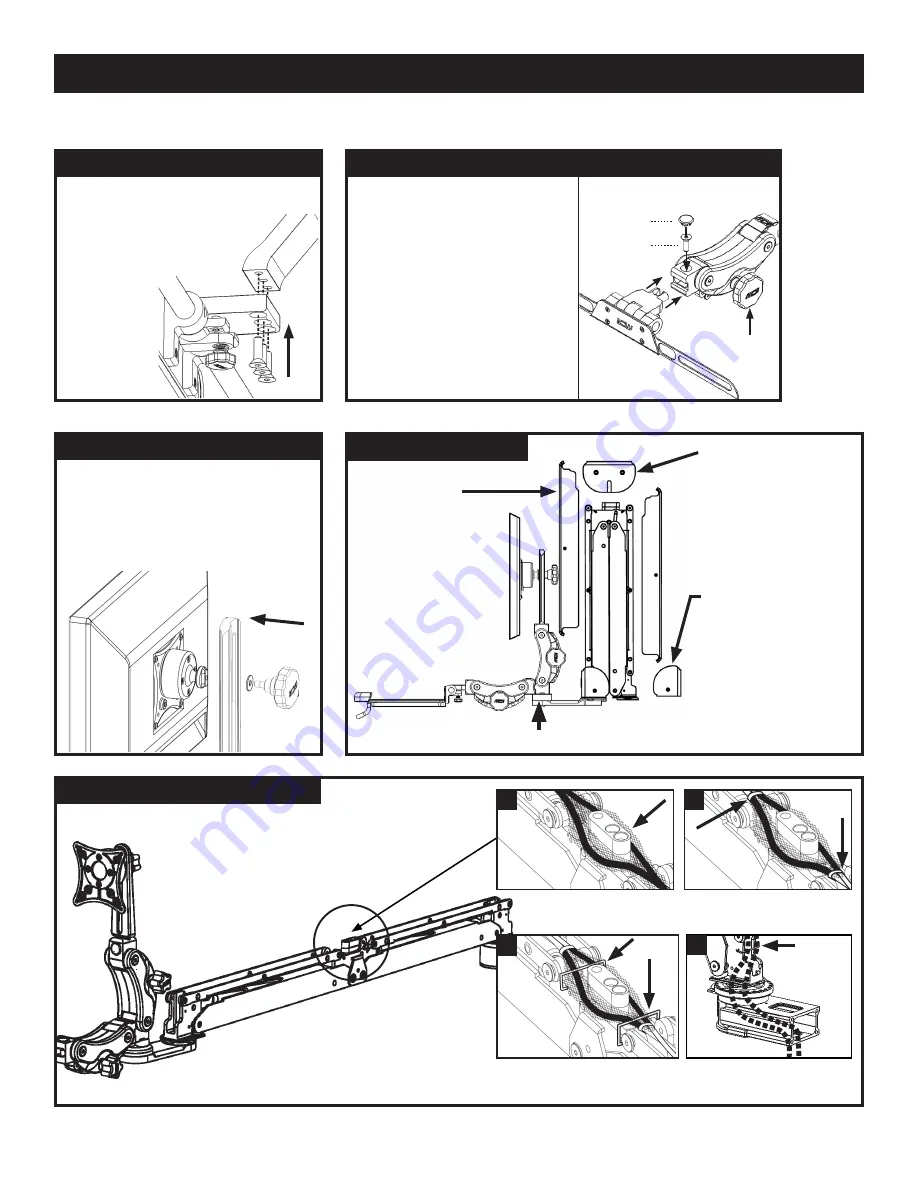
ATTACH PARALINK KEYBOARD TRAY
•
Remove beauty cap on
Paralink.
•
Remove screw using 3/16”
hex key.
•
Slide keyboard tray into
Paralink.
•
Replace screw and tighten.
•
Replace beauty cap.
•
Loosen knob, adjust Paralink
to desired position, then
tighten knob.
Beauty cap
Screw
Adjustment
Knob
Extend the arm straight out and
lay all the cables for monitor,
keyboard and mouse in the
channel on top of the arms.
Lay cables evenly around
adjuster with wire loom on
each side.
Wire tie cables around adjuster,
securing the cords and the wire
loom. Leave some slack.
Add provided wire clips, weaving
through wire loom to secure cables.
NOTE: YOU MUST LEAVE SOME
SLACK IN THE CABLES TO
ALLOW FOR ARM MOVEMENT.
Add wire clip to end of arm.
Run cables through opening in
center of wall ear.
1
2
3
4
MANAGE CABLES THROUGH ARM
ATTACH FLIP-UP TO DROP
Attach the tray flip-up
assembly to the drop
using the provided flat
head screws and
hex key.
ATTACH VESA
Attach VESA to monitor using four
4mm screws in the hardware bag.
Mount the VESA assembly by
screwing the knob through the rail
into the VESA.
REMOVE ARM COVERS
END COVERS:
Remove the end
covers by unscrewing
the two 3/4” long
10-24 flathead screws
using a Phillips head
screwdriver.
CENTER COVER:
Remove the center
cover by unscrewing
the four 3/4” long
10-24 flathead screws
using a Phillips head
screwdriver.
TOP COVERS:
Remove the long
arm covers by
unscrewing the
two 1/4” long 6-32
flathead screws
in the center of
the cover using
a Phillips head
screwdriver.
TORQUE 120 INCH POUNDS. DO NOT LOOSEN.


