background image

SINGLE ARM ELITE INSTRUCTIONS - rev  04/21/14 pjm

SINGLE ARM ELITE

Page 3 of 4

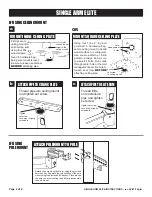
ATTACH WALL PLATE TO WALL

Locate stud and mark top 

hole, drill 11/64 pilot hole 

and insert #14 screw and 

tighten  slightly.  Using  a 

level,  mark  lower  hole 

and drill pilot hole, insert 

#14  screw  and,  with 

unit  level,  tighten  both 

screws.

NOTE: ICW supplies #14 

wood screws. If installing 

onto  metal  studs,  you 

will  need  to  replace 

with  proper  metal  stud 

fasteners.

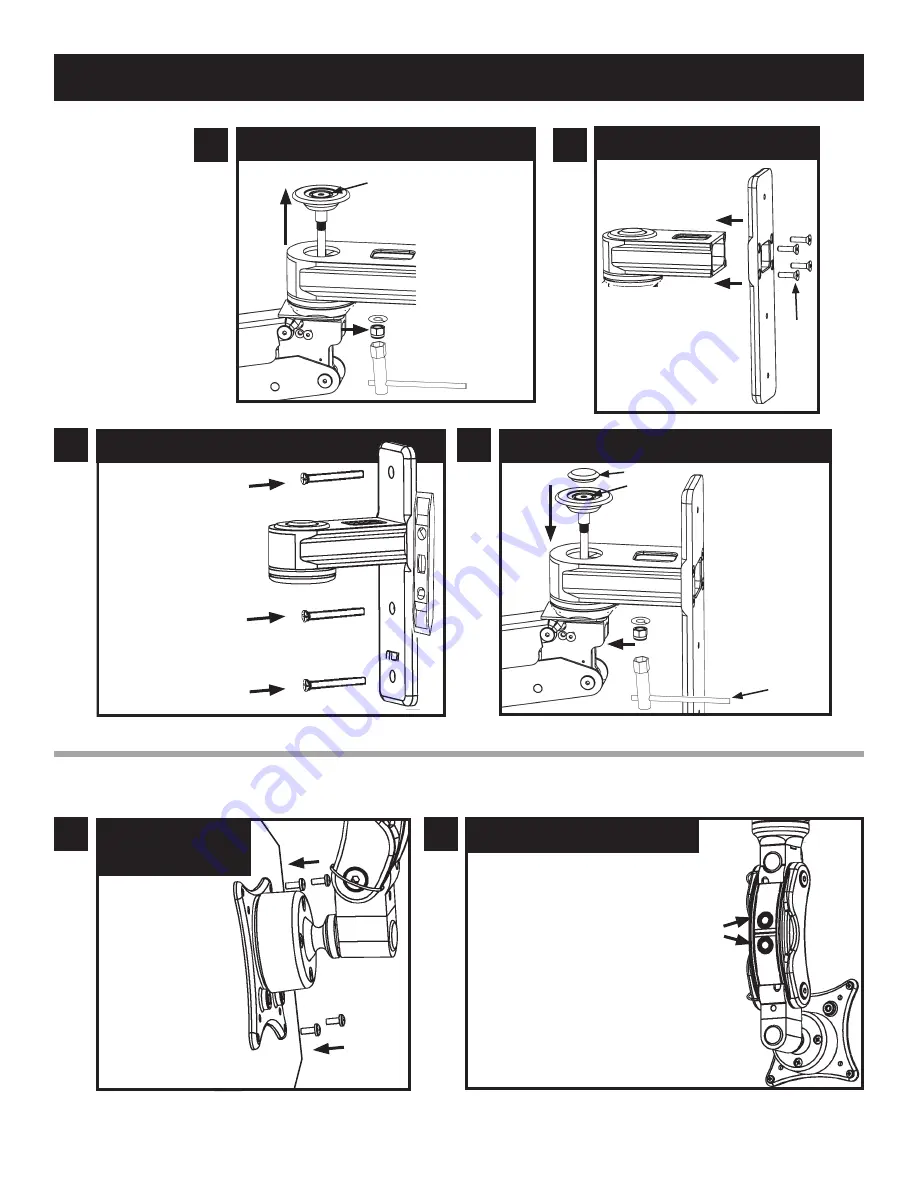
REMOVE ELITE FROM WALL EAR

Remove 

end 

cover  on  end  of 

Elite  Arm  under 

wall  ear.  Loosen 

3/8  bolt  with 

provided 

5mm 

hex  key  while 

using 

provided 

9/16  wrench  to 

hold  nylock  nut 

as you loosen 3/8 

bolt.

5mm

9/16 wrench

(provided)

ATTACH ELITE TO WALL EAR

Pass  3/8  bolt  with 

bearing  assembly 

through 

wall 

mount ear and into 

end  of  Elite  Arm. 

Secure  Elite  Arm 

under  wall  mount 

using  split  lock 

washer and nylock 

nut  with  9/16 

wrench  provided 

and 5mm hex key.

9/16 wrench

(provided)

5mm

Black plastic beauty cap

ATTACH PLATE TO EAR

1/4-20

screws

Using 3/16 hex key 

provided,  attach 

wall  plate  to  ear 

with  four  1/4-20 

screws provided.

IF USING 

WALL MOUNT

a

b

c

d

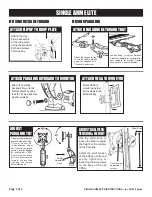
ADJUST QUICKLINK TILT

Adjust Monitor to desired position 

with ball VESA. Tilt your monitor 50° 

in any direction. Adjust your monitor 

between portrait and landscape by 

rotating ball VESA. Adjust monitor 

further  by  squeezing  tilt  buttons 

on  back  of  Quicklink.  Depressing 

either  button  will  disengage 

the  locking  mechanism  for  the 

corresponding  pivot  providing  90 

degrees of adjustment. Depressing 

both  buttons  at  once  allows  the 

user  to  position  both  pivots 

simultaneously  for  a  total  of  180 

degrees of adjustment.

Tilt 

Adjustment 

Buttons

ATTACH VESA

TO MONITOR

Using a phillips 

screw driver, 

attach the VESA 

plate to the back 

of your LCD 

monitor.

IF USING QUICKLINK

a

b

Summary of Contents for SINGLE ARM ELITE

Page 1: ... liable for any damage or injury caused by the unit 6 Do not use power tools to adjust arm tension MUST be adjusted by hand The Elite arm contains high pressure gas springs T he following cautions MUST be observed to avoid serious injury ATTACH ARM TO MOUNT Follow instructions on the following pages for your style of mount Ceiling Mount Page 2 Pole Mount Page 2 Wall Mount Page 3 Quicklink Page 3 P...

Page 2: ...d tighten set screw Tighten set screw once Elite is tightly screwed in IF USING CEILING MOUNT MOUNT SQUARE CEILING PLATE Using four 1 4 x 2 lag bolt provided in hardware bag secure ceiling mount to a solid wood surface or ceiling joist Use square pattern or inline pattern always being sure to use all 4 bolts Run cords through center hole or the cord management port Be sure to loosen set screw BEFO...

Page 3: ...Elite Arm under wall mount using split lock washer and nylock nut with 9 16 wrench provided and 5mm hex key 9 16 wrench provided 5mm Black plastic beauty cap ATTACH PLATE TO EAR 1 4 20 screws Using 3 16 hex key provided attach wall plate to ear with four 1 4 20 screws provided IF USING WALL MOUNT a b c d ADJUST QUICKLINK TILT Adjust Monitor to desired position with ball VESA Tilt your monitor 50 i...

Page 4: ...ack of the ball VESA Slider Knob Pivot tension adjustment screws ATTACH VESA TO MONITOR Attach VESA to monitor using four 4mm screws in the hardware bag ADJUST PARALINK TILT Adjust monitor to desired position with ball VESA Tilt your monitor 50 in any direction Adjust your monitor between portrait and landscape by rotating ball VESA Adjust monitor depth by moving the paralink forward or back then ...

Reviews: