ID Lock 202 Multi
Installation manual
5
2022-11-30
Assembly of mortise lock and outside unit
1.
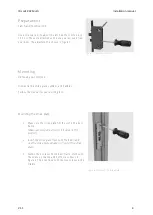
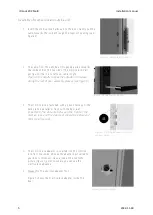
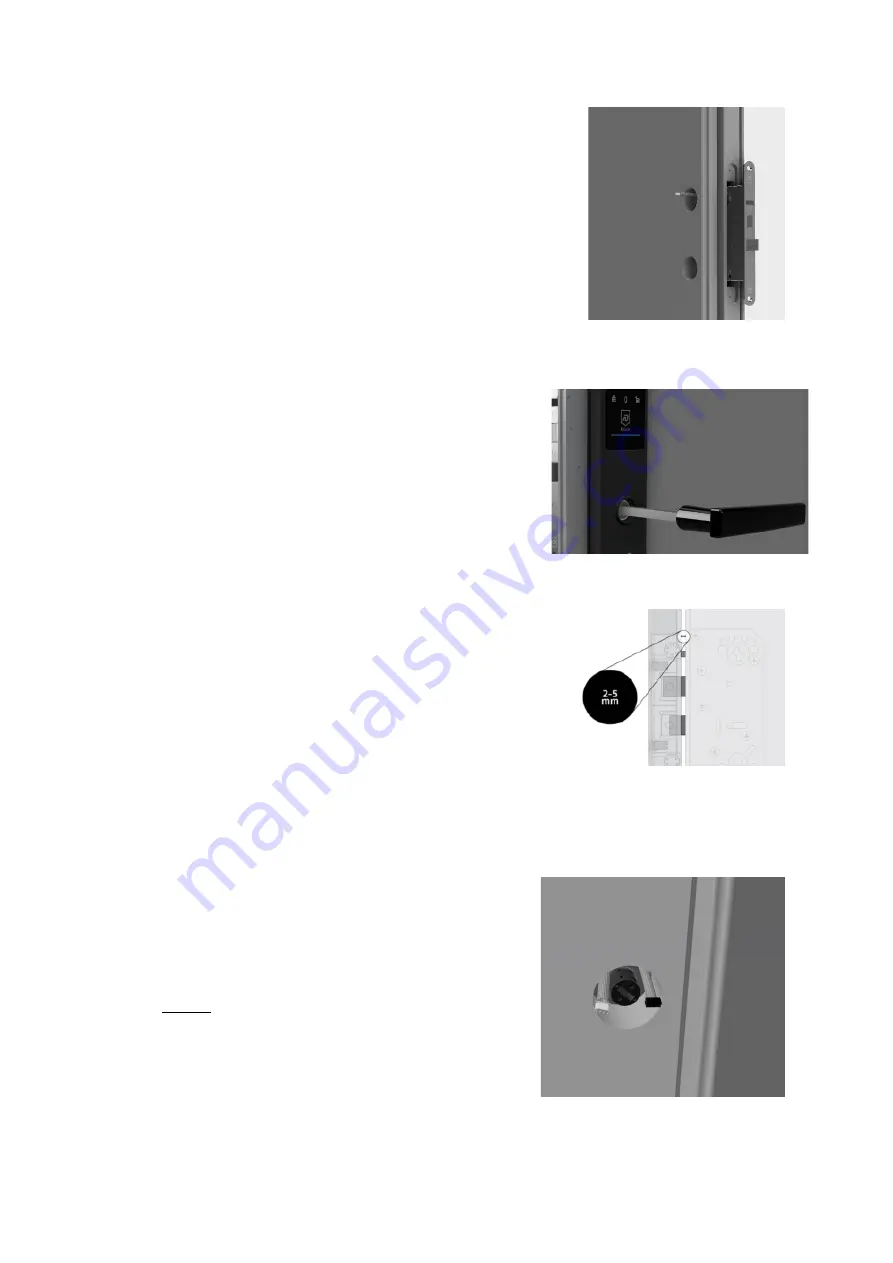
Insert the mortise lock halfway into the door. Gently pull the
cable towards the inside through the topmost opening (see
figure 4).
2.
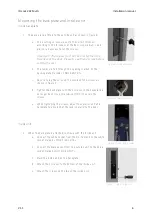
The cable from the outside unit is gently pulled towards
the inside
and on the top side of the mortise lock. Pull
gently until there is no leftover cable length.
Tips: Use the handle to keep the outside unit in place
during the rest of your assembly process (see figure 5).
3.
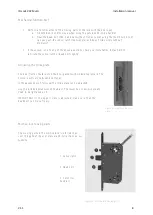
The mortise lock is fastened with an even force until the
back plate is parallel or flush with the door leaf.
Important! The distance between the front of the
mortise lock and the door leaf should be between 2 -
5mm (see figure 6).
4.
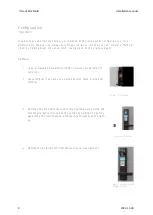
The mortise lock adapter is inserted into the mortise
lock from the inside. Choose the adapter best suited for
your door’s thickness.
Have a look at the contents
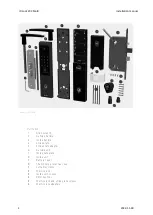
picture (figure 1) point 16 where you can see the
mortise lock adapters.
5.
Always try the shortest adapter first.
Figure 7 shows the mortise lock adapter inside the
door.
Figure 4
–
Mortise lock placement
Figure 6
–
Distance between mortise lock
and door frame
Figure 7
–
Mortise adapter
Figure 5
–
Handle and outside unit


