ClearMark™
Installation, Operation & User Manual
–
Page 112
V 1.S.10 January 2021
V-1.S.1
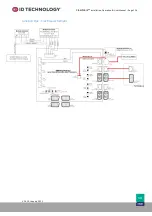
Follow these steps to connect more than one printhead to a single HMI using the Junction Box:
NOTE: DO NOT CONNECT ANYTHING TO THE JUNCTION BOX AT THIS TIME.
Connect the HMI to each printhead that will be connected at the Junction Box and set the remote
network settings for the RJ45 connector.
1.
After the HMI finishes booting up you will be at the launch screen for the ClearMark
software.
2.
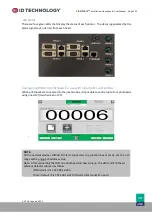
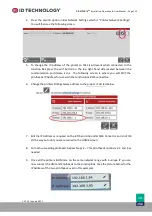
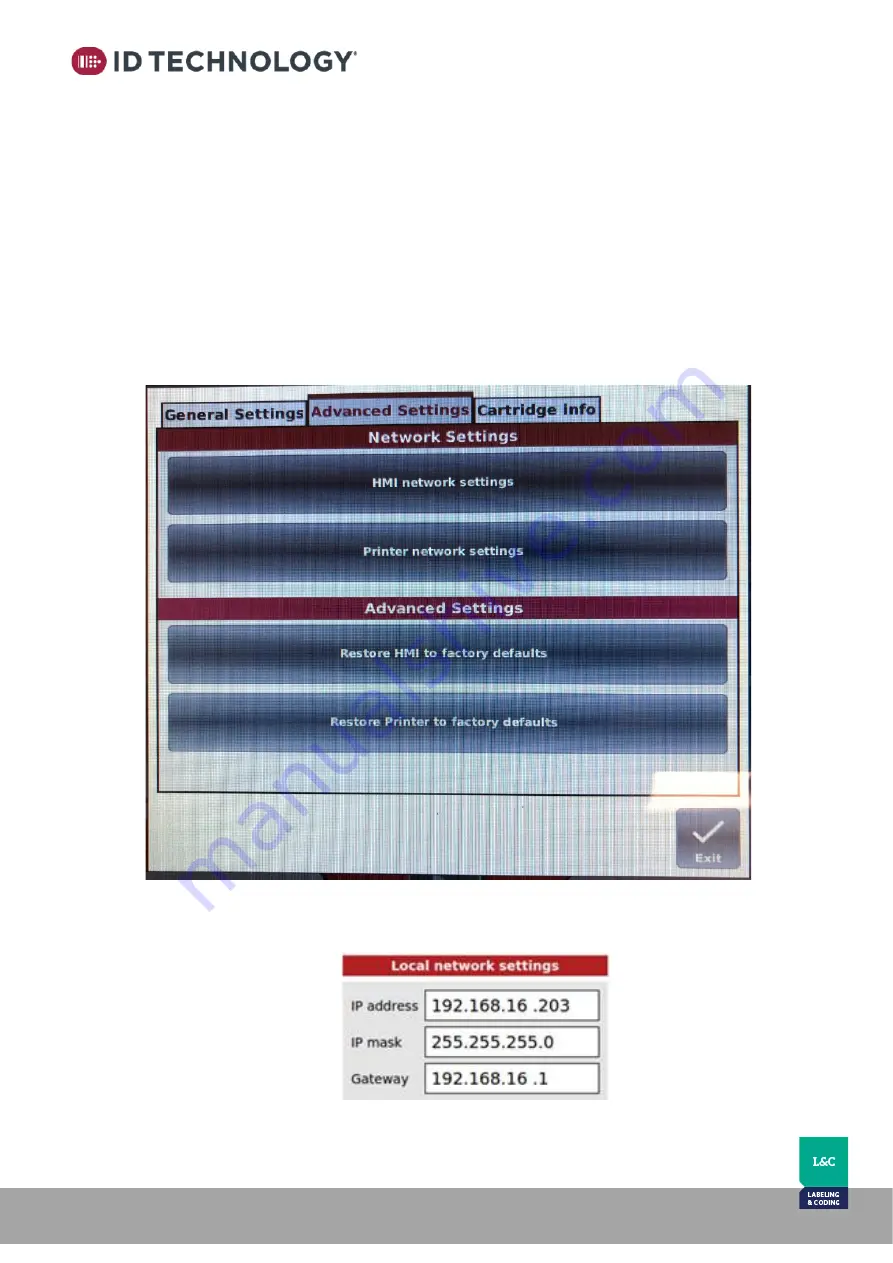
Press the Settings button in the top right-hand corner then press the General Settings
button on the bottom left-hand side of the screen. Then press the center tab which is
labelled “Advanced Settings”. You should now see the screen below which will allow
access to the HMI and Printhead IP Addresses.
3.
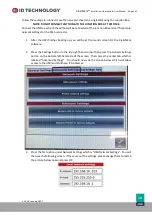
Press the first option under Network Settings which is “HMI Network Settings”. You will
then see the following screen. If these are not the settings, please change them to match
the picture below now and press OK.


