ClearMark™
Installation, Operation & User Manual
–
Page 80
V 1.S.10 January 2021
V-1.S.1
How to create a message with a Date Code
The printer allows printing of different text depending on the actual date/time. For example, it
is possible to print the time at 8 P.M and, automatically update the time at 9 P.M if it has been
properly configured.
To use a date code in a message, you must follow these steps:
1.
Go to Settings
→
Date & Shift Codes tab.
2.
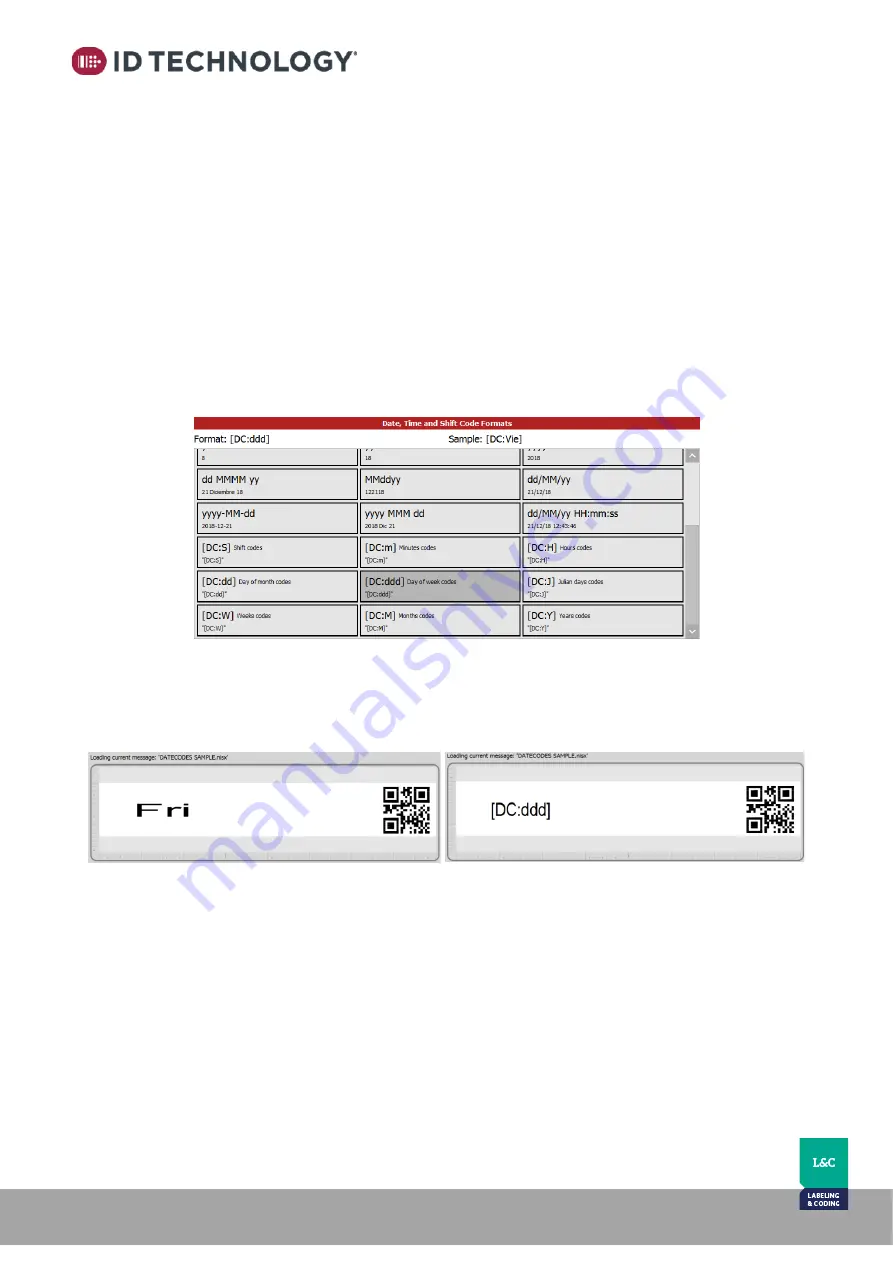
Select a date time from the list and generate the code structure desired.
3.
Go to the Message Editor and create a new message or edit one.
4.
Add or edit an item.
5.
Tap on “Data Source” and select “Date Time”.
6.
Tap on “Format”
and select the same date time as created in step 2 (They are at the end
of the list between brackets) or use one of the existing formats. You can also tap on Edit
button to create a code manually. There will be a legend that appears to help with the
code structure. The sample of the format will appear automatically as you go.
7.
Save the message and exit from editor.
8.
If the process has been successful, the date code selected will appear in the preview of
the current message. If not formatted correctly, it will appear on the screen in Brackets.
Note
: To custom define the text used for each Interval,
see ”Date & Shift Codes Setup” in the section “Level 2
-
Settings”.


