background image


Installation 

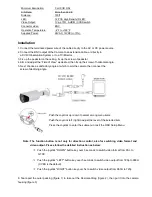
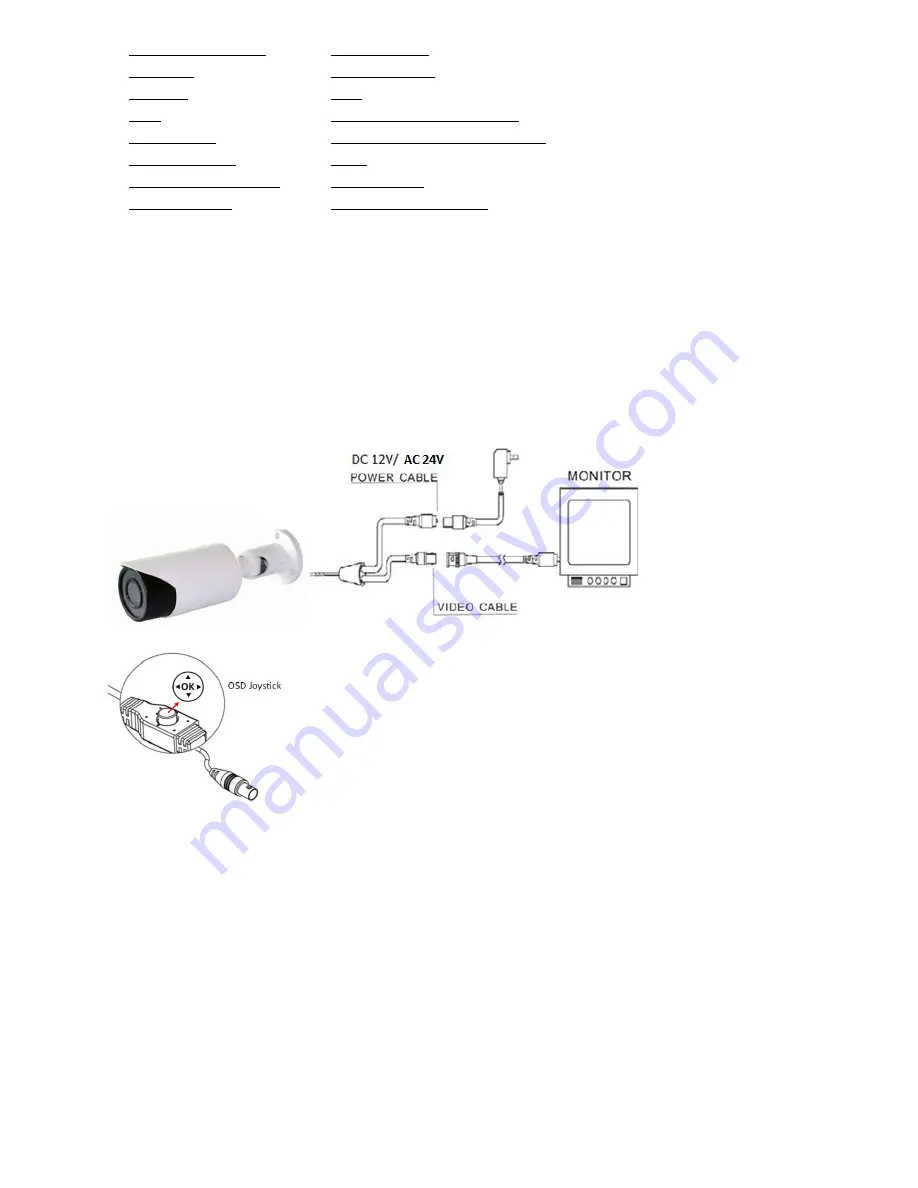
1. Connect the terminated power wire of the cable directly to the AC or DC power source. 

2. Connect the BNC output of the Camera to an extension cable, or directly to     

    a DVR / Observation System or to a TV/Monitor. 

3. Fix up the pedestal on the ceiling, fix up the screw of pedestal. 
4. Aim and adjust the “Field of View” as desired, then fix up the screw of horizontal angle. 
5. Next, choose a satisfactory angle at which to aim the camera then connect the   

    screw of declining angle.


Push the Joystick up / down to select among menu items.   

Push the Joystick left / right to adjust the level of the selected item.   

Press the Joystick to enter the submenu or exit the OSD Setup Menu.   


Note:


The  function  button  is  not  only  for  direction  control,  also  for  switching  video  format  and 

video output. Please follow the detailed instruction as below: 


Push the joystick "DOWN" button key over 5 seconds to switch video format from PAL to 

NTSC.   


Push the joystick "LEFT" button key over 5 seconds to switch video output from 720p to 960H 

(CVBS is the default).   


Push the joystick "RIGHT" button key over 5s to switch video output from 960H to 720p.   


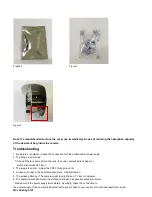
6. Tear apart the outer packing (figure 1) to take out the Desiccant Bag (figure 2), then put it into the camera 

housing (figure 3) 


Minimum Illumination: 

0 LUX (IR ON)   

S/N Ratio: 

More than 52 dB 

Distance: 

150ft 

LED: 

12 PCS High Density IR LED   

Video Output: 

1Vp-

p 75Ω . AHDM / CVBS switch 

Connector video: 

BNC   

Operation Temperature: 

-4°F to +122°F 

Supplied Power: 

24VAC, 12VDC(+/-10%); 

Summary of Contents for IV-BV7660IR-AHDM

Page 1: ...camera Please don t connect multiple cameras with the same adapter at the same time overloading of adapter capacity may cause fires Power supply must be firmly fixed so as not to cause fires If the d...

Page 2: ...he submenu or exit the OSD Setup Menu Note The function button is not only for direction control also for switching video format and video output Please follow the detailed instruction as below Push t...

Page 3: ...use customized lens paper or cotton with alcohol to clean 3 The image is so dim Adjust the CNT of monitor and iris 4 Screen color cast in the special environment Adjust direction 5 The screen glitter...

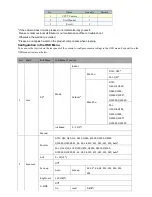
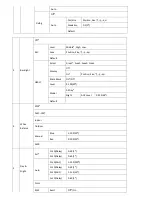
Page 4: ...Sub Menu Function 1 Lens DC Mode Indoor Outdoor Min Shu NTSC 1 30 PAL 1 25 Max Shu NTSC 1 60 FLK 1 240 1 480 1 1000 1 2000 1 5000 1 10000 1 50000 PAL 1 50 FLK 1 200 1 400 1 1000 1 2000 1 5000 1 10000...

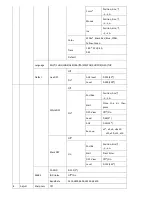
Page 5: ...Area2 Area3 Area4 Display Off On Position Size Black Mask On Off Level 0 100 20 Model All Day Night AGC Level 0 255 48 Default 4 White Balance ATW AWC SET Indoor Outdoor Manual Blue 1 500 50 Red 0 100...

Page 6: ...D effect Freeze Off On Mirror Off Mirror V flip Rotate Neg Image Off On Motion Off On Select Area1 Area2 Area3 Area4 Display On Position Size Off Sensitivit y 0 100 64 Color Green Blue White Red Tran...

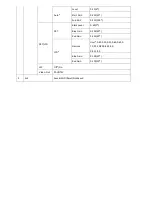
Page 7: ...efect Live DPC Off On AGC level 0 255 65 Level 0 100 100 White DPC Off On Pos Size Position Size Start Close the iris then press DPC View Off On Level 0 60 5 AGC 0 14 14 Sens up x2 x4 x6 x8 x10 x15 x2...

Page 8: ...55 200 CRT LCD CRT Black Level 0 60 0 Blue Gain 0 100 50 Red Gain 0 255 50 LCD Gamma User 0 45 0 50 0 55 0 60 0 65 0 70 0 75 0 80 0 85 0 90 0 95 1 00 Blue Gain 0 100 50 Red Gain 0 100 50 LSC Off On Vi...

Reviews: