background image


General operations                                             

This unit operates on a built-in Li-ion battery that can be recharged either using the USB port on your 

computer or from a USB power adaptor (not included) with a rated output of DC 5V/1.2A and up. 


Power Connection


Requires a Micro-USB to USB cable (included) 

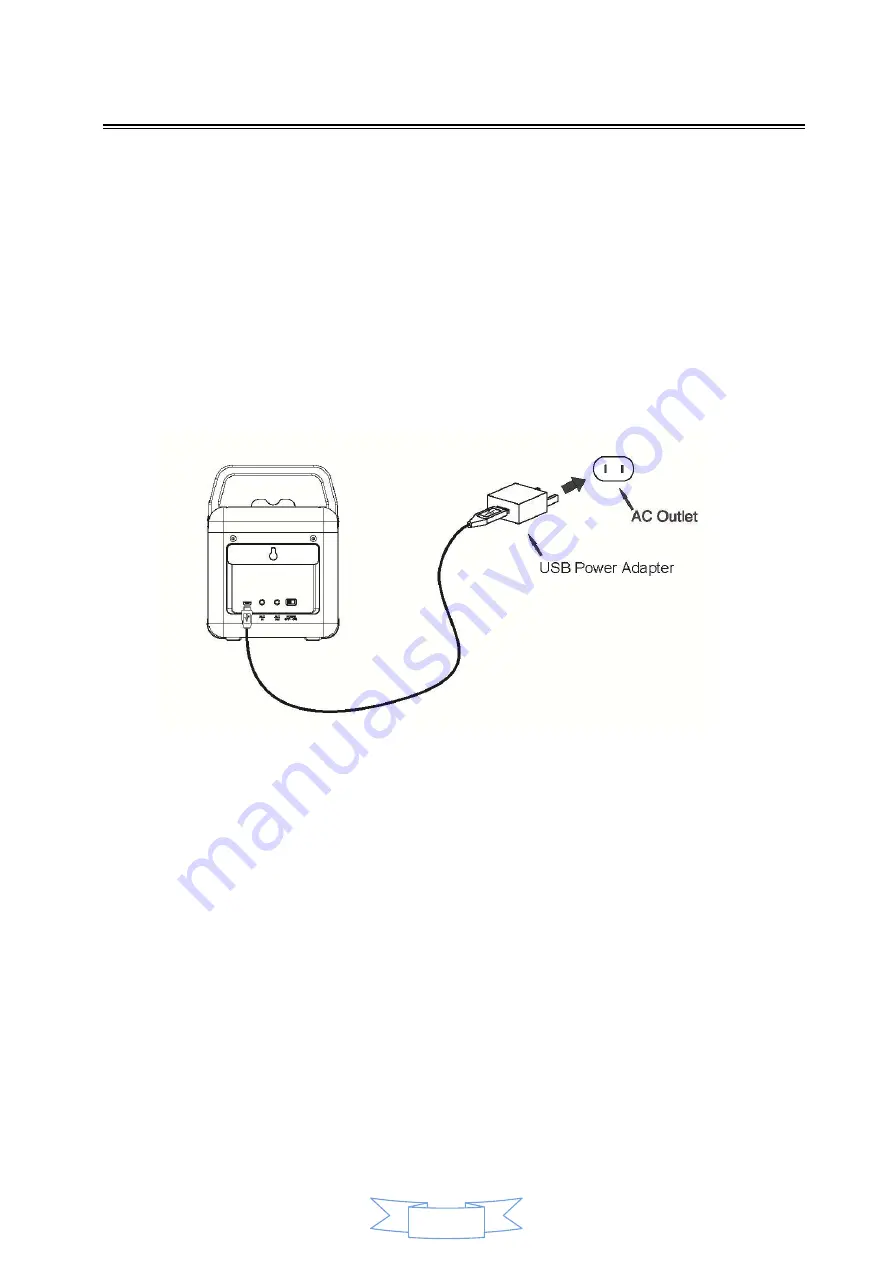
1.  Using a Micro-USB to USB cable (included),


connect the larger USB plug to the USB port of a 

powered on computer or USB power adaptor.   

Note:


Be sure the computer is not sleep mode

2.  Connect the smaller Micro-USB plug into the Micro-USB port of the rear of the unit. 

3.  Plug the USB power adaptor’s AC plugs into an AC outlet. 


When the unit is not operated by the AC power or unused for long periods   

of the time, please remove the power adaptor from the wall outlet and   

unplug from the main unit


Charging instructions                                                                     

This unit operates on a built-in Li-ion battery that can be recharged from the powered on computer or 

a USB power adaptor (not included) with a rated output of DC 5V/1.2A and up. 


CHARGING THE BATTERY FOR FIRST TIME   

1.)  Charge the built-in Li-ion battery a minimum of 8 hours prior to first use.   

Connect a Micro-USB to USB cable (see 

“Power connection”

) into the main unit and auto to 

charging the internal Li-ion battery. The 

BATTERY INDICATOR

 will solid light red while 

charging. 

2.)  Observe the internal battery charging level by the 

BATTERY INDICATOR

 when the internal 

battery charge is low, the 

BATTERY INDICATOR

 will turn “ON and FLASH” alerting you to recharge 

the internal battery as soon as possible. The 

BATTERY INDICATOR

 will turn “OFF” when the unit is 

fully charged

Summary of Contents for CM2

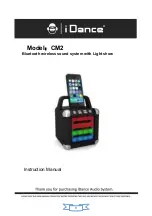
Page 1: ...0 Model CM2 Bluetooth wireless sound system with Light show Instruction Manual...

Page 2: ...specified by the manufacturer 12 Use only with a cart stand tripod bracket or table specified by the manufacturer or sold with the apparatus When a cart is used use caution when moving the cart appar...

Page 3: ...r is encouraged to try to correct the interference by one or more of the following measures Reorient or relocate the receiving antenna Increase the separation between the equipment and receiver Connec...

Page 4: ...8 Trouble Shooting 9 Your Bluetooth Wireless Sound System with Light Show Features Supports Bluetooth v2 1 Supports profile A2DP Advanced Audio Distribution Profile Supports automatic device pairing W...

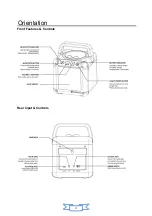
Page 5: ...4 Orientation Front Features Controls Rear input Controls...

Page 6: ...the time please remove the power adaptor from the wall outlet and unplug from the main unit Charging instructions This unit operates on a built in Li ion battery that can be recharged from the powered...

Page 7: ...nt settings are correct for the battery pack being charged Charge batteries on a fireproof surface and away from flammable items or liquids Batteries should NEVER be left unattended while charging Onl...

Page 8: ...ital audio players through the speakers of this unit by connecting the AUX IN Jack to your external player s audio out jack or headphone jack 1 Plug one end of a 3 5mm audio input cable not included i...

Page 9: ...arty Lighting Slide the POWER ON OFF switch on the rear of the unit to ON to turn on the unit and the party light Show Press and hold the LIGHT button to turn off the light show press and hold again t...

Page 10: ...level The unit does not to operation of any button Under the influence of electrostatic phenomenon the product may malfunction and require user to reset the unit Slide the POWER switch to turn off 10...

Page 11: ...10...

Reviews: