background image

WARNINGS

FCC AND CANADIAN ICES

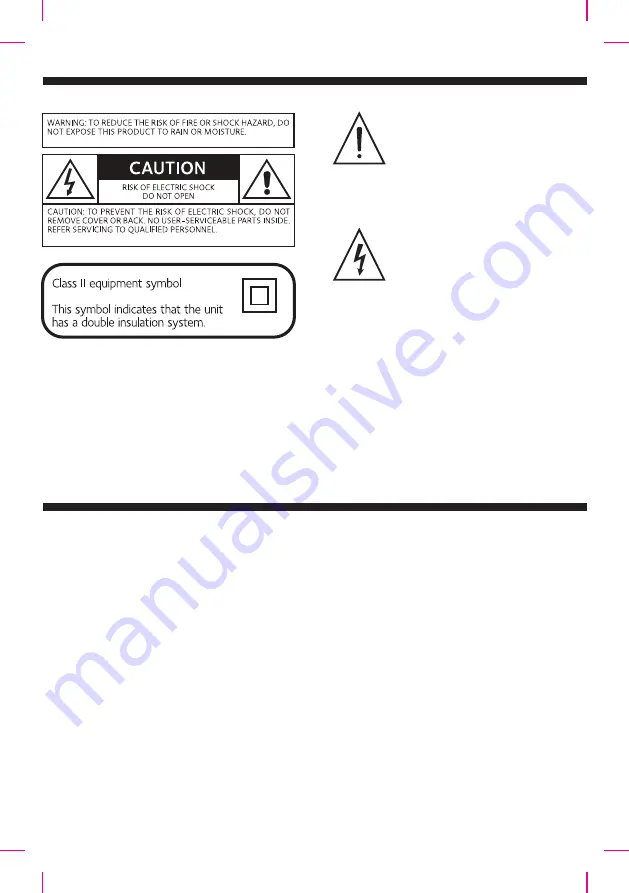
The  lightning  flash  with  arrow-

head symbol inside an equilateral 

triangle is intended to alert User 

of the presence of un-insulated  " 

hazardous voltage" within the 

product’s enclosure, which may 

be  of  sufficient  magnitude  to 

induce a risk of electric shock to 

persons.

The  exclamation  mark  inside  an 

equilateral triangle is intended to 

alert user of the presence of 

important operating and mainte-

nance  (servicing)  instructions  in 

the literature accompanying the 

product.

Please do not attempt to open the back cover or power adapter as opening or removing the covers 

may expose you to dangerous voltage or other hazards, and it will also cause the restricted 

servicing to be disabled. There are no user servicing components inside.

WARNING

This equipment complies with FCC RF radiation exposure limits set forth for an uncontrolled 

environment.

This equipment should be installed and operated with a minimum distance of 20 centimeters 

between the radiator and your body.

Warning: Changes or modifications to this unit not expressly approved by the party responsible for compliance 

could void the user's authority to operate the equipment.

Note: This equipment has been tested and found to comply with the limits for a Class B digital device, 

pursuant to Part 15 of the FCC Rules.These limits are designed to provide reasonable protection against 

harmful interference in a residential installation. This equipment generates, uses and can radiate radio

frequency energy and, if not installed and used in accordance with the instructions, may cause harmful

interference to radio communications. However, there is no guarantee that interference will not occur in

a particular installation. If this equipment does cause harmful interference to radio or television reception, 

which can be determined by turning the equipment off and on, the user is encouraged to try to correct the

interference by one or more of the following measures:

 Reorient or relocate the receiving antenna.

 Increase the separation between the equipment and receiver.
 Connect the equipment into an outlet on a circuit different from that to which the receiver is connected.

Consult the dealer or an experienced radio/TV technician for help.

Summary of Contents for CUBE BC10

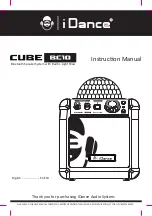
Page 1: ...stem with Built in Light Show PLEASE READ THIS USER MANUAL COMPLETELY BEFORE OPERATING THIS UNIT AND RETAIN THIS BOOKLET FOR FUTURE REFERENCE Thank you for purchasing iDance Audio System Instruction M...

Page 2: ...WHAT S IN THE BOX Contents 1 2 3 4 5 iDance BC10 main unit Power Adaptor 12V DC 2A Instruction Manual Microphone x 1 Shoulder Strap x 1 HOLD TO PAIR...

Page 3: ...or modifications to this unit not expressly approved by the party responsible for compliance could void the user s authority to operate the equipment Note This equipment has been tested and found to c...

Page 4: ...pparatus Only use attachments accessories speci ed by the manufacturer Use only with the cart stand tripod bracket or table speci ed by the manufacturer or sold with the apparatus When a cart is used...

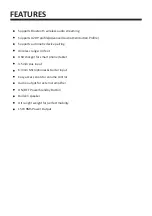
Page 5: ...omatic device pairing Wireless range 33 feet USB charger for smart phone tablet 3 5mm Aux input 6 3mm Microphones Guitar input Easy access knob for volume control Audio output for external ampli er ON...

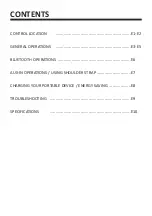
Page 6: ...ROL LOCATION GENERAL OPERATIONS BLUETOOTH OPERATIONS AUX IN OPERATIONS USING SHOULDER STRAP CHARGING YOUR PORTABLE DEVICE ENERGY SAVING TROUBLESHOOTING SPECIFICATIONS E1 E2 E3 E5 E6 E7 E8 E9 E10 CONTE...

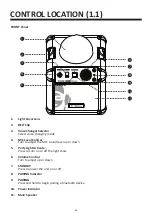
Page 7: ...down Party Light Activate Press to turn on or o the light show Volume Control Turn to adjust up or down STANDBY Press to power the unit on or o PAIRING Indicator PAIRING Press and hold to begin pairi...

Page 8: ...1 2 GUITAR Input AUDIO Output Connect to external ampli er AUX Input DC Input USB CHARGER Connect to other portable device you wish to charge 1 2 3 4 5 6 CONTROL LOCATION 1 2 E2 1 2 3 4 5 6 REAR Inpu...

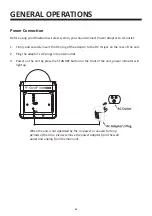
Page 9: ...the adaptor to the DC IN jack on the rear of the unit Plug the adaptor s AC plugs into an AC outlet Power on the unit by press the STANDBY button on the front of the unit power indicator will light u...

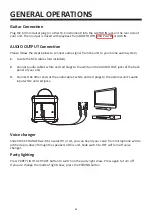
Page 10: ...or AUX IN On the microphone there is an ON OFF switch Ensure that you set the switch to ON position during the usage The volume of microphone can be adjusted by the MIC VOLUME knob on the rear side of...

Page 11: ...ar side of your unit Their output is mixed with playback from BLUETOOTH USB PLAYER or AUX IN Voice changer Slide VOICE CHANGER switch to select HI or LO you can heard your voice from microphone will b...

Page 12: ...the Bluetooth indicator will remain lit After initial pairing the unit will stay paired unless unpaired manually by the user or erased due to a reset of the device If your device should become unpaire...

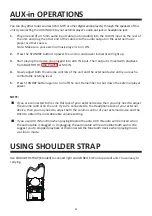
Page 13: ...c sources iPod MP3 or other digital audio players through the speakers of this unit by connecting the AUX IN JACK to your external player s audio out jack or headphone jack If you are connected to the...

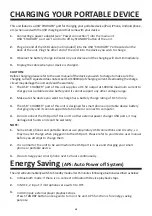
Page 14: ...portable device battery and it cannot support any other voltage range Make sure the device you want to charge has a battery charge rating of DC 5V only The USB CHARGER port of this unit is designed fo...

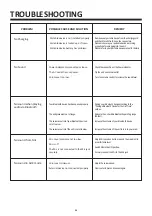
Page 15: ...ocatetheunitwithinBluetoothoperatingrange 30feet IncreasethevolumeofyourBluetoothdevice Increasethevolumeoftheunittoturntoyourwish AdjustMicLevelcontroltomax andthenre adjustto acomfortablelevel Switc...

Page 16: ...consequences for the environment and human health which could otherwise be caused by inappropriate waste handling of this product The recycling of materials will help to conserve natural resources Fo...

Reviews: