Supplied By www.heating spares.co Tel. 0161 620 6677
16
British Gas RD1
-
Installation & Servicing
INSTALLATION
FLUE OUTLET
Extended centre
line
Terminal
mounting
plate screw
and flue
duct hole
positions
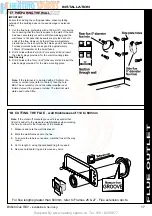
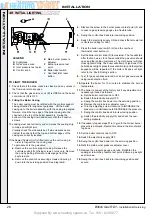
1.
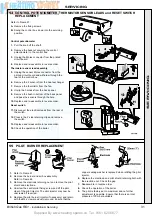
Separate the templates.
2.
Tape both templates into the selected position locating
template B through an extended centre line as shown.
3.
Ensure squareness by hanging a plumb line as shown.
4.
Mark onto the wall (if required) the following:
a.
The 4 wall mounting plate screw positions (choose one
from each group). If the downward routing pipe brackets
are used ensure the correct holes are chosen.
b.
The 4 screw positions for the side outlet plate.
c.
The position of the flue duct hole (ensure that the correct
centre is marked depending on whether the downward
routing pipe brackets are used or not).
Note.
Mark the centre of the hole as well as the
circumference.
d.
The side of the casing nearest the flue outlet.
5.
Remove both templates from the wall.
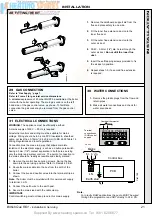
16 WALL MOUNTING TEMPLATE - Side flue
Note.
The template shows the positions for the fixing holes and the flue
hole centres for standard installation.
If the flow and return pipes are to be routed down behind the boiler the
downward routing pipe brackets, supplied in a separate kit, must be used.
These brackets are secured to the wall mounting plate and it is essential to
use only those holes as shown on the wall mounting template.
Care MUST be taken to ensure the correct holes are drilled.
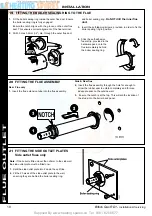
1.
An optional flue duct
extension kit is required for
lengths (distance from the
outside wall to the relevant
side of the boiler casing)
greater than 600mm (23
1/2
")
Refer to Frame 8.
2.
When cutting the ducts
always use the cardboard
support provided.
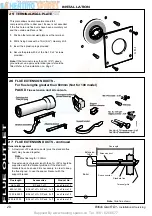
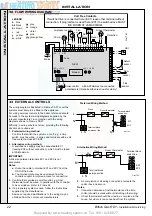
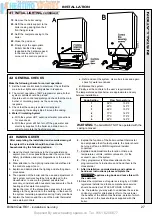
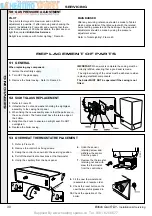
14 SIDE FLUE ASSEMBLY - Exploded view
For wall thickness 114mm to 600mm
IMPORTANT.
On the 100 model only, the flue extension tube includes an air deflector ring.
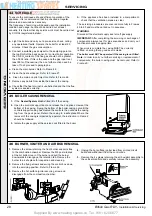
Note.
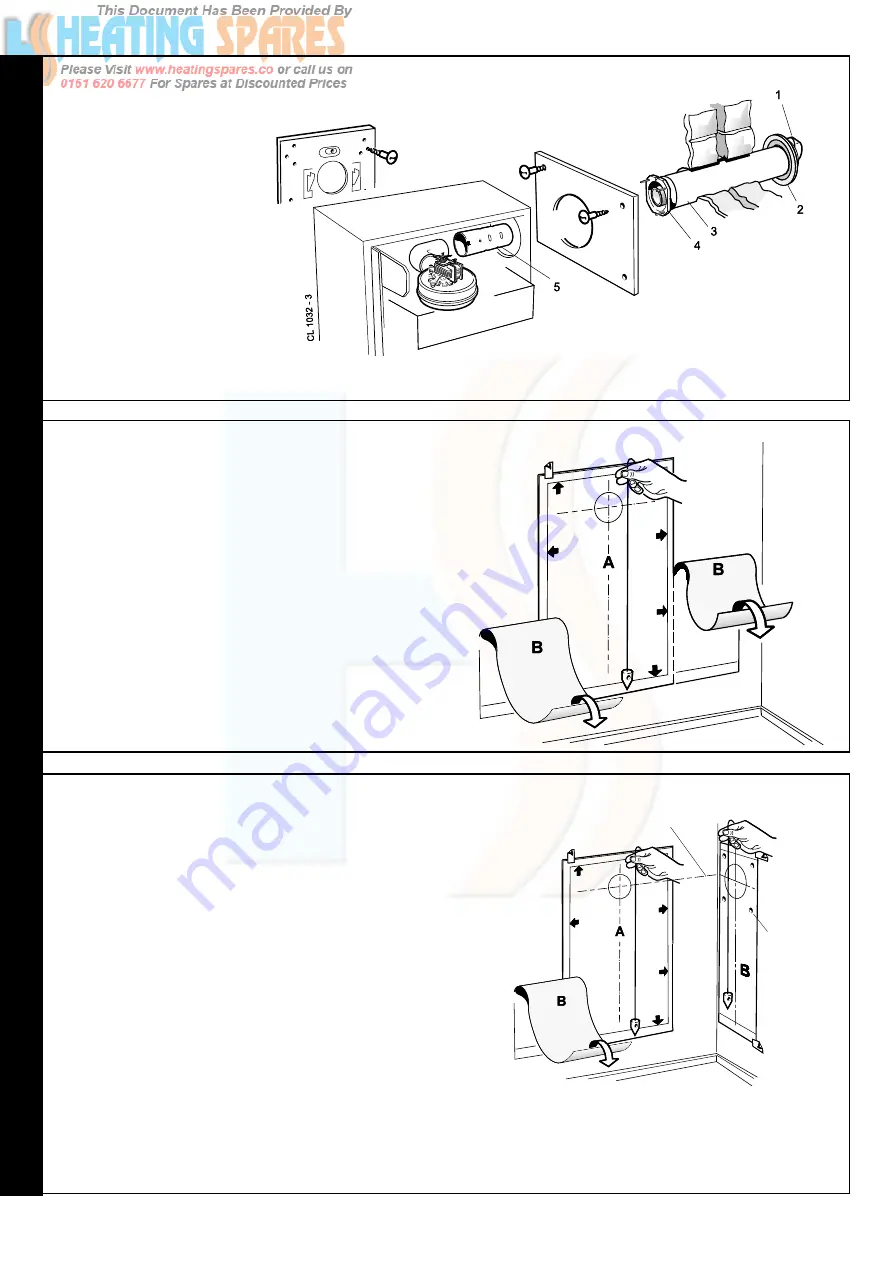
The template shows the positions for the fixing holes and the
flue hole centres for standard installation. Care must be taken to
ensure the correct holes are drilled.
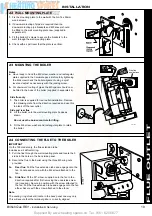
1.
Separate the templates.
2.
Tape the templates into the selected position.
3.
Ensure squareness by hanging a plumb line as shown.
4.
Mark onto the wall (if required) the following:
a.
The wall mounting plate screw positions (choose one from
each group).
Note.
Mark the centre of the flue hole as well
as the circumference.
b.
The position of the flue duct hole.
c.
Downward pipe routing bracket screw positions.
5.
Remove the templates from the wall.
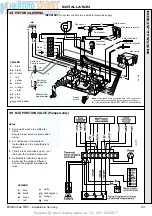
LEGEND
1.
Terminal.
2.
Weather seal.
3.
Flue assembly.
4.
Boiler sealing ring.
5.
Flue extension tube.
15 WALL MOUNTING TEMPLATE - Rear flue


