- 72 -
AP 40
Operating the air cleaner
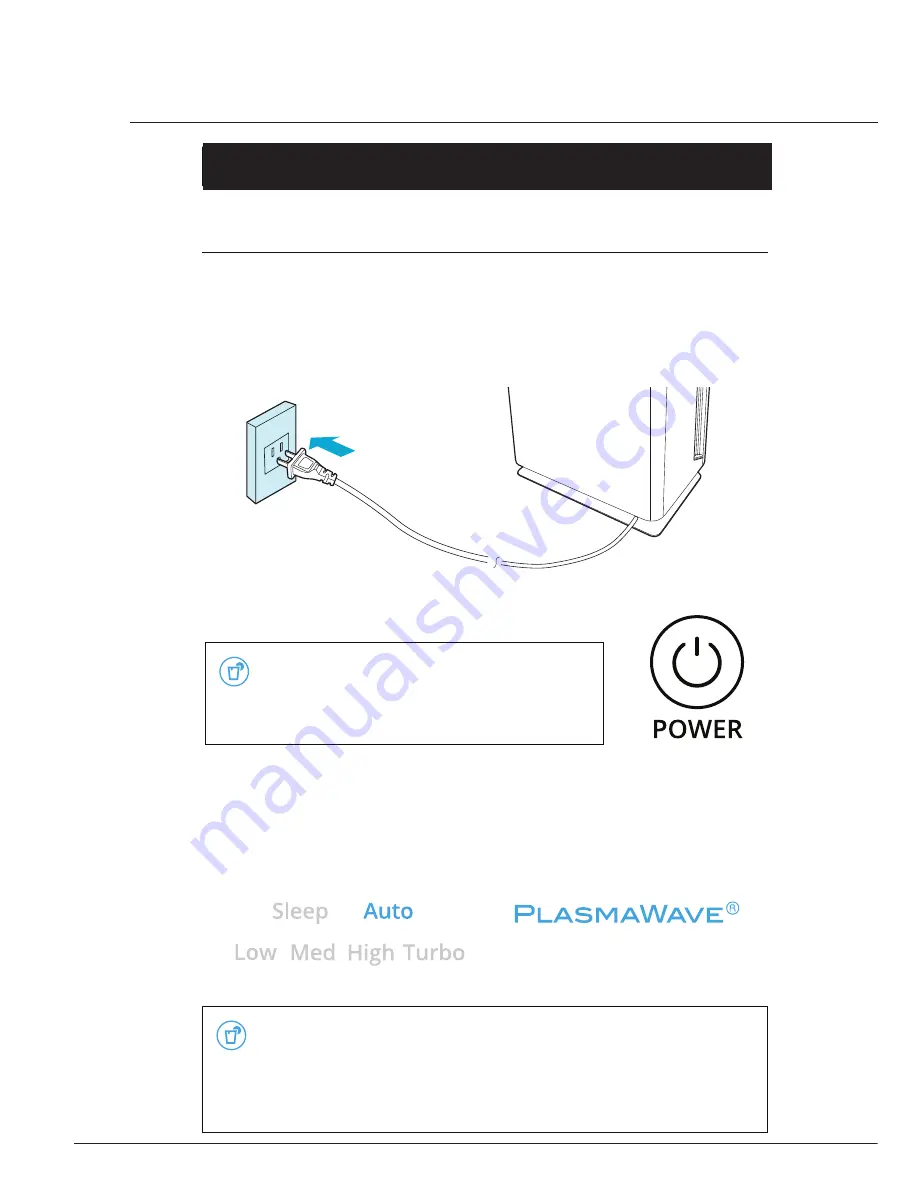
1. Initial Operation
①
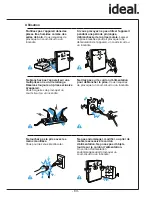
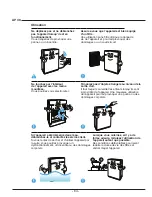
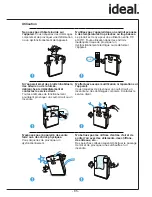
Insert the power cord into the socket (
❶
) at the rear of the unit, and
then plug into an electrical outlet (
❷
).
x
The Display Panel lights will turn on and then off.
②
Press the [Power] button.
ⶺ
For the first 4 minutes, the Air Quality
Indicator will flash as the Smart Sensors
measure the air quality around the unit,
after which normal operation will begin.
③
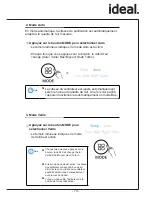
When the unit first begins running, it will be set to Automatic mode
with the PlasmaWave® feature turned on, by default.
x
The fan speed will be automatically adjusted according to the indoor air quality.
x
PlasmaWave® works to remove harmful airborne contaminants.
ⶺ
As the indoor air becomes clean, the fan speed will automatically
be reduced to Low.
ⶺ
When the unit is running, you may hear an electrical sound
during the normal operation of PlasmaWave®. This does not
signify product failure.
Socket
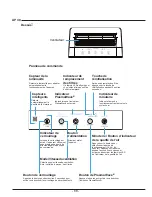
Utilisation du puri
fi
cateur d’air
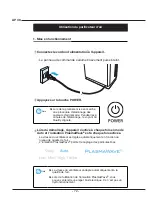
1. Mise en fonctionnement
Connectez le cordon d’alimentation à l’appareil.
Le panneau de commande s’allume brièvement puis s’éteint.
douille
Appuyez sur la touche POWER.
Lors de la première mise en marche,
une procédure d’étalonnage des
capteurs d’air démarre. Pendant les 4
minutes de l’étalonnage, le voyant Air
Quality clignote.
Lors du démarrage, l’appareil s’active à chaque fois en mode
Auto et l’ionisation PlasmaWave
®
est à chaque fois activée.
La vitesse du ventilateur est réglée automatiquement en fonction du
niveau de qualité de l’air.
L’ionisation PlasmaWave
®
permet le captage des particules
fi
nes.
La vitesse du ventilateur s’adapte automatiquement à la
qualité de l’air.
Lors de l’utilisation de l’ionisation PlasmaWave
®
, vous
pouvez entendre une léger bruit électrique. Ce n’est pas un
dysfonctionnement.
Note
Note
Summary of Contents for AP 40
Page 86: ... 86 AP 40 Notizen Remarks Notes ...
Page 87: ... 87 Notizen Remarks Notes ...

