50
xtra
-
Installation & Servicing
SERVICING
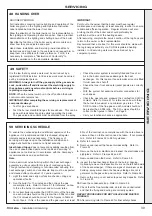
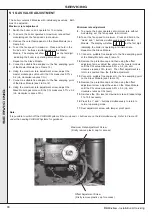
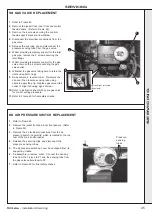
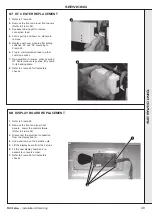
69 MOTORISED DAMPER MOTOR REPLACEMENT
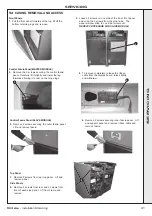
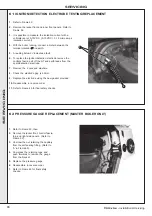
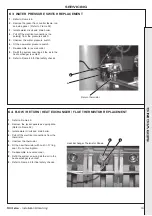
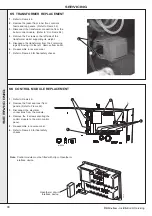
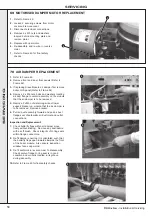
70 AIR DAMPER REPLACEMENT
1.
Refer to Frame 49.
2.
Loosen 2 securing screws from motor
cover and remove cover.
3.
Disconnect electrical connections.
4.
Remove 2 x M5 nuts and washers
located behind mounting plate and
remove motor.
5.
Replace with new motor.
6.
Re-assemble and re-wire in reverse
order.
7.
Refer to Frame 49 for final safety
checks.
2
3
1.
Refer to Frame 49.
2.
Remove front and inner front panels (Refer to
Frame 52).
3.
If replacing Slave Module air damper first remove
boiler LHS panel (Refer to Frame 52).
4.
Remove 4 x M6 nuts, bolts and washers locating
air duct flange to venturi assembly on the module
that the air damper is to be removed.
5.
Remove 2 x M5 nuts retaining air duct lower
support bracket on module that the air damper is
to be removed. Remove bracket.
6.
Pull air duct assembly forward and pull air duct
flanges out of automatic air duct inlet and outlet
connections.
Inspection and Replacement:
7.
Check butterfly flaps within air damper move
freely without sticking. Remove any dust/debris
with a soft brush. Check integrity of O-ring seals
within flange connectors.
8.
Re-fit damper ensuring it is orientated such that
the butterfly flaps open inwards towards the front
of the boiler module. Also ensure inspection
window faces uppermost.
9.
Re-fit ductwork in reverse order to disassembly.
Check venturi flange O-ring seal is in good
condition and correctly located in its groove
during assembly.
10.
Refer to Frame 49 for final safety checks.
4
9
5
SER
VICING

