52
Installation and Servicing
SECTION 3 - SERVICING
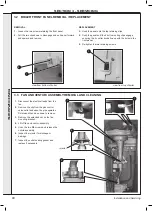
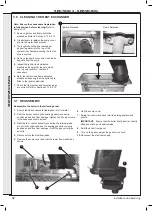
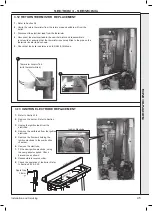
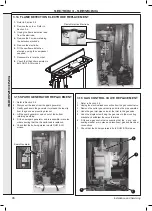
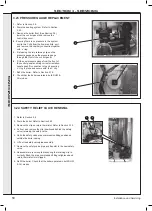
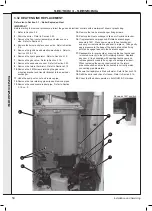
3.27 DHW PLATE HEAT EXCHANGER REPLACEMENT
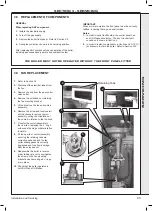
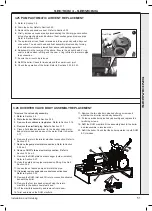
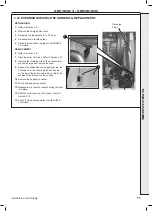
3.28 PUMP HEAD REPLACEMENT
1.
Refer to Section 3.8.
2.
Drain the boiler. Refer to Section 3.22.
3.
Remove condensate trap/siphon. Refer to Section 3.18.
4.
Remove the diverter valve actuator. Refer to Section 3.17.
5.
Remove the 2 allen screws securing the plate heat exchanger to the
composite housings.
6.
Manoeuvre the plate heat exchanger out of the top LH or centre of
the controls area. Be aware of any water spillage.
7.
Fit the new plate heat exchanger, using the new o-rings supplied.
Note.
Ensure that the depressions are on the bottom prior to fitting.
8.
Reassemble in reverse order.
9.
Refill the boiler. Refer to Section 2.16.
10.
Check that the boiler operates in both DHW & CH modes.
1.
Refer to Section 3.8.
2.
Drain the boiler. Refer to Section 3.22.
3.
Disconnect the two electrical leads from the pump.
4.
Remove the 4 allen screws retaining the pump head.
5.
Remove the pump head.
6.
Fit the new pump head.
7.
Reassemble in reverse order.
8.
Refill the boiler. Refer to Section 2.16.
9.
Check that the boiler operates in both DHW & CH
modes.
5
3
4
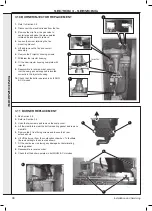
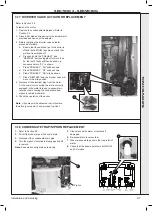
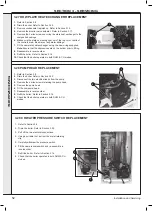
3.29 CH WATER PRESSURE SWITCH REPLACEMENT
1. Refer to Section 3.8.
2. Drain the boiler. Refer to Section 3.22.
3. Pull off the two electrical connections.
4. Using a suitable tool, pull out the metal retaining
clip.
5. Carefully withdraw the pressure switch.
6. Fit the new pressure switch and re-assemble in
reverse order.
7. Refill the boiler. Refer to Section 2.16.
8. Check that the boiler operates in both DHW & CH
modes.
3
4
5
SER
VICING
Summary of Contents for INDEPENDENT COMBI 24
Page 4: ...4 Installation and Servicing...
Page 6: ...6 Installation and Servicing...
Page 63: ...63 Installation and Servicing...
Page 64: ......
Page 70: ...70 Installation and Servicing...
Page 71: ...71 Installation and Servicing...

