3 HG4G/3G, HG2G-5F
35-48
WindO/I-NV4 User’s Manual
3.8 Wiring
●
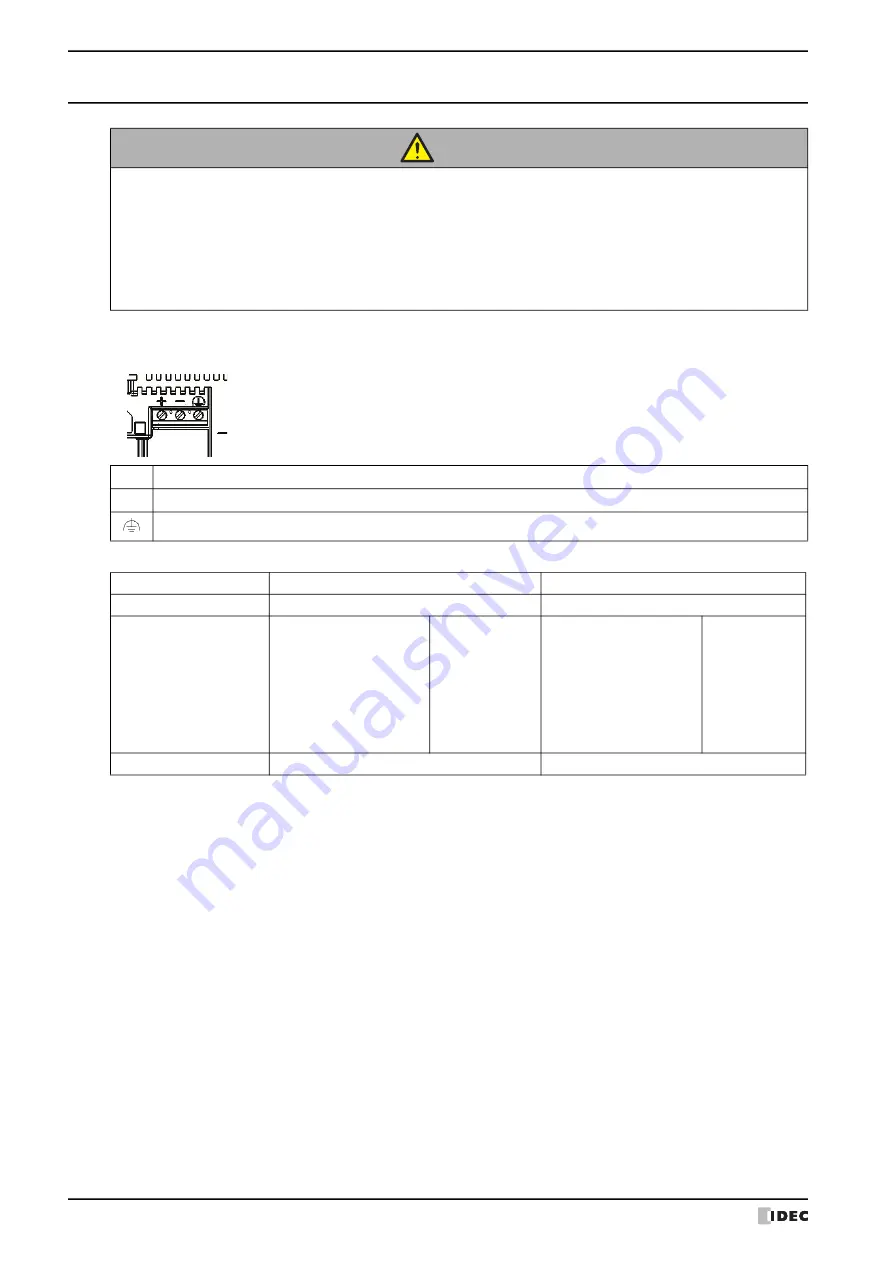
Power Supply Terminal
• Pin assignment is shown in the following table.
• Use applicable cables for wiring and recommended ferrules (made by Phoenix Contact or Weidmüller) as follows.
●
Grounding Cautions
If you decide to use a single power supply for the HG4G/3G, HG2G-5F with more than one external device, take extra
precautions. Some external devices may produce electrical noise and short circuit the entire system setup, therefore,
damaging the communication circuit of the HG4G/3G, HG2G-5F and non-isolated Communication Device (i.e. PLC).
To prevent such damage, choose a proper solution depending on your system setup.
• Use a separate earth ground from the external noise source device.
• The wire for grounding should be thick and short in order to direct the noise from the noise source device to the
earth ground.
• Use a separate power supply from the external noise source device.
• Insert an isolator on the communication line of the HG4G/3G, HG2G-5F and the non-isolated communication device
(i.e. PLC) to prevent damage.
●
Cautions for using the HG4G/3G, HG2G-5F connected to a personal computer
When connecting the HG4G/3G, HG2G-5F to a personal computer via the Serial Interface(COM1) or USB Interface,
the HG4G/3G, HG2G-5F or the personal computer may break down depending on the conditions of the personal
computer. Make sure of the following cautions, in order to prevent an accident.
• If the personal computer has a 3-pin power plug or power plug with a ground lead type. make sure to use a plug
socket including a ground input electrode or ground the earth lead, respectively.
• If the personal computer has a 2-pin power plug without ground lead, follow the procedure below when connect
the HG4G/3G, HG2G-5F to the personal computer.
(1) Pull out the power plug of the personal computer from the AC outlet.
(2) Connect the HG4G/3G, HG2G-5F to the personal computer.
(3) Insert the power plug of the personal computer into the AC outlet.
CAUTION
• Turn off the power supply before wiring.
• Make the wiring as short as possible and run all wires as far away as possible from high-voltage
and large-current cables. Follow all the procedures and precautions when wiring the HG4G/3G,
HG2G-5F.
• Separate the HG4G/3G, HG2G-5F power supply wiring from the power lines of I/O devices and
motor equipment.
• Ground the functional earth terminal to make sure of correct operation.
+
Power supply 24V DC (+24V)
-
Power supply 0V (0V)
Functional Earth (FE)
Type No.
HG4G/3G
HG2G-5F
Applicable cable
AWG18 to AWG22
AWG14 to AWG22
Recommended ferrule
AI 0,34-8 TQ
AI 0,5-8 WH
AI 0,75-8 GY
AI 1-8 RD
AI-TWIN 2 x 0,5-8 WH
AI-TWIN 2 x 0,75-8 GY
AI-TWIN 2 x 1-8 RD
(Phoenix Contact)
H0,34/12 TK
H0,5/14 OR
H0,75/14 W
H1,0/14 GE
H0,5/14 ZH OR
H0,75/14 ZH W
H1,0/15 ZH GE
(Weidmüller)
AI 0,34-12 TQ
AI 0,5-12 WH
AI 0,75-12 GY
AI 1-12 RD
AI 1,5-12 BK
AI 2,5-12 BU
AI-TWIN 2 x 1,5-12 BK
(Phoenix Contact)
H0.5/18 OR
H0,75/18 W
H1,0/18 GE
H1,5/18D SW
H2,5/19D BL
H1,5/20 ZH R
(Weidmüller)
Tightening Torque
0.5 to 0.6 N·m
0.5 to 0.6 N·m
Summary of Contents for WindO/I-NV4
Page 1: ...B 1701 16 User s Manual...
Page 108: ...5 WindO I NV4 Common Operations and Settings 2 76 WindO I NV4 User s Manual...
Page 256: ...7 BACnet Communication 3 148 WindO I NV4 User s Manual...
Page 372: ...6 Screen Restrictions 5 32 WindO I NV4 User s Manual...
Page 390: ...5 Part Library Function 6 18 WindO I NV4 User s Manual...
Page 420: ...3 Text 7 30 WindO I NV4 User s Manual...
Page 628: ...2 Multi State Lamp 9 34 WindO I NV4 User s Manual...
Page 924: ...4 Meter 11 76 WindO I NV4 User s Manual...
Page 990: ...7 Timer 12 66 WindO I NV4 User s Manual...
Page 1030: ...4 Using Data and Detected Alarms 13 40 WindO I NV4 User s Manual...
Page 1098: ...4 Using the Data 15 22 WindO I NV4 User s Manual...
Page 1248: ...5 Restrictions 22 18 WindO I NV4 User s Manual...
Page 1370: ...2 Monitoring on the MICRO I 25 28 WindO I NV4 User s Manual...
Page 1388: ...4 Restrictions 26 18 WindO I NV4 User s Manual...
Page 1546: ...5 Module Configuration Dialog Box 30 36 WindO I NV4 User s Manual...
Page 1614: ...3 Settings 34 14 WindO I NV4 User s Manual...
Page 1726: ...5 Text Alignment A 10 WindO I NV4 User s Manual...


