30
MorphoWave Compact - 2018_2000035853
3.1 > Before proceeding to the installation
Make sure that you have all the components described in “Components of the initial package” section
at your disposal.
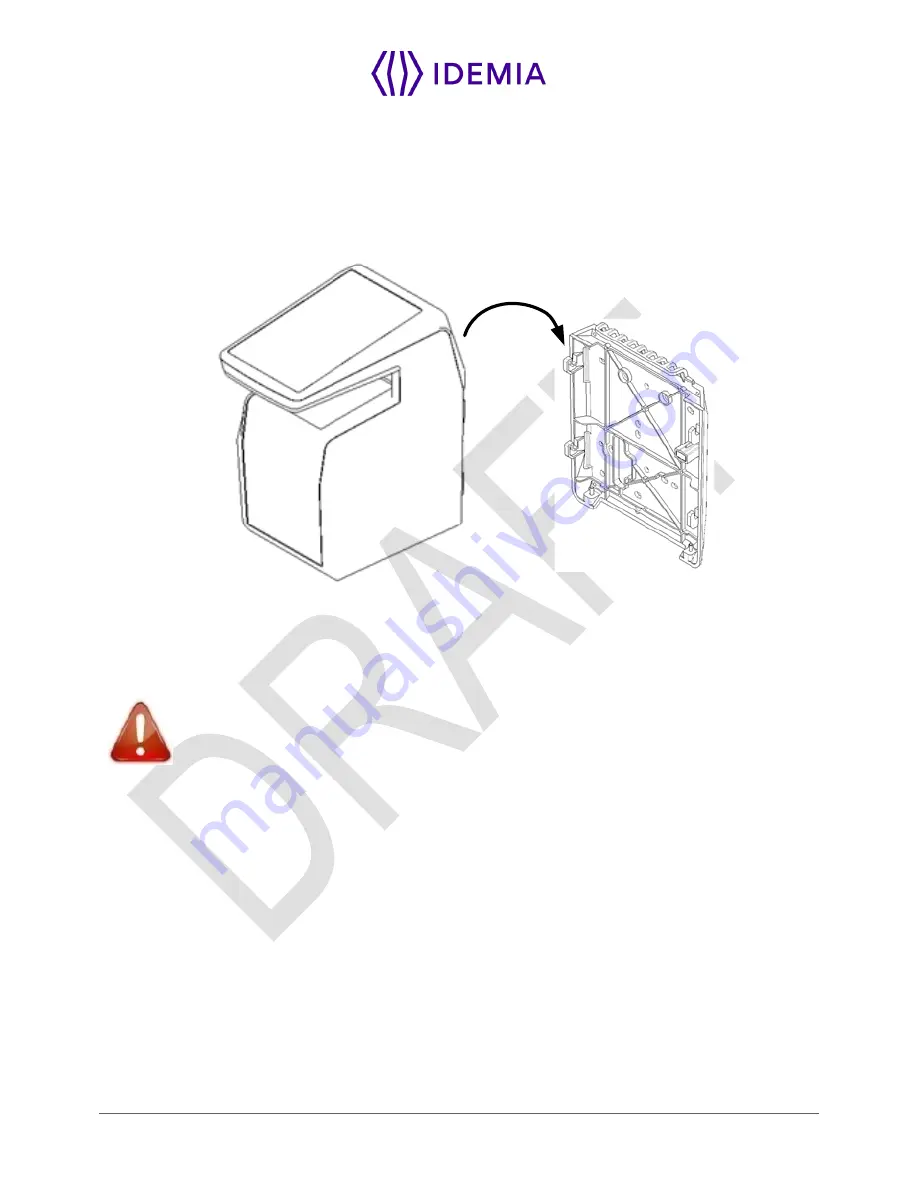
Remove the wall plate. Keep this element at hand.
Figure 5: Removing wall frame
It is then possible to fix the terminal on the wall.
For an optimal use the terminal must be installed in an area where the lighting conditions
are controlled. Avoid direct exposure of the sensor to the sun light and ensure good ambient
lighting for face detection if used.
Summary of Contents for MorphoWave Compact
Page 1: ...Copyright 2018 Idemia May 2018 2018_2000035853 MorphoWave Compact Installation guide ...
Page 2: ...Copyright 2018 Idemia May 2018 2018_2000035853 ...
Page 9: ...9 MorphoWave Compact 2018_2000035853 1 Introduction ...
Page 21: ...21 MorphoWave Compact 2018_2000035853 2 General description ...
Page 29: ...29 MorphoWave Compact 2018_2000035853 3 Installation procedure ...
Page 37: ...37 MorphoWave Compact 2018_2000035853 3 3 4 Attach the device on the base plate ...
Page 41: ...41 MorphoWave Compact 2018_2000035853 4 Electrical interface ...
Page 58: ...58 MorphoWave Compact 2018_2000035853 5 User interface ...
Page 64: ...64 MorphoWave Compact 2018_2000035853 6 Accessories Software Licenses and PC Applications ...
Page 67: ...67 MorphoWave Compact 2018_2000035853 7 Recommendations ...
Page 70: ...70 MorphoWave Compact 2018_2000035853 8 Annex 1 finger placement recommendations ...
Page 74: ...74 MorphoWave Compact 2018_2000035853 ...
Page 75: ...75 MorphoWave Compact 2018_2000035853 9 Annex 2 Bibliography ...
Page 78: ...78 MorphoWave Compact 2018_2000035853 10 Annex 3 Support ...
Page 80: ...Copyright 2017 Photo GettyImages 656164914 Copyright 2017 Photo GettyImages 656164914 ...


