


DMI-F-10_Annexe 2_Notice.2
Page
10
sur
18
Mai 2023
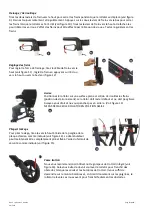
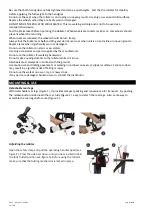
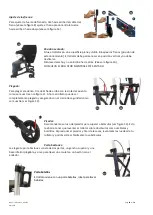
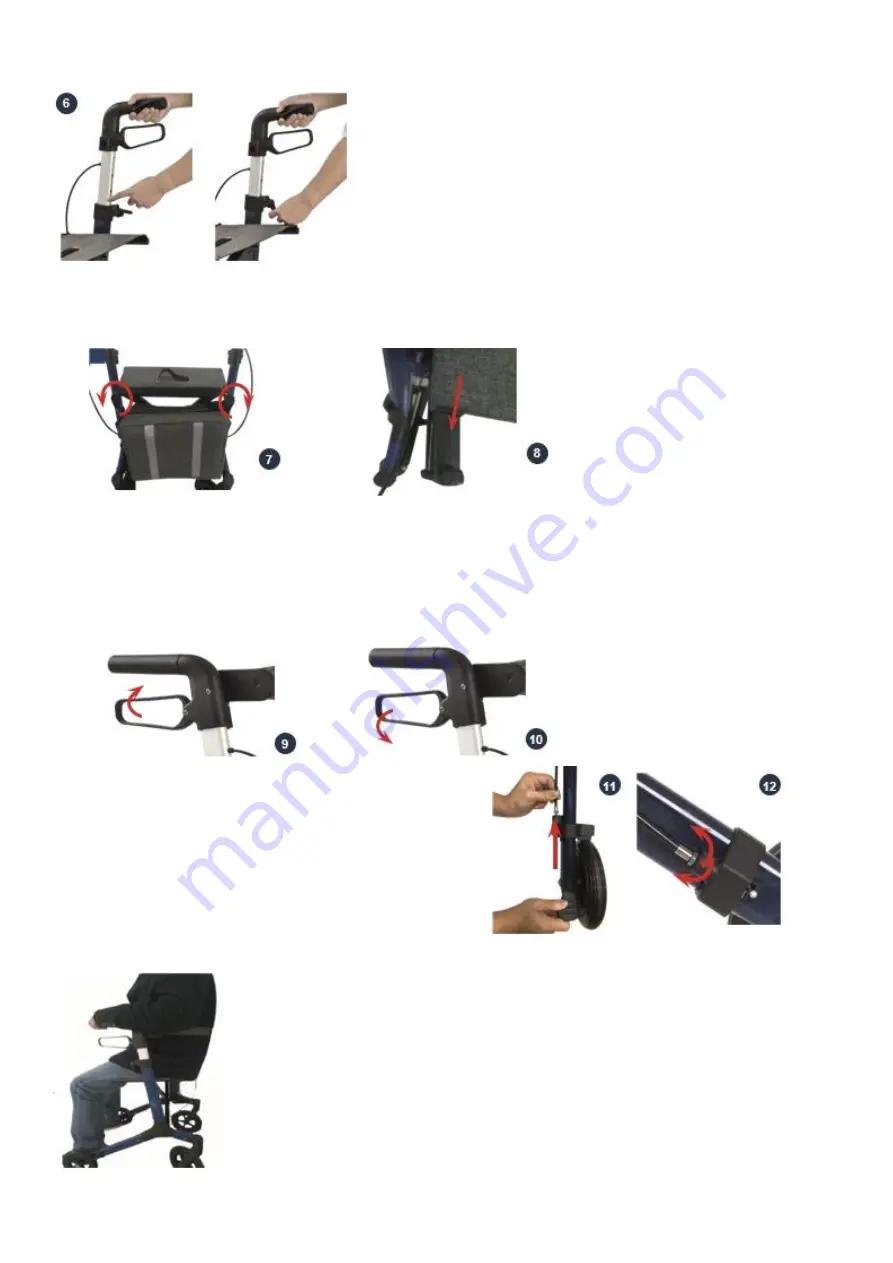
Height Adjustment
Lift the catch and push or pull the handgrip to the correct
height. Press down the catch, the handgrip will now be
locked at the correct height. (see figure 6)
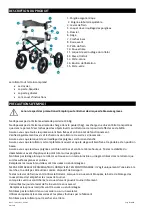
Removing/Attaching the carry bag
To attach the bag strap onto bag hook on the front end of the seat bar facing outward (see Figure 7 & 8). The
rollator bag is available for purchase.
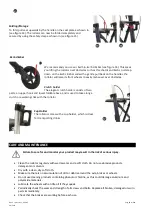
Braking/ Locking
Pull both brake levers upwards to apply the brakes while the rollator is moving (see figure 9). Always brake
slowly and steady. Press both brake levers down to apply the locks while the rollator is stationary (see figure
10). Pull up the brake levers and release to release the locks. The effect of the brakes can be affected by
abrasion of the wheels. Regularly test the brakes.
Adjustment of brakes
To adjust the braking strength,pull up the brake cable (see
figure 11) adjust the brake by pressing the nut upwards or
downwards
(see figure 12)
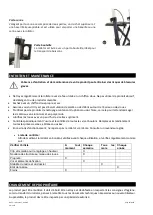
Sitting
Position the rollator on an even and solid surface. Lock the brakes (parking
position). The rollator must stand and must not slip. Sit straight up and do not
lean backward. (See figure 13)
DO NOT MOVE ROLLATOR WHILE SEATED ;


