MT-50 Multitouch Table DIY Building Instructions–Version 1.2 - 4/5/11 - Page 26
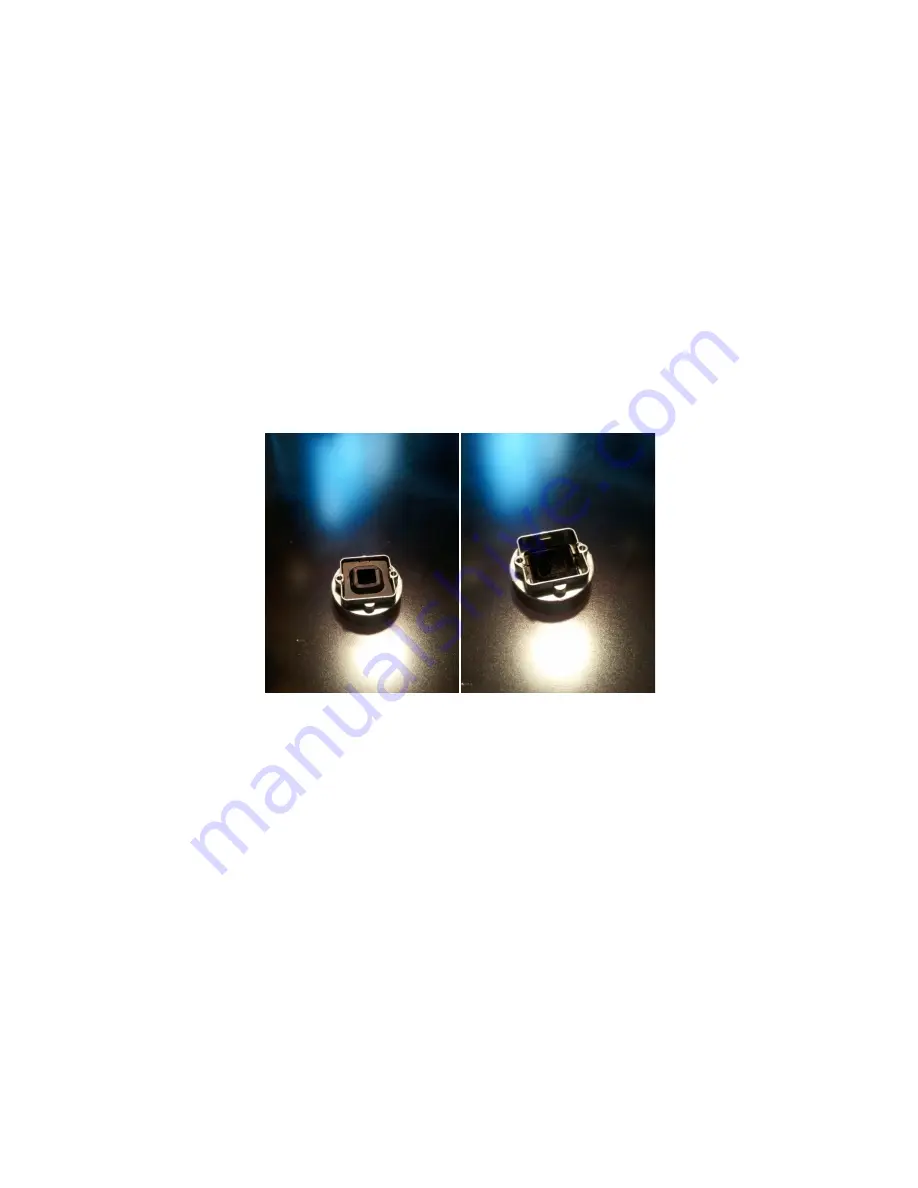
There will be a lens mount attached to the board by two screws. Remove
the lens mount to reveal a rubber grommet and a small clear lens. You will
also see the small CMOS sensor in the middle of the board. This is
essentially the ‘lens’ of the camera, so be sure not to allow anything to
come into contact with it.
Remove the rubber grommet, and take out the clear lens. Replace the clear
lens with the band pass filter. Reassemble the camera.
Once the plastic case is back together, you can then put on the camera
lens, and attach the mounting hardware.
Use a 20 x 20 gusset to attach each camera to the camera rig. You will
need to drill out one side of the gusset with a
¼
” drill bit to enable it to fit
the camera screw hole. Using a rubber washer to prevent the gusset from
damaging the side of the camera, screw the gusset onto the camera with an
M6 screw. Put a screw with 20 mm T-nut into the other side of the gusset
and screw the camera to the rig.
Summary of Contents for MT-50
Page 1: ...MT 50 Multitouch Table DIY Building Instructions...
Page 6: ...MT 50 Multitouch Table DIY Building Instructions Version 1 2 4 5 11 Page 6...
Page 8: ...MT 50 Multitouch Table DIY Building Instructions Version 1 2 4 5 11 Page 8...
Page 20: ...MT 50 Multitouch Table DIY Building Instructions Version 1 2 4 5 11 Page 20...
Page 31: ...MT 50 Multitouch Table DIY Building Instructions Version 1 2 4 5 11 Page 31...
Page 32: ...MT 50 Multitouch Table DIY Building Instructions Version 1 2 4 5 11 Page 32...


