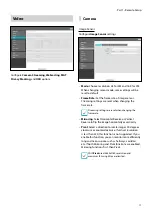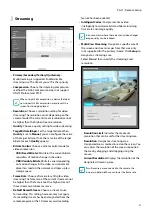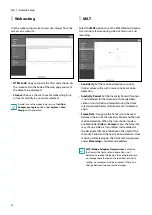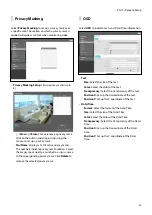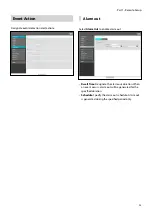
Part 1 - Remote Setup
19
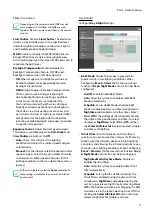
Flicker is turned on.
Depending on the camera module, WDR may not
work properly if Anti-Flicker and WDR are used
together. Please use only one of them in the camera
module.
•
Slow Shutter
: Activate
Slow Shutter
. The electronic
shutter’s speed will decrease to the specified level
under low-lighting conditions to allow more light in
and therefore produce brighter images.
•
WDR:
Disables or enables the WDR(Wide Dynamic
Range). When the very dark and very bright areas
exist simultaneously on the screen, WDR allows you to
recognize the both areas.
•
Backlight Compensation
: Enable/disable the
Backlight Compensation feature. If WDR used,
Backlight Compensation OFF does not work.
-
ON
: When images are too bright overall due to
backlight, objects are exposed brighter under
backlight circumstances.
-
HSBLC
(High Suppress Backlight Compensation):
When a certain area of images is too bright
due to backlight under low lighting conditions
and it causes the other area to be too dark,
this function provides the other area of images
brightly and clearly by blocking the backlight in
the certain area. Dark parking lot entrances and
gas station entrances at night, for example (HSBLC
compensates for the bright light coming from
incoming vehicle headlights and makes it possible
to see the license plates).
•
Exposure Control:
Adjust Shutter Speed and gain.
This option is available only when
Anti-Flicker
and
Slow Shutter
are both set to
Off
.
-
Auto:
The system will assess the lighting
conditions and adjust the shutter speed and gain
automatically.
-
Manual:
Use the slider to select the desired shutter
speed and gain. Select the most suitable minimum
and maximum shutter speeds and gains for the
lighting conditions in the area where the camera is
located.
With certain features, selecting
Auto
automatically
loads settings suitable for the camera's installation
environment.
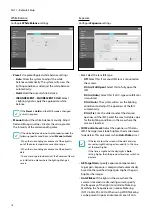
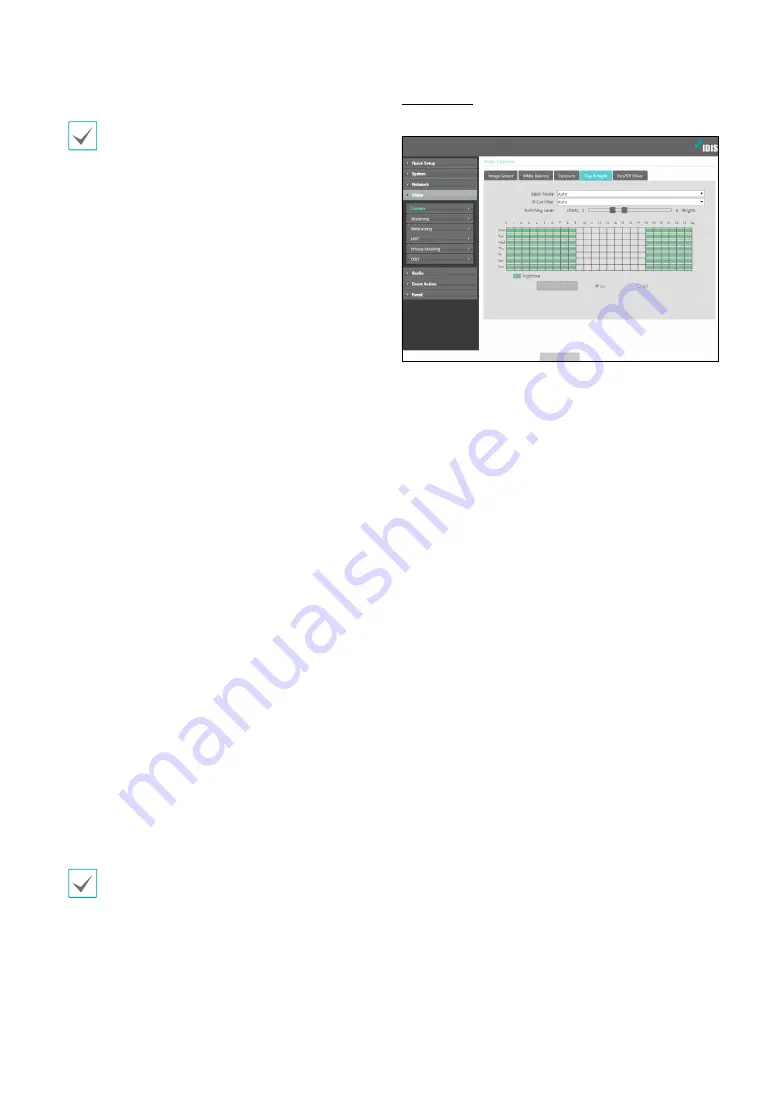
Day & Night
Configure
Day & Night
settings.
•
B&W Mode
: Display the images in greyscale for
greater clarity in low-lighting conditions. When
configuring
Event > Alarm In
, this feature will not
function if
Day & Night Mode
event action has been
configured.
-
On/Off
: Enable/disable B&W Mode.
-
Auto
: Allow the system to enable/disable B&W
Mode automatically.
-
Schedule
: Set up a B&W Mode schedule. B&W
Mode is enabled on days and times designated as
Nighttime
and disabled at all other times. Select
On
or
Off
at the bottom of the schedule table and
then click or drag on the dates and times to select/
unselect as
Nighttime
. Select
On
or
Off
and then
click
Select All/Clear All
to select/unselect all dates
and times as Nighttime.
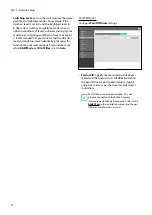
•
IR Cut Filter
: IR Cut Filter blocks out the infrared
spectrum. You can ensure clear images at all times by
blocking out the infrared spectrum in high-lighting
conditions and allowing the infrared spectrum to pass
through in low-lighting conditions. When configuring
Event > Alarm In
, this feature will not function if
Day
& Night Mode
event action has been configured.
-
Nighttime Mode
/
Daytime Mode
: Disables or
enables the IR cut filter.
-
Auto
: Allow the system to enable/disable IR Cut
Filter automatically.
-
Schedule
: Sets up the IR cut filter schedule. The
IR cut filter is disabled during the date and time
scheduled as
Nighttime
and enabled during the
rest. Set up or release Nighttime by selecting
On
or
Off
in the bottom and clicking or dragging the date
and time area in the table. Selecting On or Off and
clicking the
Select All/Clear All
button sets up or
releases Nighttime for all dates and time.


