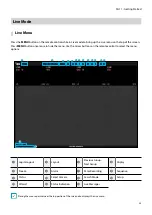
Part 1 - Getting Started
17
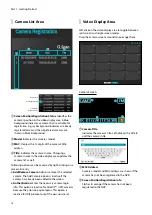
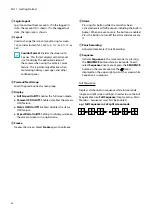
Camera View Buttons
●
ALIGNMENT
Button: Realigns camera screens
displayed on the video display area in the order of
Video In
port connections.
●
RESET
Button: Refreshes the video display area
and the camera list.
Selecting
RESET
clears all scanned devices from the
list.
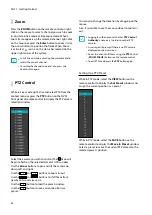
●
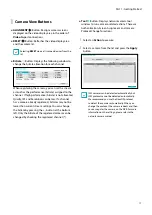
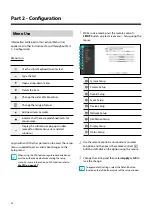
Bitrate
Button: Displays the following window to
change the bitrate allocation for each channel.
When registering the camera, you can set the stream
as much as the performance (bitrate) assigned to the
channel. If high performance (bitrate) is not allocated,
Quailty, IPS and Resolution can be low. If a channel
has a camera already registered, bitrates may not be
lower than current stream settings. You can change
the bitrate by pressing the + - button at the bottom
left. Only the bitrate of the registered camera can be
changed by checking the registered channel (*).
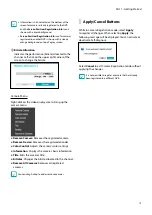
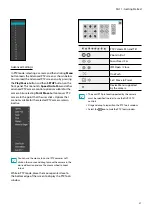
●
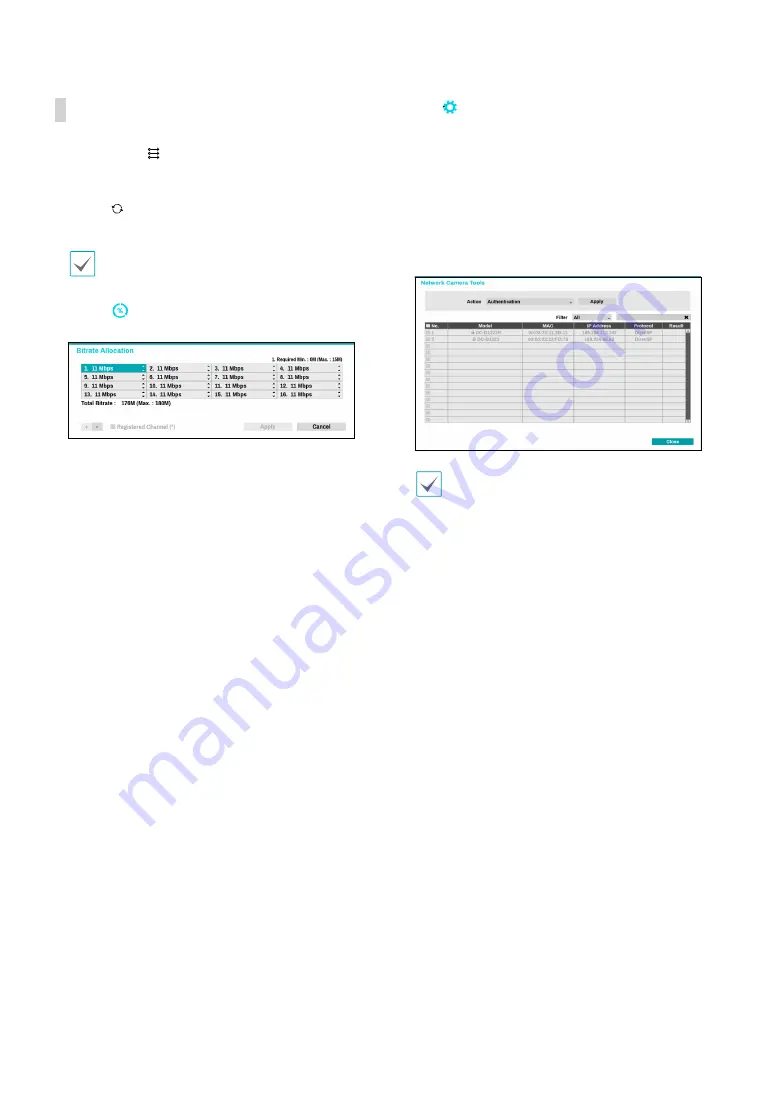
Tool
Button: Displays network camera tool
window to run a camera-related actions. There are
Authentication, Screen Assignment and Camera
Protocol Change for actions.
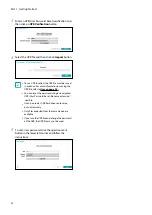
1
Select an
Action
to execute.
2
Select a camera from the list and press the
Apply
button.
IDIS cameras can be detected automatically but
IDIS protocol cannot be detected automatically.
We recommend you use the DirectIP protocol
to detect the cameras automatically. When you
change the protocol, the camera reboots and then
you can register the camera on the NVR. For more
information on the settings, please refer to the
network camera manual.

