Part 2 - Configuration
45
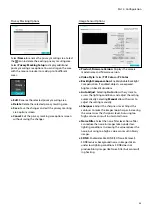
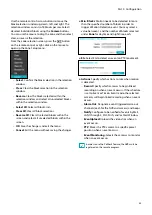
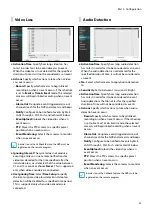
Privacy Masking Options
Select
Name
to rename the privacy masking area. Select
the icon to delete the existing privacy masking area.
Select
Privacy Masking Setup
to display additional
privacy masking area options. You can drag on the area
with the mouse to resize it or add up to 16 different
areas.
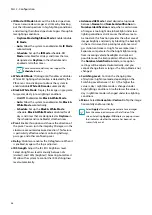
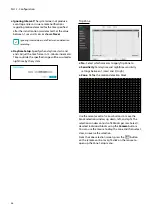
●
Edit
: Rename the selected privacy masking area.
●
Delete
: Delete the selected privacy masking area.
●
Save
: Save the changes and exit the privacy masking
area options screen.
●
Cancel
: Exit the privacy masking area options screen
without saving the changes.
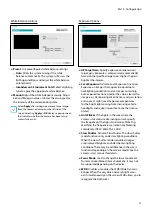
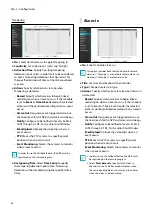
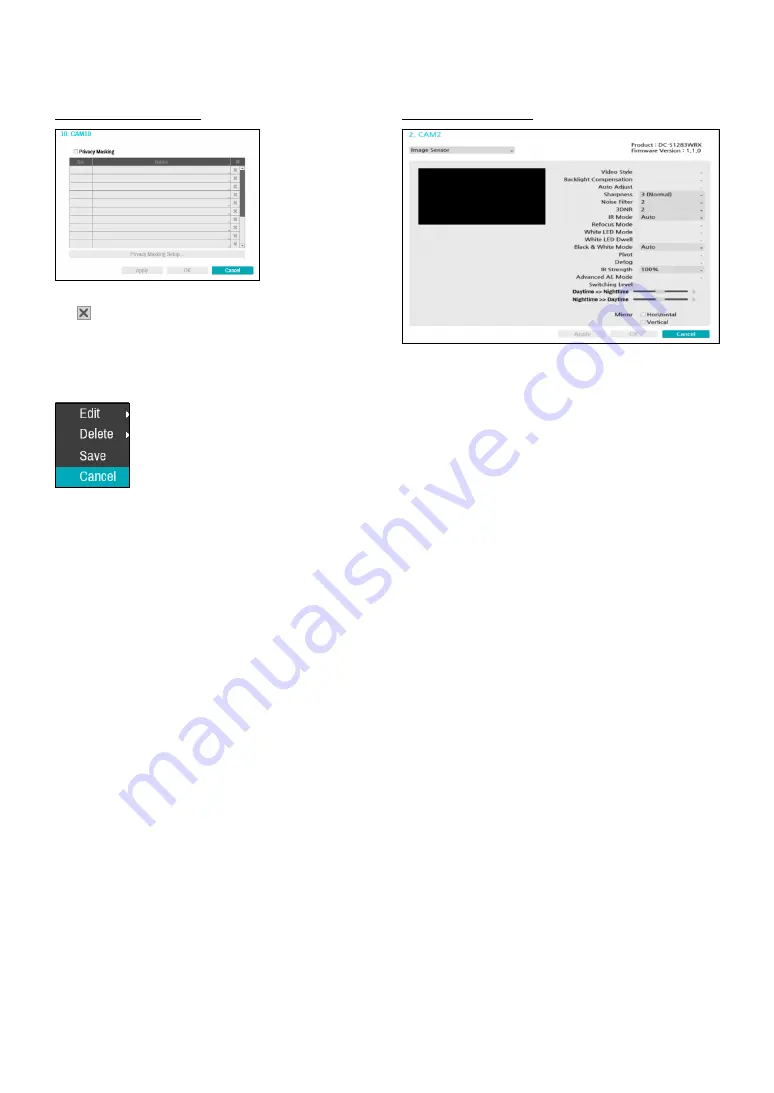
Image Sensor Options
●
Product, Firmware Version
: Displays the camera
model name and firmware version.
●
Video Style
: Select
TV1 Color
or
PC Color
.
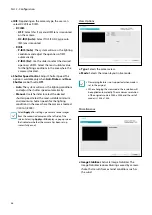
●
Backlight Compensation
: Enable/disable Backlight
Compensation. If enabled, objects are exposed
brighter in backlit situations.
●
Auto Adjust
: Selecting
Auto
allows the system to
assess the lighting conditions and adjust the setting
automatically. Selecting
Manual
allows the user to
adjust the setting manually.
●
Sharpness
: Adjust the sharpness level. Adjust the
contours to make the images look sharper. Increasing
the value raises the sharpness level, but using too
high a value can result in unwanted noise.
●
Noise Filter
: Select the noise filter level. Noise filter
can reduce the noise in images taken under low-
lighting conditions. Increasing the value reduces the
noise, but using too high a value can result in blurry
images.
●
3DNR
: Enable/disable 3DNR (3D Noise Removal).
3DNR reduces background noise in images taken
under low-lighting conditions. 3DNR does not
produce blurry images like Noise Filter but can result
in ghosting.


