User Manual
Page 5
ID station User Manual
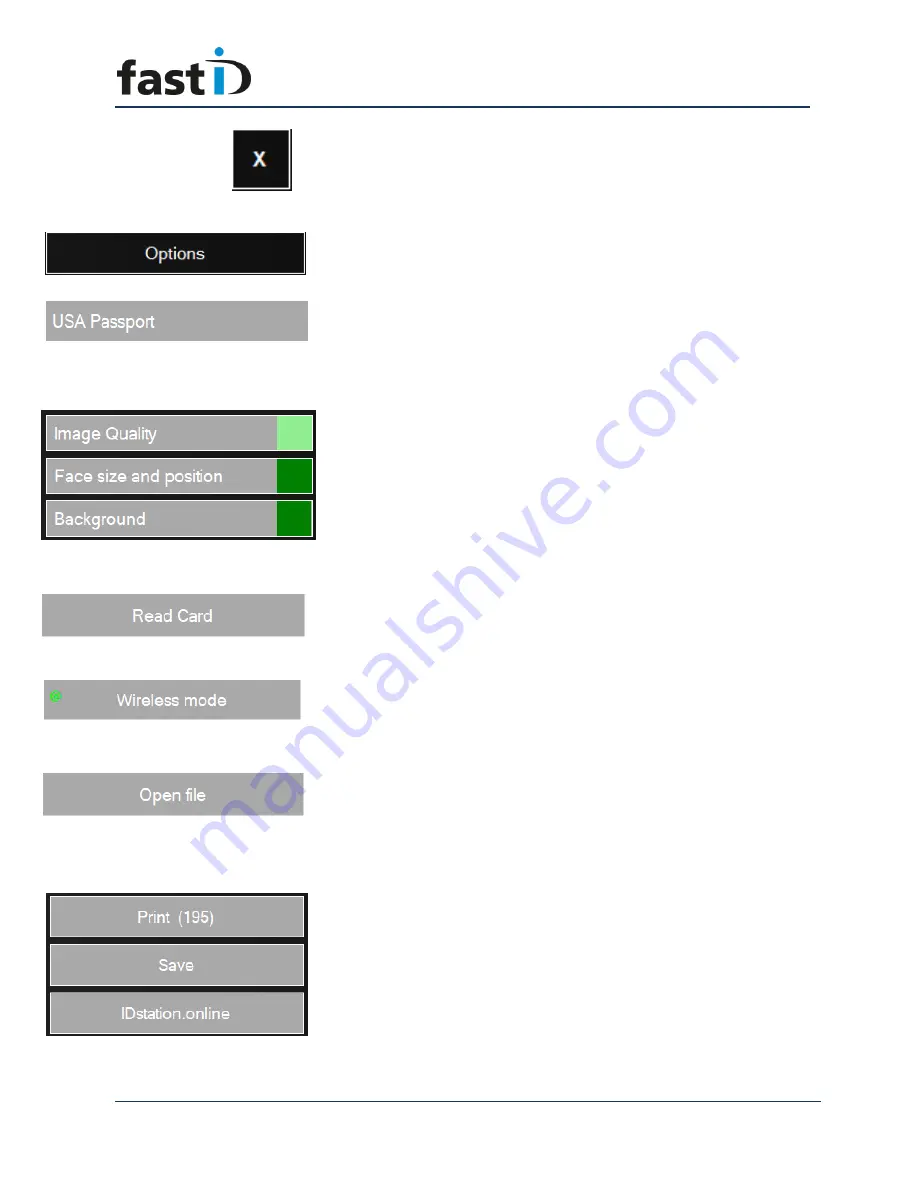
Exit button. Click this button to exit the software and return to
the desktop. This feature may be password protected to prevent
users from leaving the software and entering Windows.
Options button. Click this button to enter the Options menu.
The options menu has several functions.
The Country button. This button show the name of the selected
country template. Every picture that you select will be
processed into a passport photo for that country. Click on this
button to select another country. This feature is very powerful.
Read chapter 10 for more information.
Every photo is automatically checked. Passport photos need to
comply to the official requirements set by the country that was
selected. Most countries use the official ICAO requirements for
passport photos. The software will check your passport photo
and a summary of the results are shown here. Click on these
buttons to see the details of the ICAO quality test!
Read Card button. Click this button to start reading photos from
a memory card. First insert the SD card into the reader, then
click. The software will scan the card and show you the last
pictures first.
Wireless mode button. If you click this button the software will
try to connect to a Camfi controller. The red exclamation mark
appears if you’re not connected to a Camfi controller. The Camfi
controller has its own user manual.
The Open File button. Use this button to manually open a file.
The file may be on a card, in a camera, on an USB drive or in a
folder on the fastID tablet. Also use this button to read a photo
from the archives.
Print, Save and Upload to IDstation.online are the “output”
options. When you have processed a photo these buttons
will appear. Obviously for printing you need to click on
“Print”. The number is the remaining number of prints left
in the printer. The IDstation.online button will take you to
the upload form where you can upload photos to


