6
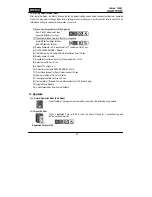
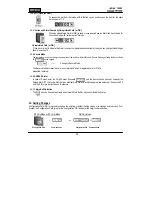
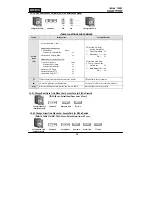
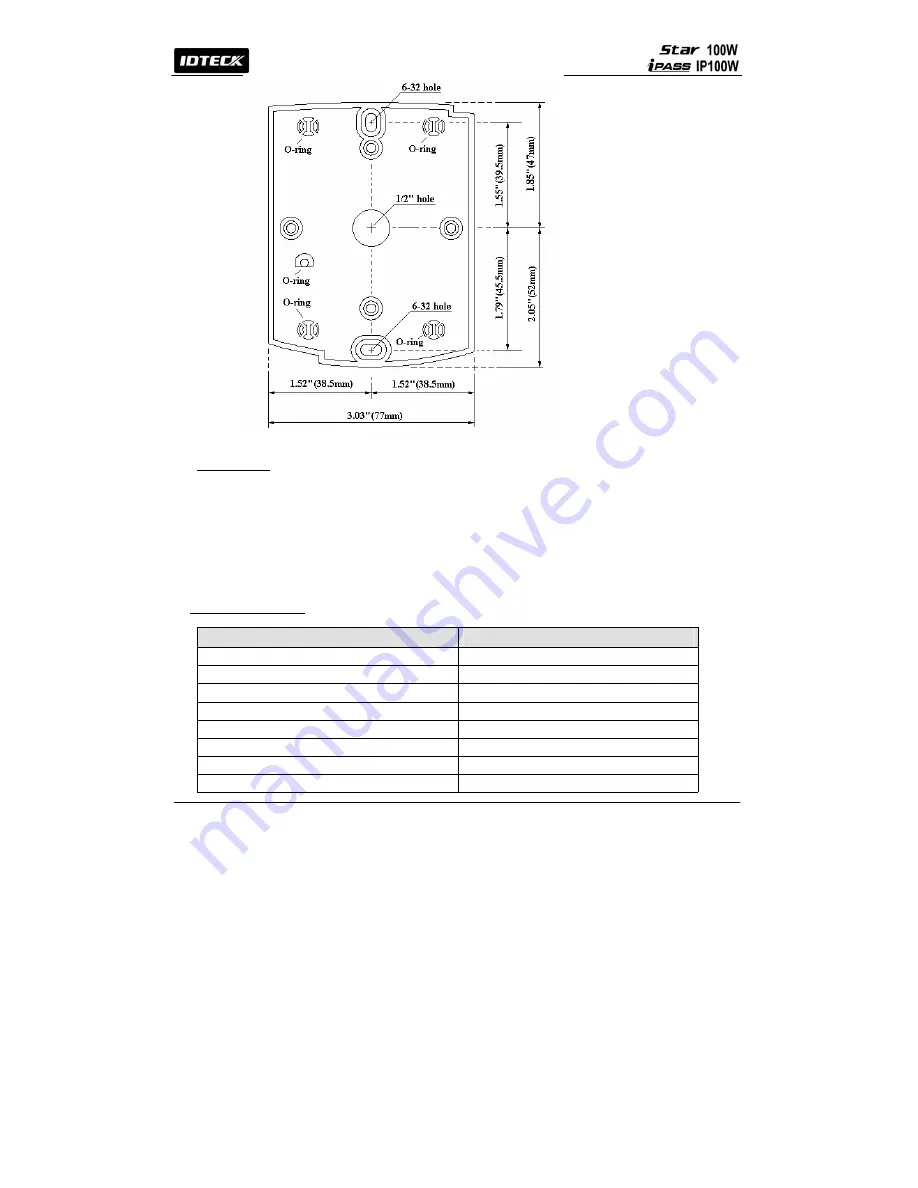
7-2. Using 2 screws, installthe wall mount to the wall.
※
CAUTIONS
Before mounting the STAR 100W unit to the Wall Mount bracket, operational testing of the unit should be
completed, as the locking pins will lock the unit to the Wall Mount. Removing the unit from the Wall Mount bracket
after they have been installed together may cause damages to the bracket and render its effectiveness.
7-3. Insert 5 O-rings to the wall mount as indicated, then route the cable of the main unit through the center hole
and push the main unit to wall mount to lock the main unit and make sure that the main unit is locked with the
wall mount.
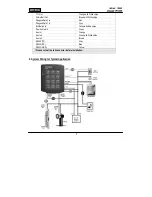
8. Wiring Color Table
SIGNAL
COLOR
Main Power (+12V)
Red
Power Ground (GND)
Black
Door Relay Out (COM)
Gray with Red stripe
Door Relay Out (NC)
Blue with White stripe
Door Relay Out (NO)
White with Red stripe
Alarm Relay Out (COM)
White
Alarm Relay Out (NC)
Purple with White stripe
Alarm Relay Out (NO)
Purple
Summary of Contents for iPass IP100W
Page 1: ...User s Manual ...
Page 31: ...31 17 Template MEMO ...


