13
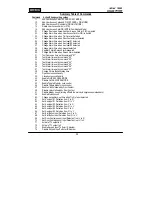
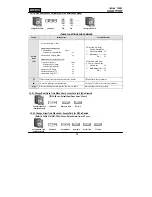
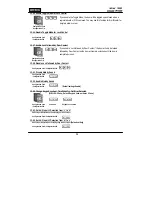
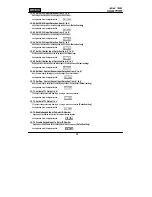
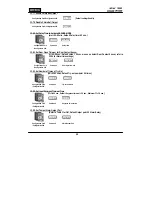
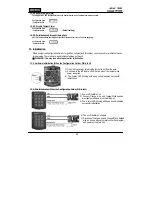
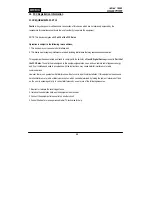
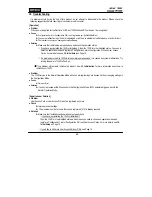
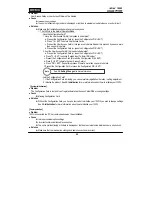
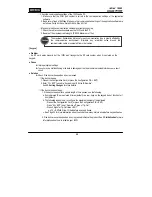
Summary Table of Commands
Command Action/Change setting values
11
Add User Access Cards (RF CARD ONLY MODE)
12
Add User Access Cards and PIN (RF CARD + PIN MODE)
13
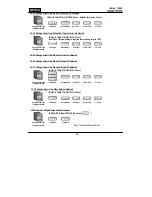
Add User Access PIN numbers (PIN ONLY MODE)
14
Delete User Access Cards (or PIN)
15
Add User Access Card/PIN (RF/PIN Combination Mode)
21
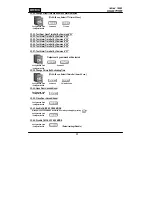
Change Door open time when User Access Card (or PIN) is granted
22
Change Alarm time when User Access Card (or PIN) is denied
23
Change Alarm time when Try-Out error detected
24
Change Alarm time when Door-Contact error detected
25
Change Alarm time when Aux Input #1 detected
26
Change Alarm time when Aux Input #2 detected
27
Change Alarm time when Aux Input #3 detected
28
Change Alarm time when magnet detected
29
Register 2 digits Duress Alarm password
30
Change Alarm time when Duress Alarm detected
31
Test Door open time set by command "21"
32
Test Alarm time set by command "22"
33
Test Alarm time set by command "23"
34
Test Alarm time set by command "24"
35
Test Alarm time set by command "25"
36
Test Alarm time set by command "26"
37
Test Alarm time set by command "27"
39
Change Chime Bell activating time
41
Open door unconditionally
42
Close door unconditionally
43
Enable QUICK ACCESS MODE
44
Disable QUICK ACCESS MODE
45
Enable Toggle Mode for Lock control
46
Disable Toggle Mode for Lock control
47
Enable Unlock followed by Door Contact
48
Disable Unlock followed by Door Contact
51
Disable Melody sound (turning off both the melody & keypress audio feedback)
52
Enable Melody sound
60
Change keypad lock-out time when Try-Out error detected
61
Set Aux Input #1 Detection from ‘L’ to ‘H’
62
Set Aux Input #1 Detection from ‘H’ to ‘L’
63
Set Aux Input #2 Detection from ‘L’ to ‘H’
64
Set Aux Input #2 Detection from ‘H’ to ‘L’
65
Set Aux Input #3 Detection from ‘L’ to ‘H’
66
Set Aux Input #3 Detection from ‘H’ to ‘L’
67
Set Exit Button Input Detection from ‘L’ to ‘H’
68
Set Exit Button Input Detection from ‘H’ to ‘L’
69
Set Door-Contact sensor Input Detection from ‘L’ to ‘H’
70
Set Door-Contact sensor Input Detection from ‘H’ to ‘L’
71
Activate TTL output to ‘H’
72
Activate TTL output to ‘L’
73
Enable Keypad Input To Enter ID Number
74
Disable Keypad Input To Enter ID Number
Summary of Contents for Star 100W
Page 1: ...User s Manual...
Page 31: ...31 17 Template MEMO...


