25
iv )
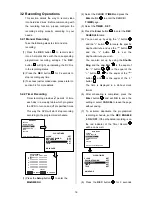
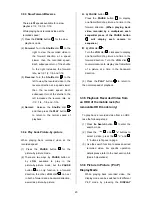
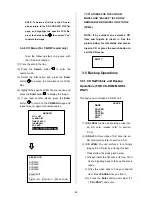
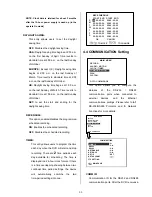
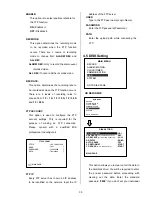
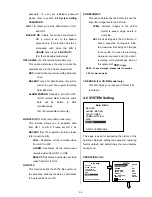
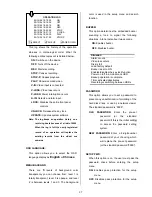
You've entered the
CD JPEG
menu.
v )
Select item 1(
“ADD”
) to add your image
into the buffer.
vi )
Turn the jog dial or Play button to find
the next image you want. Now repeat
the last step again to add this image to
the buffer. You can continue in this way
indefinitely.
vii )
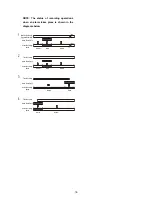
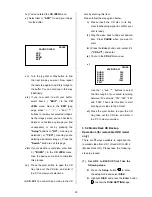
If you now wish to edit your buffer,
select item 2 (
"EDIT"
) in the
CD
JPEG
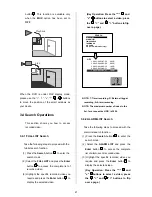
menu. Now in the
EDIT
jpeg
page, press “ < ”, ” > ”, ” v ”and “
^
”
buttons to review your selected images.
As the images move, you can decide to
delete or not delete any image you find
unnecessary or not by pressing the
"Setup"
buttons to
"NO"
( meaning no
deletions ) or
"YES"
( meaning you're
deleting a particular image ). Press the
"Search"
button to exit this page.
viii )
If your selection is complete, enter item
3 (
"BURN"
) in the
CD JPEG
menu.
Give the device some time to complete
this process.
ix )
Press the eject button to open the CD
tray, take out the CD disc, and enter it
in a PC to view your selections.
(4)
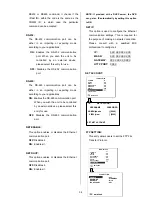
CD AVI:
You can archive a video in the CD
disc by entering this item.
Please follow the steps given below.
i )
Please insert the CD disc in its tray.
Hear that beeping signal to confirm your
disc is ready.
ii )
Play the video back to find your desired
item. Press
PAUSE
when you want to
start.
iii )
Press the
Enter
button and select # 4
(
"CD AVI"
) and enter.
iv )
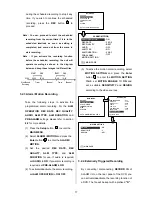
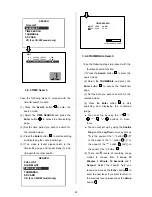
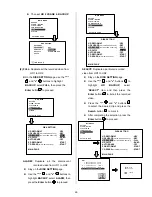
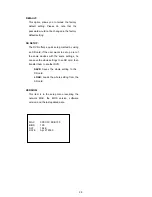
You're in the
CD AVI
menu
now.
v )
Use the ” v ”and “
^
”buttons to select
the time length of your saved recording
between “30 seconds”, “1M”, “3M”, “5M”
and “10M”. Then enter this item to start
burning your video in the CD disc.
vi )
Press the eject button to open the CD
tray, take out the CD disc, and enter it
in a PC to view your video.
3.5.2 Mobile Rack HD Backup
Operations (for removable HDD model
only)
There are
3
ways available to duplicate the
recorded video from HD 1 (Fixed HD) to HD 2
(Mobile Rack HD). Please take the following
steps to proceed.
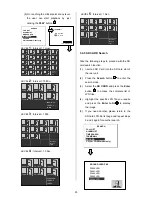
(1) Set HD 2 to BACKUP first. Take the
following steps.
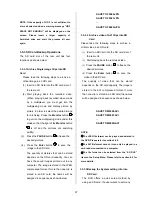
Press the
Setup
button
9
to enter
the setup mode and select
DISK
.
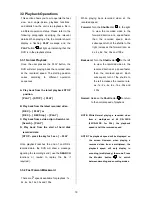
Highlight
DISK
and press the
Enter
button
15
to enter the
DISK SETTING
page.
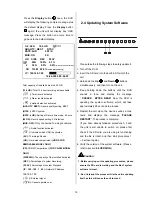
PAUSE
SAVE/CD AVI
BURN 30S
BURN 1
M
BURN 3
M
BURN 5
M
BURN 10
M
EXIT
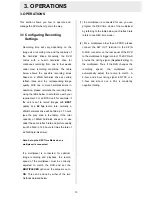
PAUSE
SAVE/CD JPEG
ADD
EDIT
BURN
EXIT
Summary of Contents for IV-110TX-SN
Page 2: ......


