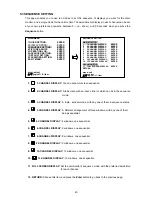
38
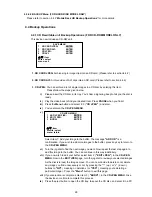
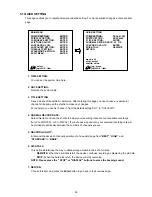
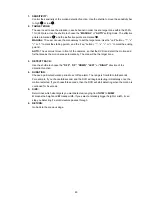
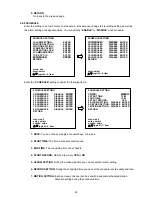
Activate to
ON
( enable ) or
OFF
( disable ).
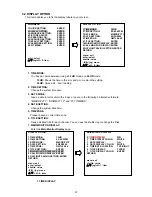
2. TIME DISPLAY COLOR:
You can choose between
white
,
black
,
red
,
green
,
blue
, and
yellow
.
3. DATE DISPLAY:
Select to
ON
or
OFF
as desired.
4. DATE DISPLAY COLOR:
Select any of the six colors, namely
white
,
black
,
red
,
green
,
blue
, and
yellow
.
5. TIME / DATE LOCATION:
You can locate / change time / date labels in any of six positions:
top - left
,
top - mid
, and
top - right
, and
bottom - left
,
bottom - mid
, and
bottom - right
.
6. TITLE DISPLAY:
This item has 3 options:
TYPE A
,
TYPE B
and
OFF
.
7. TITLE DISPLAY COLOR:
Again, you have the six colors to choose from:
white
,
black
,
red
,
green
,
blue
, and
yellow
.
8. RETURN:
Go back to the previous,
DISPLAY OPTION
page.
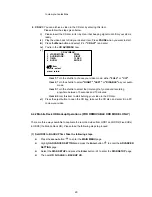
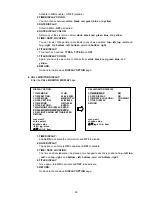
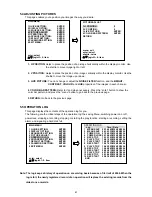
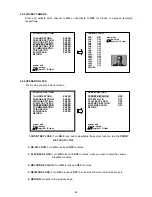
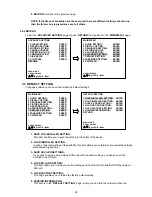
8. CALL MONITOR DISPLAY:
Enter the
CALL MONITOR DISPLAY
page.
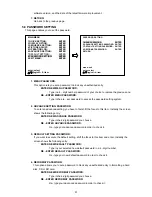
1. TIME DISPLAY:
Enable
ON
to activate the call monitor, and
OFF
to disable.
2. DATE DISPLAY:
The option once more is
ON
to enable and
OFF
to disable.
3. TIME / DATE LOCATION:
The time and date labels can be placed at or changed to any of six positions:
top - left
,
top
- mid
, and
top - right
, and
bottom - left
,
bottom - mid
, and
bottom - right
.
4. TITLE DISPLAY:
Once again, turn
ON
to activate and
OFF
to deactivate.
5. RETURN:
Go back to the previous,
DISPLAY
OPTION
page.
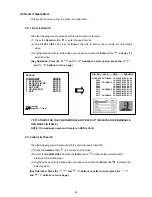
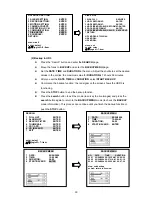
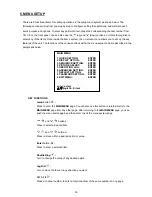
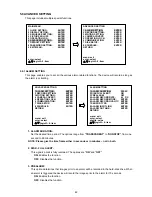
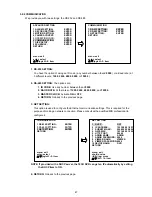
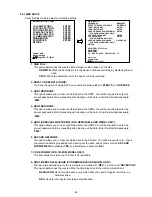
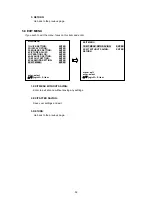
DISPLAY OPTION
1 TIME MODE:
12HR
2 TIME SETTING:
05:40:55PM
3 DATE MODE:
MM/DD/YYYY
4 DATE SETTING:
05/02/2004
5 TIME ZONE:
GMT+00:00
6 TITLE SETTING:
ENTER
7 MAIN MONITOR DISPLAY: ENTER
8 CALL MONITOR DISPLAY: ENTER
9 DAYLIGHT SAVING SETTING:ENTER
RETURN
menu: exit
enter: select
shuttle: value
◄
/
►
/ jog: move
▲
/
▼
/ ch1~9: item
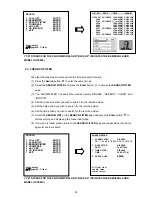
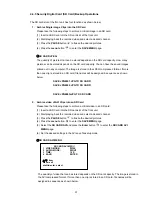
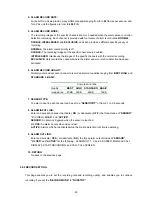
CALL MONITOR DISPLAY
1 TIMEDISPLAY:
ON
2 DATE DISPLAY:
ON
3 TIME/DATE LOCATION:
TOP-RIGHT
4 TITLE DISPLAY:
ON
RETURN
menu: exit
shuttle: value
▲
/
▼
/jog/ch1~4: item
Summary of Contents for IV-1600TX-SN
Page 2: ......

