ACT-408A-N270 User Manual
Page 42
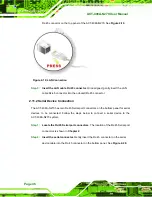
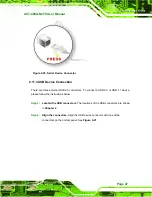
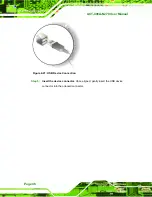
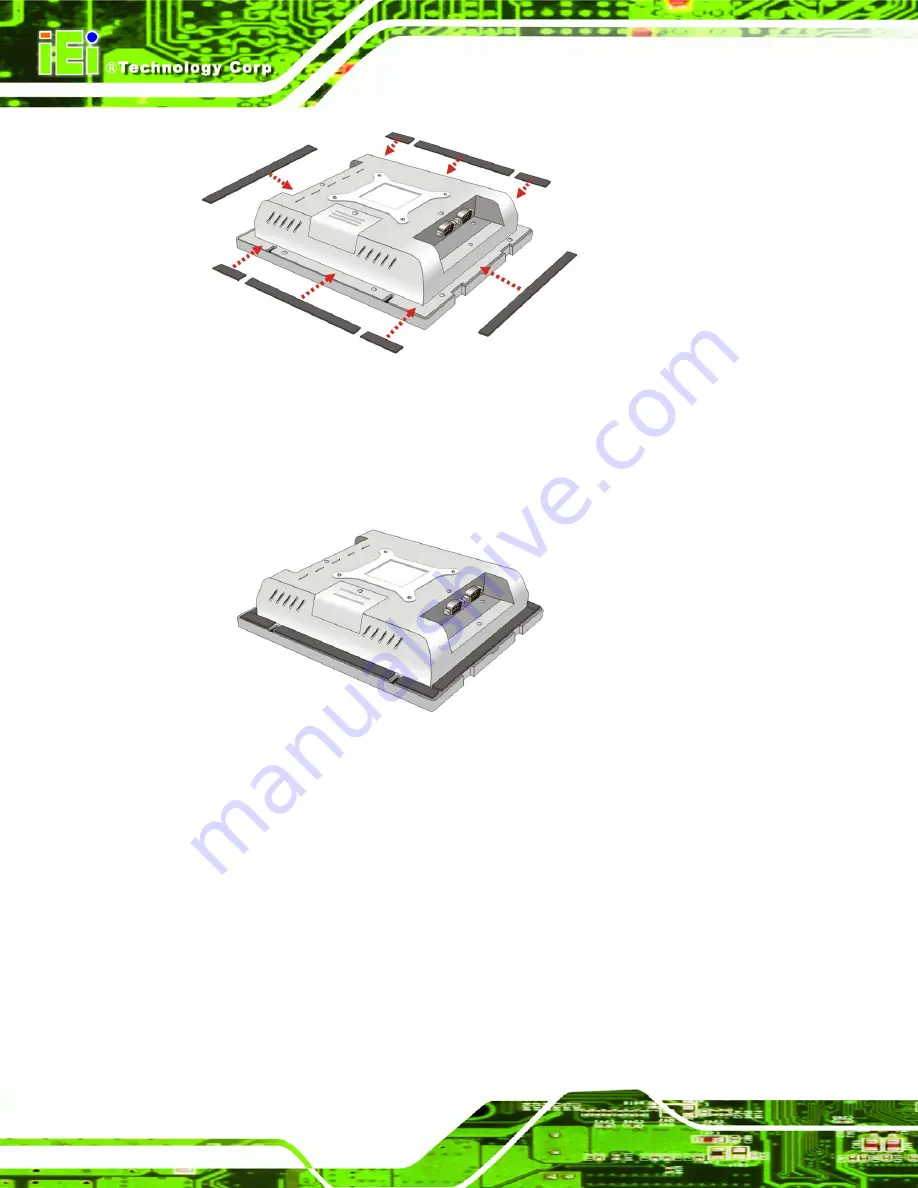
Figure 2-13: Attach Foam Tape
Step 16:
Attach the adhesive foam tape to the edge of rear panel of the ACT-408A-N270
(see
Figure 2-13)
. Make sure the adhesive tape does not cover the screw
holes as shown below.
Step 16:
Figure 2-14: Foam Tape Installed
To mount the ACT-408A-N270 panel PC into a wall, please follow the steps below.
Step 17:
Select the position on the wall to mount the flat panel PC.
Step 18:
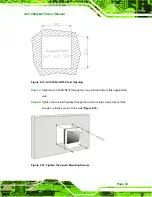
Cut out a section from the wall that corresponds to the dimensions in
Figure
2-15
. Take care that the wall section that is cut out is no larger than the
suggested cut out size.
Summary of Contents for ACT-408A-N270
Page 12: ...ACT 408A N270 User Manual Page 12 Chapter 1 1 Introduction...
Page 22: ...ACT 408A N270 User Manual Page 22 Figure 1 8 ACT 408A N270 Dimensions mm...
Page 23: ...ACT 408A N270 User Manual Page 23 Chapter 2 2 Installation...
Page 49: ...ACT 408A N270 User Manual Page 49 Chapter 3 3 RFID Reader...
Page 64: ...ACT 408A N270 User Manual Page 64 Chapter 4 4 System Maintenance...
Page 72: ...ACT 408A N270 User Manual Page 72 Chapter 5 5 BIOS...
Page 115: ...ACT 408A N270 User Manual Page 115 Appendix A A External Connector Pinouts...
Page 120: ...ACT 408A N270 User Manual Page 120 Appendix B B Safety Precautions...
Page 124: ...ACT 408A N270 User Manual Page 124 Appendix C C BIOS Configuration Options...
Page 128: ...ACT 408A N270 User Manual Page 128 Appendix D D Watchdog Timer...
Page 131: ...ACT 408A N270 User Manual Page 131 Appendix E E Hazardous Materials Disclosure...


