AFL2-15A-H61
Page 37
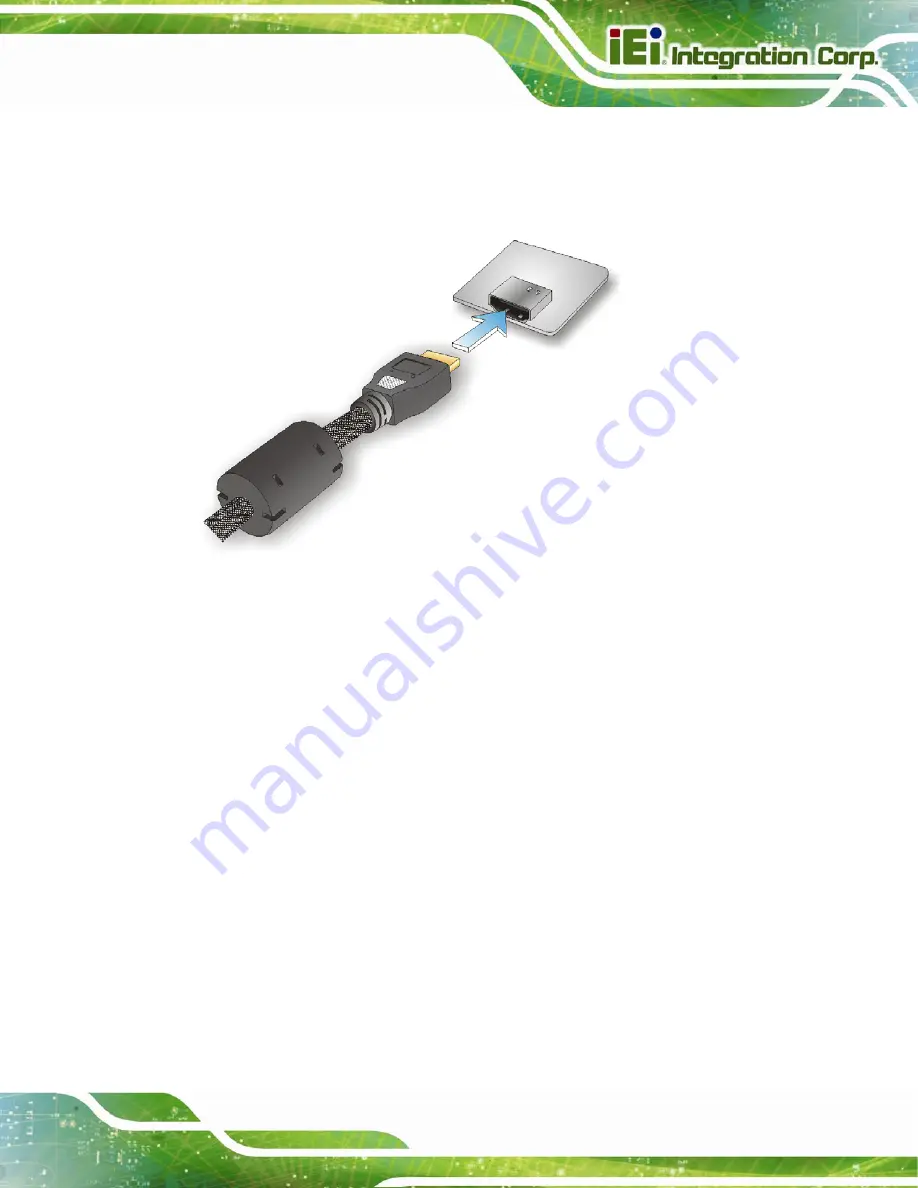
Step 1:
Locate the HDMI connector. The location is shown in Chapter 1.
Step 2:
Align the connector.
Align the HDMI connector with the HDMI port. Make sure
the orientation of the connector is correct.
Figure 3-21: HDMI Connection
Step 3:
Insert the HDMI connector.
Gently insert the HDMI connector. The connector
should engage with a gentle push. If the connector does not insert easily, check
again that the connector is aligned correctly, and that the connector is being
inserted with the right way up.
3.13.3 LAN Connection
There is one external RJ-45 LAN connectors The RJ-45 connector enables connection to
an external network. To connect a LAN cable with an RJ-45 connector, please follow the
instructions below.
Step 1:
Locate the RJ-45 connectors.
The location of the LAN connector is shown in
Chapter 1
.
Step 2:
Align the connectors.
Align the RJ-45 connector on the LAN cable with one of
Summary of Contents for AFL2-15A-H61 series
Page 14: ...AFL2 15A H61 Page XIV Figure C 42 Disable Automatically Restart 188...
Page 18: ...AFL2 15A H61 Page 1 1 Introduction Chapter 1...
Page 31: ...AFL2 15A H61 Page 14 2 Unpacking Chapter 2...
Page 36: ...AFL2 15A H61 Page 19 3 Installation Chapter 3...
Page 61: ...AFL2 15A H61 Page 44 4 BIOS Setup Chapter 4...
Page 97: ...AFL2 15A H61 Page 80 5 Software Drivers Chapter 5...
Page 123: ...AFL2 15A H61 Page 106 Figure 5 41 USB 3 0 Driver Update Complete...
Page 124: ...AFL2 15A H61 Page 107 6 System Monitoring iCMC Chapter 6...
Page 133: ...AFL2 15A H61 Page 116 7 System Maintenance Chapter 7...
Page 142: ...AFL2 15A H61 Page 125 8 Interface Connectors Chapter 8...
Page 160: ...AFL2 15A H61 Page 143 A Safety Precautions Appendix A...
Page 165: ...AFL2 15A H61 Page 148 B BIOS Menu Options Appendix B...
Page 168: ...AFL2 15A H61 Page 151 Appendix C C One Key Recovery...
Page 176: ...AFL2 15A H61 Page 159 Figure C 5 Partition Creation Commands...
Page 210: ...AFL2 15A H61 Page 193 D Hazardous Materials Disclosure Appendix D...


