AFL3-W07A-BT Panel PC
Page 21
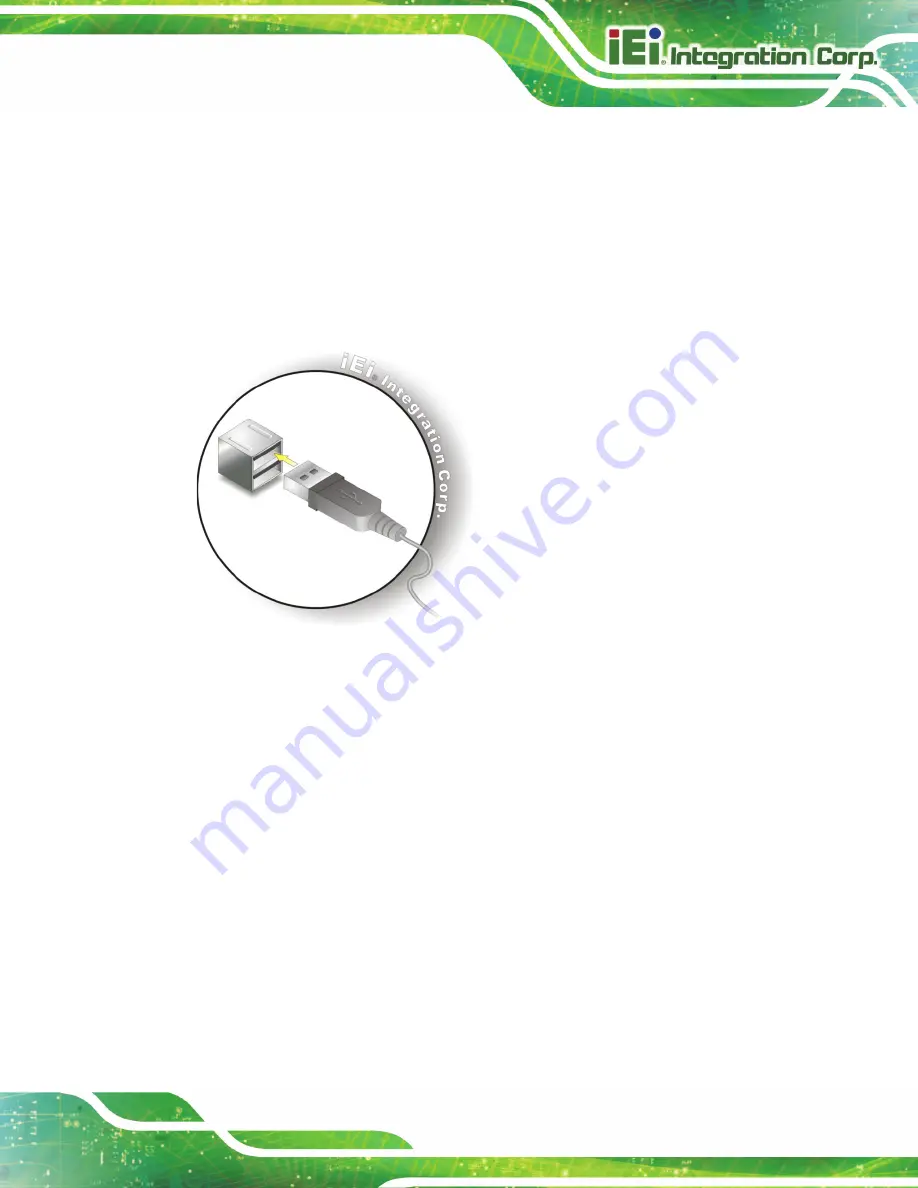
There are two USB 3.2 Gen 1 connectors on the AFL3-W07A-BT. To connect a USB
device, please follow the instructions below.
Step 1:
Locate the USB connectors
. The locations of the USB connectors are shown
in
Chapter 1
.
Step 2:
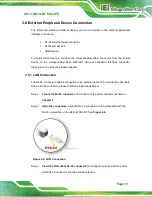
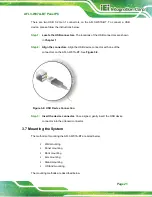
Align the connectors.
Align the USB device connector with one of the
connectors on the AFL3-W07A-BT. See
Figure 3-8: USB Device Connection
Step 3:
Insert the device connector.
Once aligned, gently insert the USB device
connector into the onboard connector.
Step 0:
3.7 Mounting the System
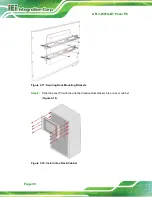
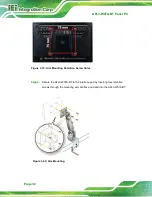
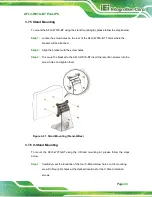
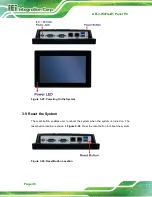
The methods of mounting the AFL3-W07A-BT are listed below.
Wall mounting
Panel mounting
Rack mounting
Arm mounting
Stand mounting
V-Stand mounting
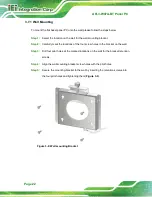
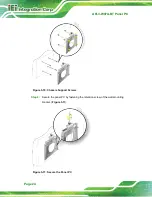
The mounting methods are described below.
Summary of Contents for AFL3-W07A-BT-N1/PC/2G-R20
Page 13: ...AFL3 W07A BT Panel PC Page 1 1 Introduction Chapter 1 ...
Page 21: ...AFL3 W07A BT Panel PC Page 9 2 Unpacking Chapter 2 ...
Page 25: ...AFL3 W07A BT Panel PC Page 13 3 Installation Chapter 3 ...
Page 54: ...AFL3 W07A BT Panel PC Page 42 4 BIOS Setup Chapter 4 ...
Page 82: ...AFL3 W07A BT Panel PC Page 70 5 System Maintenance Chapter 5 ...
Page 88: ...AFL3 W07A BT Panel PC Page 76 6 Interface Connectors Chapter 6 ...
Page 99: ...AFL3 W07A BT Panel PC Page 87 Appendix A A Regulatory Compliance ...
Page 104: ...AFL3 W07A BT Panel PC Page 92 B Safety Precautions Appendix B ...
Page 109: ...AFL3 W07A BT Panel PC Page 97 C BIOS Menu Options Appendix C ...
Page 112: ...AFL3 W07A BT Panel PC Page 100 Appendix D D Watchdog Timer ...
Page 115: ...AFL3 W07A BT Panel PC Page 103 E Hazardous Materials Disclosure Appendix E ...


